ABN: 11 641 139 568

Blog

Ceiling Replacement: Cost Factors Explained – Part 2

Ceiling replacement is a significant home renovation project that can be costly, but it is necessary to ensure the safety and comfort of your home. In Part 1, we discussed the various factors affecting the ceiling replacement cost. This article will delve into the different processes of ceiling replacement, including the materials used and properties that require ceiling replacement. 


Factors That Affect Ceiling Replacement Cost


Type of Material


Different materials can be used for ceiling replacement, such as plasterboard, lath and plaster, and dropped ceiling. Plasterboard is the most common material for ceiling replacement due to its affordability and ease of installation. Lath and plaster are more durable but expensive, while dropped ceilings are common in commercial properties.


Size of the Ceiling


Remember, the larger the ceiling, the more materials and labour are required to complete the project, which increases the cost. A plastering service will typically charge by the square metre or square foot, so it is essential to calculate the ceiling to get an accurate estimate.


Condition of the Ceiling


There are instances when the condition of the ceiling can affect the cost of plastering. Plastering may be more expensive if the ceiling is damaged and requires a lot of preparation. Replacing the ceiling may be a more cost-effective option. Get a professional assessment before starting any plastering work.


Type of Repair


The type of repair required for the ceiling is also a factor that affects the cost. If only a small section of the ceiling needs to be replaced, the cost will be lower than if the entire ceiling needs to be replaced. Similarly, the cost will increase if the ceiling requires additional structural support or new lighting fixtures.


Type of Property


Remember, not all properties are created equal. The type of property can also affect the cost of repairing a ceiling. For example, ceiling repairs for a commercial property like a high-rise building will be more expensive than for a single-family home due to the larger size and complexity of the repair work.


Process of Ceiling Replacement


1. Plasterboard Ceiling


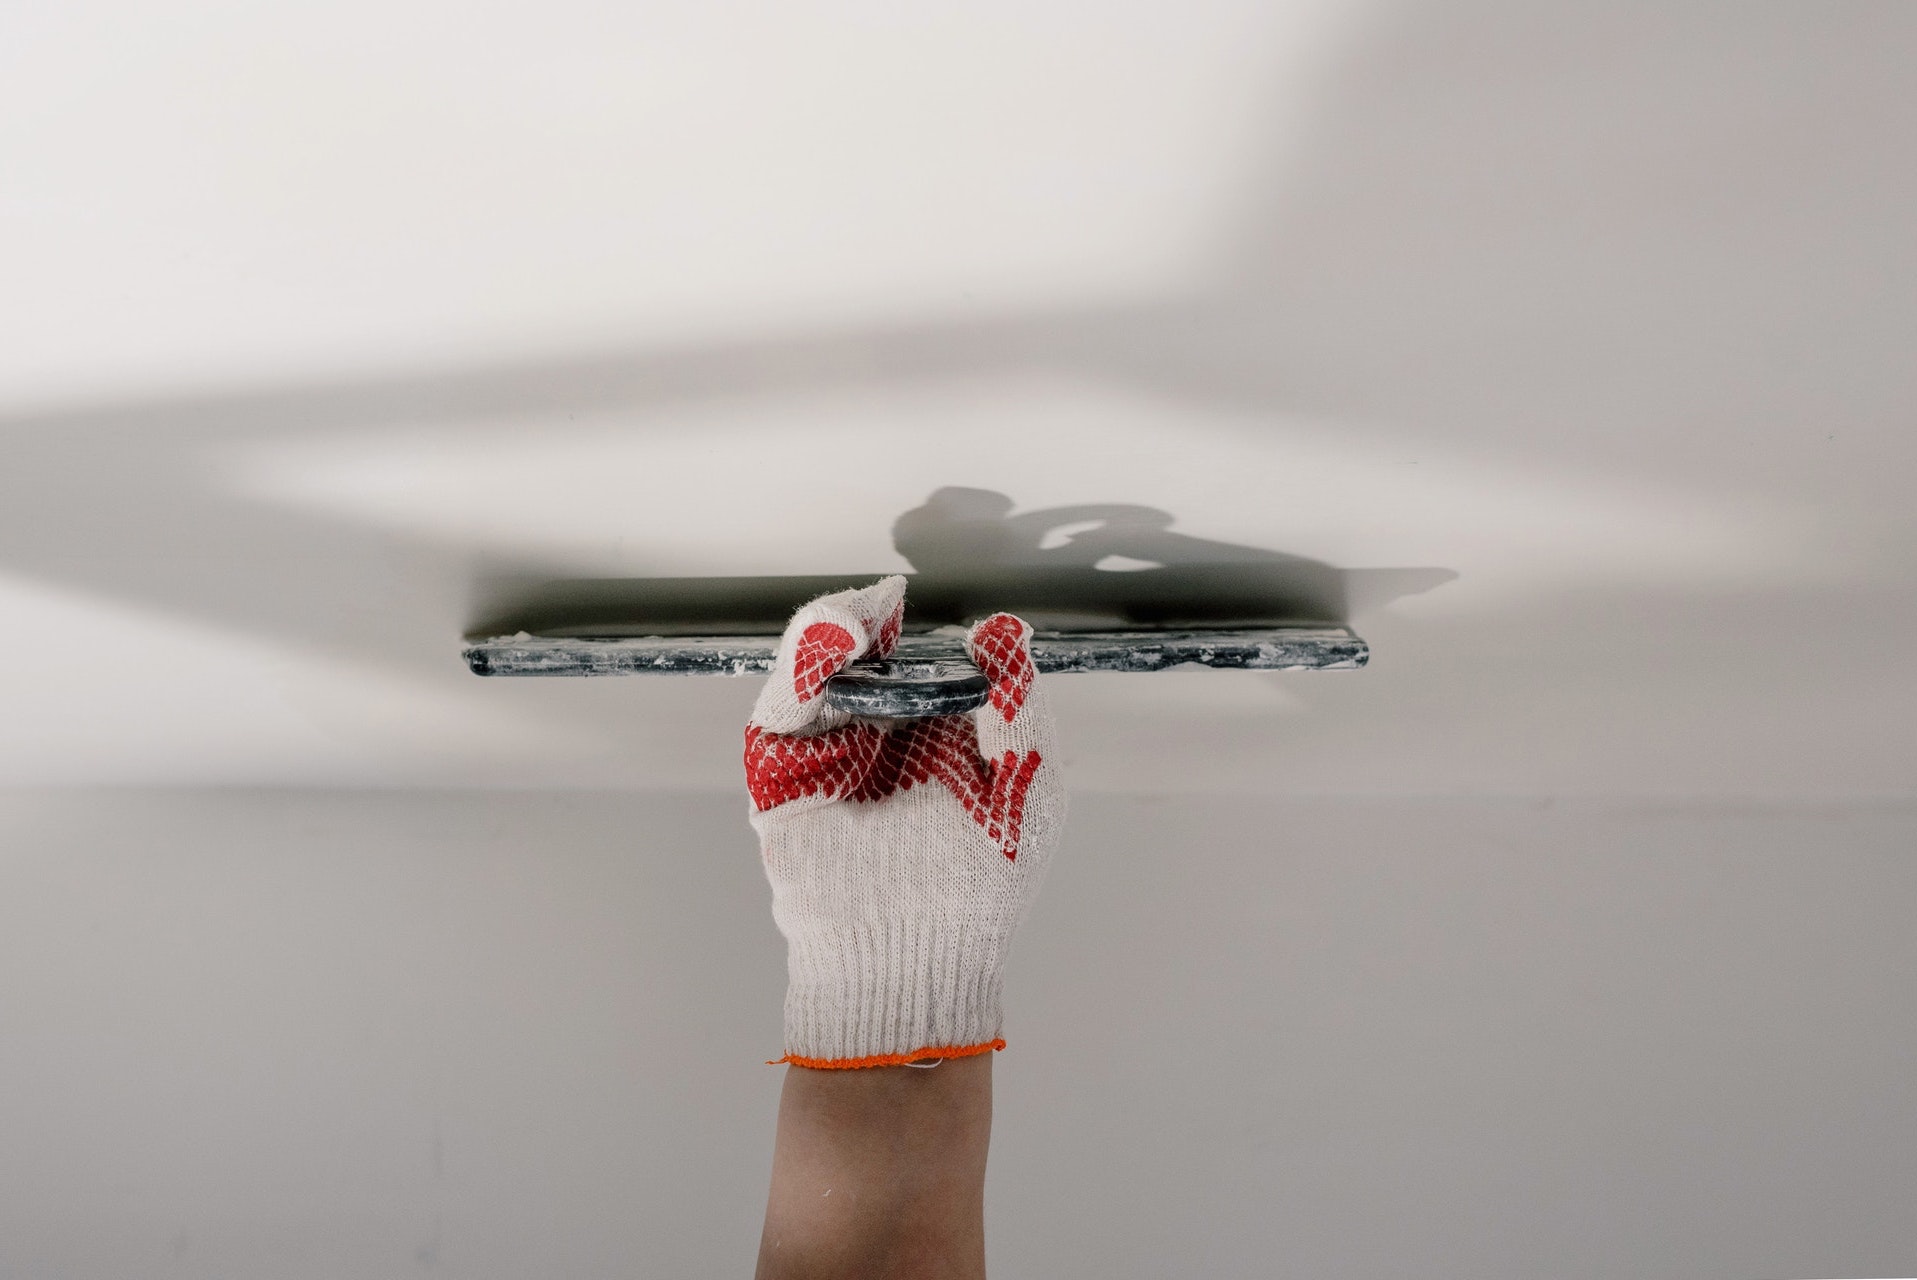
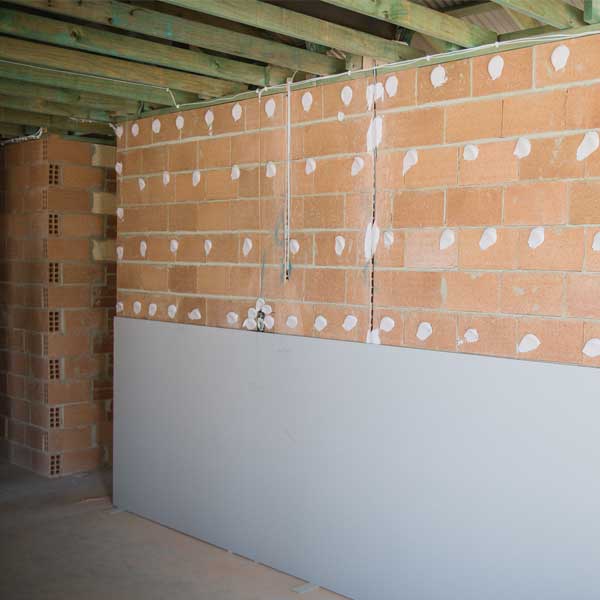
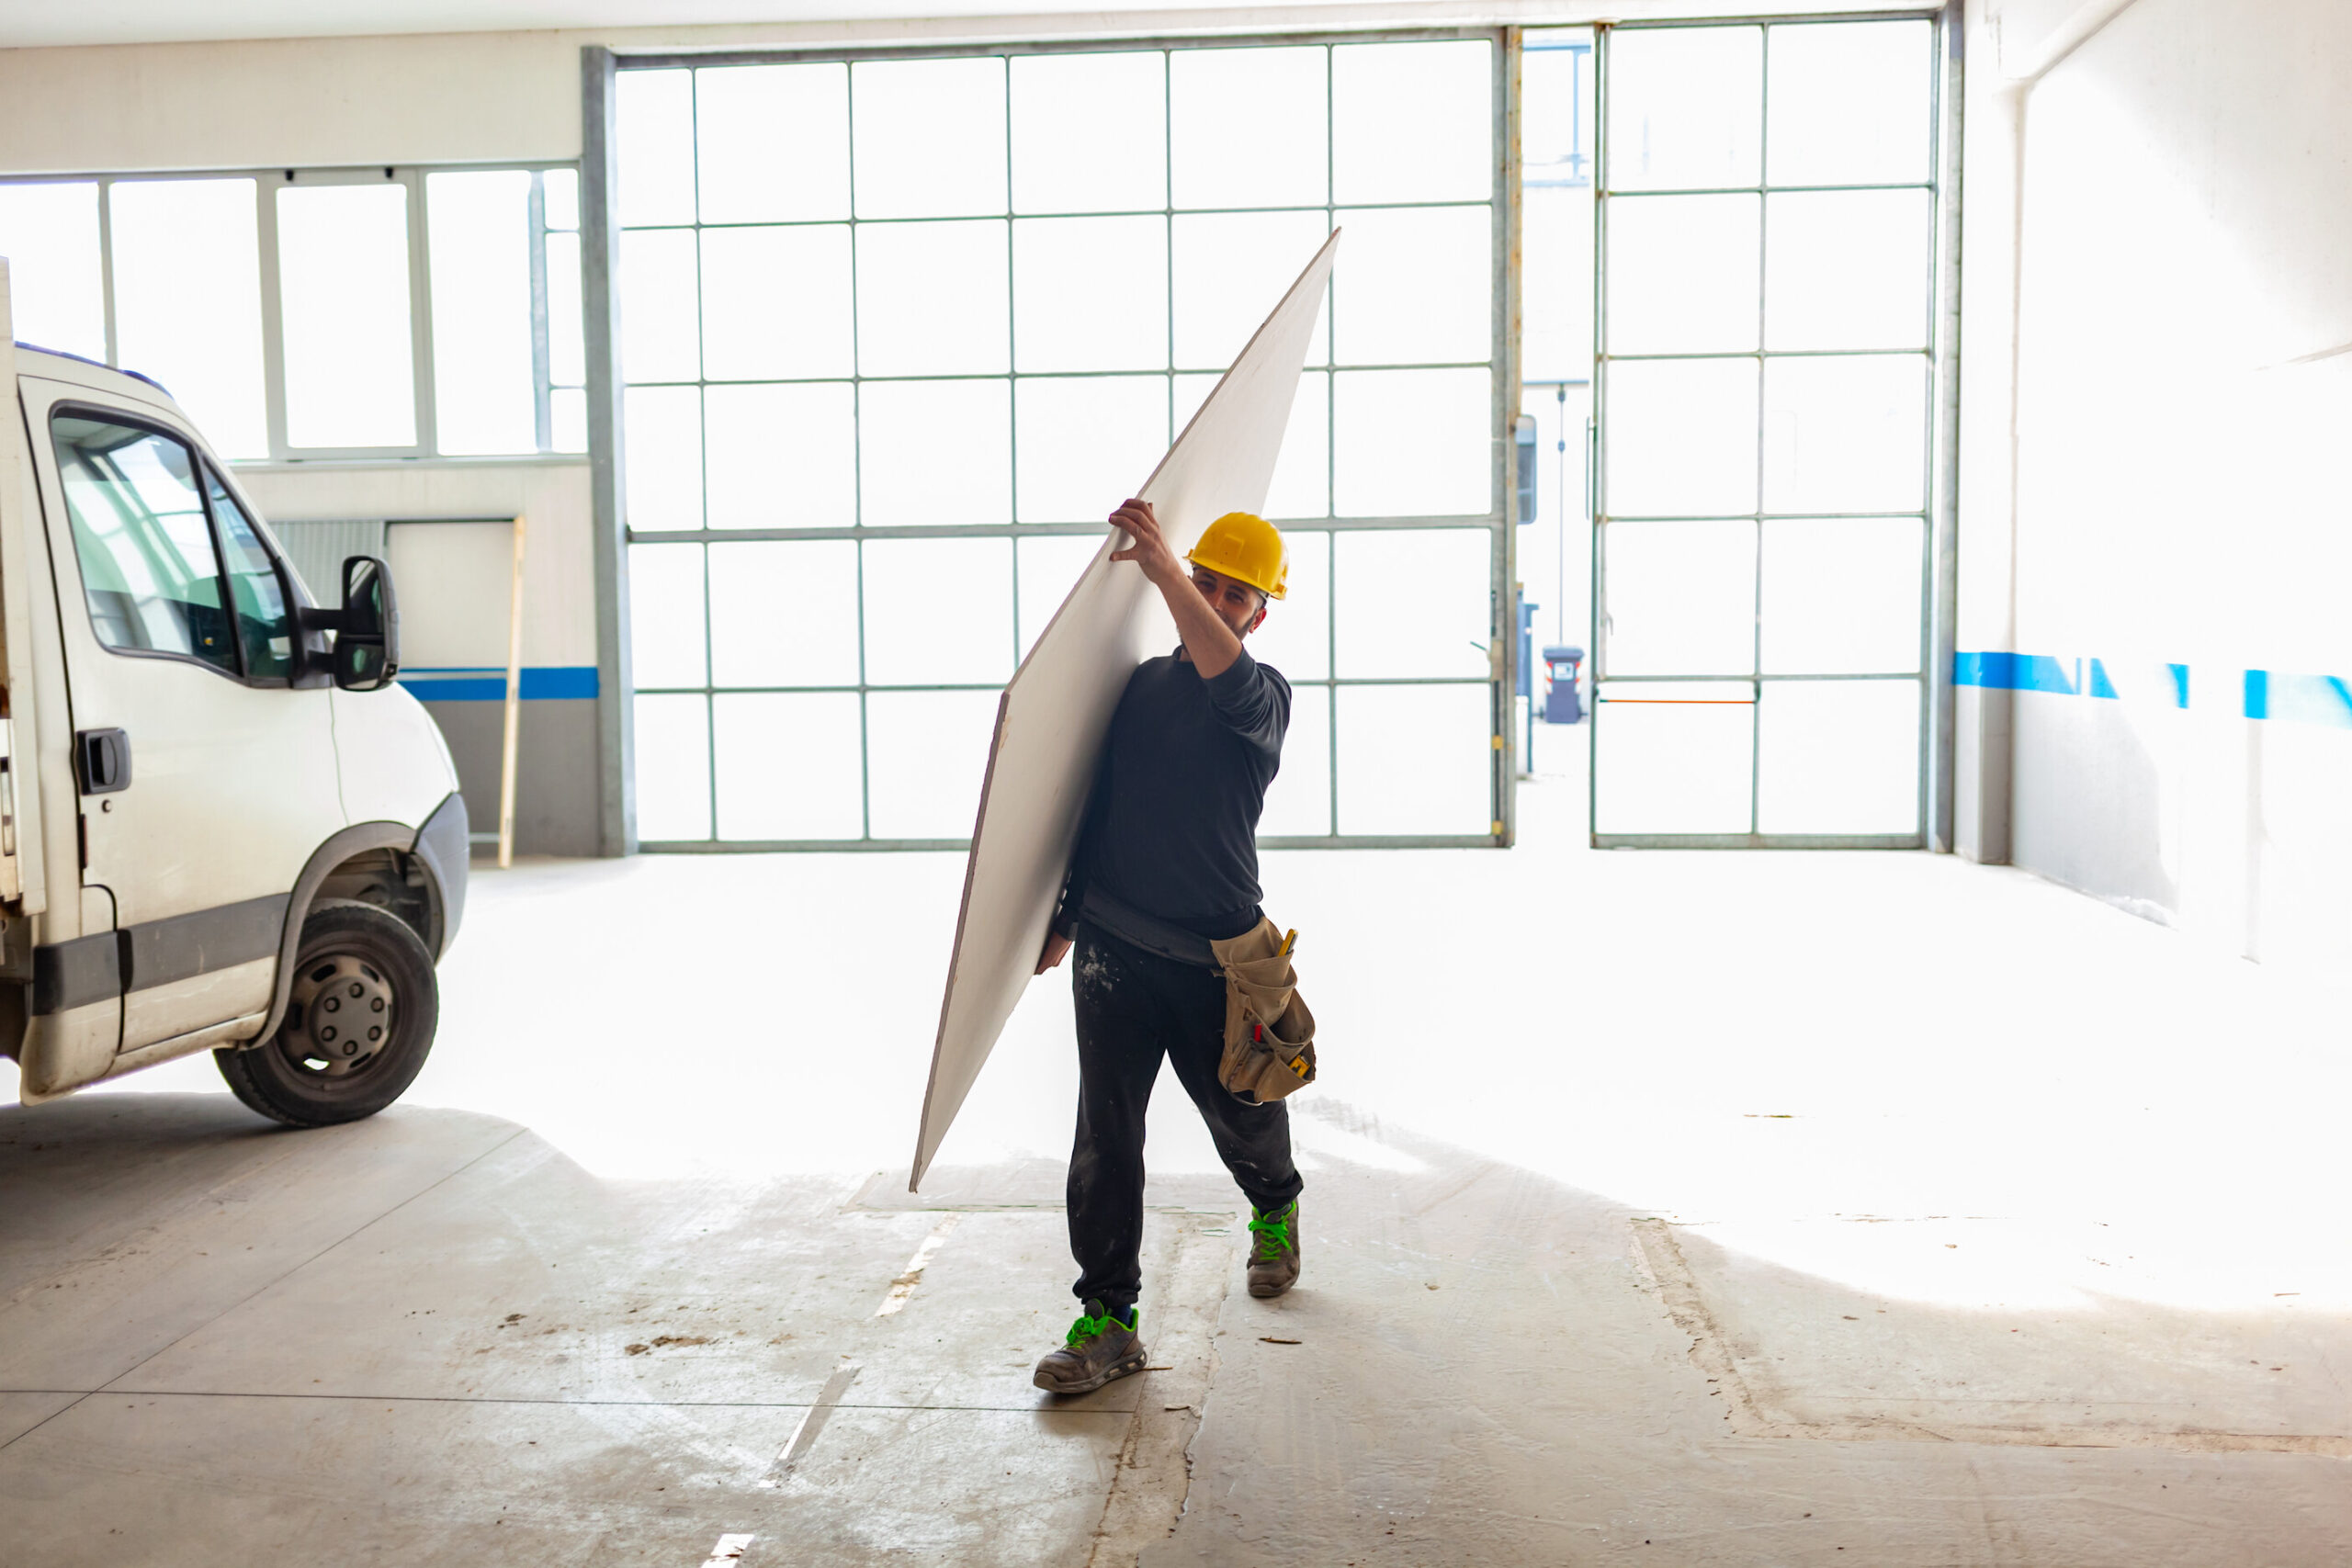
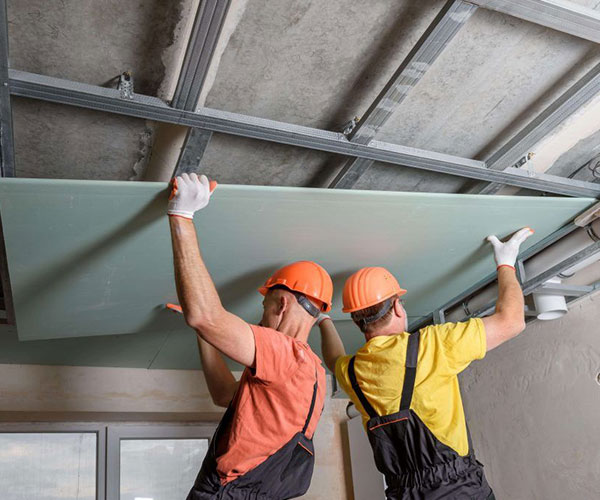
Replacing a plasterboard ceiling typically involves removing the existing ceiling and installing new plasterboard. They will cut the plasterboard to size and attach it to the ceiling joists. Once the plasterboard is in place, the service will apply a joint compound to the seams and sand them to create a smooth finish.


2. Lath and Plaster Ceiling


This process involves removing any loose or damaged plaster, repairing any cracks or holes in the lath, and applying an additional layer of plaster to the entire ceiling. However, this process requires a skilled plastering service with experience working with lath and plaster, as the technique differs from modern materials like plasterboard.


3. Dropped Ceiling


Replacing a dropped ceiling is less invasive than replacing a plasterboard or lath and plaster ceiling. The professionals will take down and dispose of the old ceiling tiles correctly. They’ll then install new tiles and a new grid system by attaching metal tracks to the ceiling and hanging the tiles from them. Additionally, they’ll place new lights if necessary.


Final Thoughts


Replacing a ceiling can be costly, but understanding the various cost factors can help you make informed decisions when planning your project. With careful planning and consideration of the cost factors explained in this article, you can successfully replace your ceiling and achieve your space’s desired aesthetic and functionality.


Transform your living space with quality plastering service in Gold Coast by We Plaster & Recruit. Get a free quote today and experience the difference with our expert team of skilled plasterers. Contact us now to elevate the look and feel of your home or office.
Ceiling Replacement: Cost Factors Explained – Part 1

Ceilings are vital in any building, serving both functional and aesthetic purposes. Not only do they provide a protective layer between the roof and the interior of the building, but they also add to the overall look and feel of a room.


However, like any other part of a building, they are subject to wear and tear over time and may eventually need to be replaced. So before contacting a plastering service, here’s a closer look at the cost factors associated with ceiling replacement to help you better understand the process and make informed decisions.


Importance of Ceiling and Its Purpose


The ceiling is an important part of any building, as it provides a barrier between the interior and the roof, helping to regulate temperature and reduce noise. It also plays a crucial role in a room’s overall look and feels, establishing a sense of space and providing a surface for lighting and other fixtures. In addition, it can enhance the value of a property, while a damaged or outdated one can detract from it.


Materials Used to Make a Ceiling


Modern homes in Australia mostly utilise drywall as the primary material for ceilings due to its versatility, affordability, and ease of installation. Other common materials include wood, metal, plaster, and acoustic tiles. Each material has advantages and disadvantages, so choosing the right one based on the room’s function, aesthetic preferences, and budget is critical.


Average Ceiling Replacement Cost


The average cost of ceiling replacement in Australia ranges from £400 to £1000, depending on the size of the room, the type of material used, and the complexity of the installation. Getting multiple quotes from different contractors is important to ensure you get a fair price for your ceiling replacement project.


How to Reduce Ceiling Replacement Cost


Homeowners can save money on ceiling replacement by choosing cheaper materials like drywall or metal instead of expensive options like plaster. They can also do some work, like removing the old ceiling or painting the new one, to reduce labour costs. Additionally, it’s important to gather quotes from multiple plastering services to ensure a fair price.


Factors That Can Increase Ceiling Replacement Cost


While there are ways to reduce the cost of ceiling replacement, there are also factors that can increase it. For example, if the existing ceiling is damaged or has mould, it may need to be removed entirely, which can add to the cost.


Moreover, suppose the ceiling, such as a high or vaulted ceiling, is difficult to access. In that case, it may cause specific tools or more work, resulting in higher expenses. The ceiling replacement cost can also be influenced by the size and intricacy of the space, the type of materials employed, and the labour costs in your region.


Final Thoughts


The ceiling replacement cost can vary widely depending on several factors, including the choice of materials, the size and complexity of the room, and the labour cost. However, by understanding these factors and taking steps to reduce costs where possible, homeowners can ensure they get the best value for their money. If you’re considering ceiling replacement, working with a reputable plastering service is important to ensure the job is done right and to your satisfaction.


Get a flawless finish with We Plaster & Recruit’s top-rated plastering service in Gold Coast. Our skilled team delivers quality workmanship that lasts. Contact us today for a free quote and experience the difference.

Drywall vs. Plaster: The Comprehensive Comparison You Need

When it comes to creating walls and ceilings in homes and buildings, there are two main options to choose from: drywall and plaster. Both materials have their own unique characteristics and benefits, but they also have some notable differences. 


Today, we will explore the differences between drywall and plaster through this comprehensive comparison guide.


Defining and Understanding Drywall


Drywall, also known as gypsum board or sheetrock, is a popular wall and ceiling material made of gypsum plaster sandwiched between two sheets of paper. It is commonly used in residential and commercial settings due to its affordability, ease of installation, and fire-resistant properties.


Drywall is manufactured in large sheets and can be easily cut to fit the dimensions of a room. It is available in various thicknesses, ranging from 1/4 inch to 5/8 inch. Thinner drywall is typically used for curved walls or as a backing for tiles, while thicker drywall is used for soundproofing or fire resistance.


One of the benefits of drywall is that it can be installed quickly and efficiently. The sheets are attached to wooden studs or metal frames using screws or nails, and the seams are covered with joint compound and tape. Once the compound dries, the surface can be sanded smooth and painted or wallpapered.


Defining and Understanding Plaster


Plaster is a traditional wall and ceiling material made of a mixture of gypsum, lime, sand, and water. It has been used for centuries in homes and buildings due to its durability and aesthetic appeal. Plaster is typically applied in several layers, starting with a base coat and finishing with a top coat.


One of the benefits of plaster is its ability to create a smooth, seamless surface. Unlike drywall, plaster can be moulded and shaped to fit unique architectural features, such as arches or curves. It can also be used to create decorative elements, such as cornices or ceiling medallions.


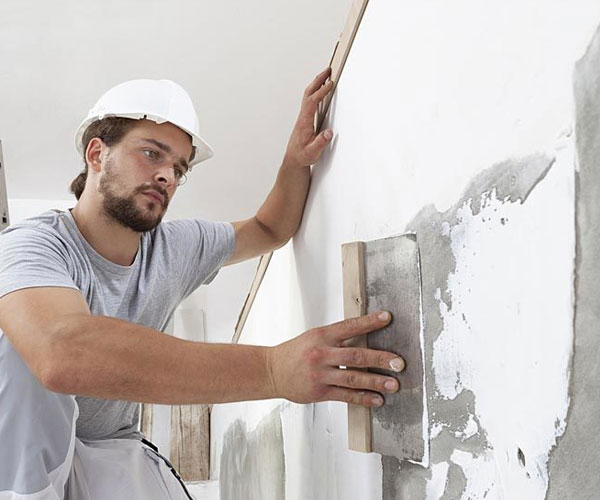
Plaster is typically applied by a skilled tradesperson using a trowel. The process involves mixing the plaster with water to create a workable consistency, applying it to the wall or ceiling in several thin layers, and smoothing it out with the trowel. Once the plaster has dried, it can be sanded and painted or wallpapered.


Drywall vs. Plaster: Comparing the Key Differences


While drywall and plaster share some similarities, they also have some notable differences. Here are some of the key differences between the two materials:


  • Cost: Drywall is generally less expensive than plaster. This is because drywall is mass-produced in large sheets, while plaster is typically applied by hand.

  • Installation: Drywall is easier and quicker to install than plaster. This is because drywall sheets can be cut to fit the dimensions of a room and attached to studs or frames using screws or nails. Plaster, on the other hand, requires a skilled tradesperson to apply it by hand in several layers.

  • Durability: Plaster is generally more durable than drywall. This is because plaster creates a harder, more solid surface that is less prone to dents and dings. Drywall, by contrast, is more susceptible to damage from impact.

  • Aesthetics: Plaster is often considered more aesthetically pleasing than drywall. This is because plaster can be moulded and shaped to fit unique architectural features, creating a seamless, custom look. Drywall, on the other hand, has a more uniform appearance.

  • Soundproofing: Drywall is better at soundproofing than plaster. This is because drywall is thicker and denser than plaster, which helps to absorb sound and reduce noise transmission.

Conclusion: The Verdict


The answer to this question depends on several factors, including your budget, the intended use of the room, and your aesthetic preferences. If you are looking for an affordable, easy-to-install material for a standard room, drywall is likely your best bet. However, if you are looking for a more durable, custom look, plaster may be the better choice.


Ultimately, the decision between drywall and plaster comes down to personal preference and the specific needs of your project. Both materials have their own unique benefits and drawbacks, so it’s important to weigh them carefully before making a decision.


We Plaster & Recruit is an esteemed company that offers professional plastering services. With us, you can address the problems of your home and get solutions for them. Contact us today!

The Ultimate Beginner’s Guide to Plastering Your Walls

If you’re planning to give your room a fresh makeover or want to fix a small patch on your wall, then learning how to plaster a wall is worth acquiring. 

Plastering is applying a wet mixture of gypsum, sand, and water to a wall surface, which eventually dries and hardens, providing a smooth and even surface for painting or wallpapering. 


This beginner’s guide will walk you through plastering a wall, so you can confidently tackle that home renovation project.


Materials and Tools


Before getting started, gather all the necessary materials and tools. You will need the following:


  1. Plastering trowel: A stainless steel trowel with a comfortable handle is essential for applying and smoothing the plaster.

  1. Mixing bucket: A large bucket or tub for mixing the plaster.

  1. Mixing paddle: A paddle that attaches to a drill will make mixing the plaster easier and more efficient.

  1. Plaster: Pre-mixed plaster or a combination of plaster powder and water.

  1. Sandpaper: A coarse sandpaper (around 120 grit) for sanding the wall before plastering.

  1. Dust mask and safety goggles: Protect your lungs and eyes from dust and plaster particles.

  1. Drop cloths and masking tape: To protect your floors and any areas you want to avoid getting plaster on.

Preparing the Wall


Before you start plastering, it’s crucial to prepare the wall. Follow these steps:


  1. Remove any loose plaster, paint, or wallpaper from the wall. You may need to use a scraper to help with this process.

  1. Sand the wall using coarse sandpaper to create a rough surface for the plaster to grip. Be sure to wear a dust mask and safety goggles for this step.

  1. Clean the wall with a damp cloth to remove dust or debris, then allow it to dry completely.

  1. Lay down drop cloths to protect your floors and use masking tape to cover any areas you don’t want to get plaster on, such as skirting boards and power outlets.

Mixing the Plaster


Mixing the plaster correctly is vital for achieving a smooth finish. Here’s how to do it:


  1. If you’re using pre-mixed plaster, give it a good stir to ensure it’s smooth and lump-free.

  1. If you’re using plaster powder, mix it with water according to the manufacturer’s instructions. The consistency should be similar to thick cream—not too watery but easily spreadable.

  1. A mixing paddle attached to a drill thoroughly combines the plaster and water, ensuring a smooth and lump-free mixture.

Applying the Plaster


Now that your wall is prepared, and your plaster is mixed, it’s time to start plastering!


  1. Start by applying a thin layer of plaster to the wall using your plastering trowel. Hold the trowel to the wall at a 20-30 degree angle and work from the bottom up, spreading the plaster in smooth, even strokes.

  1. As you apply the plaster, be sure to fill any holes or imperfections in the wall. You may need more plaster in these areas to ensure a smooth finish.

  1. Once you’ve covered the entire wall, use your trowel to smooth out any ridges or uneven areas in the plaster. This is known as “floating” the plaster, which is essential for achieving a professional-looking finish.

  1. Allow the plaster to dry for the recommended time specified on the packaging (usually around 24 hours).

Sanding and Finishing


The final step in plastering a wall is sanding and finishing:


  1. Once the plaster is completely dry, use fine sandpaper (around 240 grit) to sand the entire wall lightly. This will remove any small imperfections and ensure a smooth finish.

  1. Wipe the wall with a damp cloth to remove dust, then allow it to dry completely.

  1. Your wall is now ready for painting or wallpapering! Be sure to use a high-quality primer before applying your chosen finish, which will help achieve a professional and long-lasting result.

Conclusion


Learning how to plaster a wall is valuable for any DIY enthusiast. With the right tools, materials, and techniques, you can transform any room in your home by creating smooth, even surfaces ready for painting or wallpapering. 


Just remember to follow the directions we discussed here. You can plaster walls and confidently tackle more ambitious home improvement projects with patience. 


We Plaster & Recruit provide the best plastering services with operations throughout Brisbane, Gold Coast and Queensland areas. We are fully licensed and insured. If you’re looking for plastering services, we can help you. Contact us today to learn more and get started!

Plastering 101: All Your Questions Answered by a Pro

Plastering is an essential part of any building or renovation project. It is the process of applying a smooth and even layer of plaster to walls, ceilings or any other surface. 

Plastering not only improves your home’s appearance but also helps protect your walls and ceilings from damage. However, you may have many questions if you are unfamiliar with plastering. In this article, we will answer all your plastering questions with the help of a pro.

What is Plastering?

Plastering applies a smooth and even layer of plaster to a wall, ceiling, or any other surface. The plaster is usually made of a mixture of sand, lime, and cement, and it can be applied in different ways, including using a trowel, a hawk, or a plasterboard.

What are the Benefits of Plastering?

Plastering has many benefits, including improving the appearance of your home, providing a smooth and even surface, and protecting your walls and ceilings from damage. Plastering can also help to insulate your house, keeping it warmer in the winter and cooler in the summer.

Do I Need to Hire a Plastering Service?

While some people may attempt to plaster their walls themselves, hiring a professional plastering service is often best. Professional plasterers have the experience and skills to ensure that your walls and ceilings are properly plastered. They also have the right tools and equipment to do the job quickly and efficiently.

How Do I Choose a Plastering Service?

When choosing a plastering service, it is important to do your research. Look for a company with an excellent reputation and numerous positive reviews from recurring customers. You should also check that they are licensed and insured. Finally, get a quote from a few companies to ensure a fair price.

What is the Plastering Process?

The plastering process involves several steps, including preparing the surface, mixing the plaster, and applying the plaster:

  1. The surface must be cleaned, and any loose or damaged plaster must be removed.
  2. The plaster is mixed with water to create a smooth consistency.
  3. The plaster is applied to the surface using a trowel or plasterboard.

How Long Does Plastering Take?

The time it takes to plaster a wall or ceiling depends on the size of the area and the job’s complexity. A small room may only take a few hours to plaster, while a larger area may take several days. Discussing the timeline with your plastering service before they begin work is important.

Can I Paint Over the Plaster?

Yes, you can paint over plaster. However, it is important to wait until the plaster is completely dry before painting. This can take several days, depending on the plaster’s thickness and the room’s humidity.

How Do I Maintain Plaster?

Plaster is a durable material that requires little maintenance. However, avoid hitting or scratching the surface, as this can cause damage. If you observe any cracks or chips in the plaster, it is critical to have them repaired immediately to prevent further damage.

Conclusion

Plastering is an essential part of any building or renovation project. It is important to hire a professional plastering service to ensure that your walls and ceilings are plastered properly. 

Plastering has many benefits, including improving the appearance of your home, providing a smooth and even surface, and protecting your walls and ceilings from damage. If you have any further questions about plastering, speak with a pro.

Don’t settle for anything less than perfect walls and ceilings! Contact our professional plastering service in Brisbane today and experience the best results for your home or business. Get in touch with us now to schedule a consultation and get a free quote. 

Gyprock vs Plasterglass Ceilings: Which One is For You?

When it comes to choosing a suitable material for your ceiling, there are a lot of options available in the Australian market. Two of the most popular materials are Gyprock and Plasterglass. 

Both materials have their own unique characteristics, advantages, and disadvantages. In this article, we will compare the two materials to help you decide which one is right for you.

Gyprock Ceilings

Gyprock is a brand name for plasterboard, which is a type of plaster made from gypsum. It is a popular material for ceilings and walls due to its versatility and ease of installation. It is also a cost-effective option compared to other ceiling materials like timber or metal.

One of the biggest advantages of Gyprock ceilings is that they are easy to install. They are lightweight and can be easily cut to fit any size or shape of the ceiling. They are also easy to paint, which means you can change the color of your ceiling anytime you want.

Gyprock ceilings are also known for their fire-resistant properties. The gypsum core of the Gyprock board is non-combustible, which means it will not burn or contribute to the spread of flames in case of a fire. This makes it a popular choice for commercial buildings like schools and hospitals.

Plasterglass Ceilings

Plasterglass is a type of plasterboard that is reinforced with glass fibers. This makes it a more durable and stronger material compared to Gyprock. It is also more resistant to moisture and humidity, making it a suitable material for areas like bathrooms and kitchens.

One of the biggest advantages of Plasterglass ceilings is their durability. They are less prone to cracking and damage compared to Gyprock, which means they can last longer without needing repairs or replacements. They are also more resistant to water damage, which makes them a popular choice for areas with high humidity or moisture.

Plasterglass ceilings also have better acoustic properties compared to Gyprock. They can absorb sound and reduce noise levels in a room, which makes them a popular choice for music rooms or home theaters.

Which One is Right for You?

When it comes to choosing the right material for your ceiling, it all depends on your specific needs and preferences.  if you are looking for a more durable and moisture-resistant material, then Plasterglass may be the better choice. It is also a good option if you are looking for better acoustic properties for your room.

On the other hand, if you are looking for a cost-effective and easy-to-install material, then Gyprock may be the right choice for you. It is also a good option if you are looking for a fire-resistant material for commercial buildings.

Ultimately, the decision comes down to your budget, the specific requirements of your project, and your personal preferences. It is important to do your research and consult with a professional before making a final decision.

Conclusion

Both Gyprock and Plasterglass have their own unique features and benefits. When choosing between the two, consider your budget, the location of your ceiling, and the overall aesthetic of your home. By taking these factors into account, you can make an informed decision that will help you create the perfect ceiling for your home.

Are you in need of professional plastering services? We Plaster & Recruit has dedicated plasterers in Brisbane that provide high-quality workmanship and exceptional customer service. Get in touch with us today to learn how.

6 Costly Drywall DIY Mistakes You Should Avoid

Drywall installation is a popular DIY project for many homeowners, and it can save you a significant amount of money if done correctly. However, if you’re not careful, you could make costly mistakes that will not only waste your time and money but also affect the overall quality and appearance of your finished walls.

In this article, we will discuss six common drywall installation mistakes that you should avoid to ensure a successful DIY project.

1. Cutting Too Small

One of the most common mistakes during drywall installation is cutting the panels too small. This can lead to gaps between the panels, requiring more joint compound and tape to fill, resulting in an uneven surface and a less-than-professional appearance.

To avoid this problem, always measure twice before cutting and err on the side of cutting slightly larger than necessary. You can always trim the panel down to size later if needed. Additionally, use a straightedge and a sharp utility knife to ensure clean, straight cuts.

2. Skipping Primer Cost

Many DIYers believe they can save time and money by skipping the primer step when painting new drywall. However, this can result in a poor paint job that requires more coats of paint to achieve an even finish.

Primer is essential for sealing the porous drywall surface and allowing the paint to adhere properly. Skipping primer can lead to an uneven paint job with visible seams and joints. Always apply a high-quality primer to new drywall before painting to ensure a smooth, even finish.

3. Spreading Too Much Joint Compound

Applying too much joint compound during the taping and mudding process is another common mistake. This can result in thick, uneven seams that are difficult to sand smooth and may be visible through the paint.

To avoid this issue, apply thin, even layers of joint compound, allowing each layer to dry completely before applying the next. Use a wide drywall knife to help spread the compound evenly and feather the edges for a seamless appearance. Remember that it’s always easier to add another thin layer of compound than to try and fix a thick, uneven seam.

4. Hanging Drywall Upside Down

When hanging drywall, it’s essential to ensure that the tapered edges of the panels face the floor. This creates a shallow recess along the seams, making it easier to tape and mud for a smooth, seamless finish. Hanging the panels upside down can result in a bulge along the seams, which is difficult to hide and may require additional sanding and mudding.

5. Not Measuring The Wall

Before hanging drywall, it’s crucial to measure the walls accurately to determine the correct size and placement of the panels

Incorrect measurements can lead to poorly fitting panels, gaps, and wasted materials. Take the time to measure each wall carefully and create a layout plan to ensure you’re using the most efficient arrangement of panels. This will help minimise waste and provide a professional-looking finished product.

6. Failing to Use a Level

Even if your walls appear straight and level, it’s essential to use a level during drywall installation to ensure that your panels are hung correctly. Uneven or crooked panels can create visible seams, gaps, and an unprofessional appearance. Use a level to check each panel as you hang it, and make any necessary adjustments before securing it in place.

Final Thoughts

Drywall installation can be a rewarding DIY project if done correctly. By avoiding these six costly mistakes, you can ensure a smooth, professional finish that will improve the appearance and value of your home. Take the time to learn the proper techniques and invest in the necessary tools and materials, and you’ll be well on your way to a successful drywall installation.

For better results, work with the best professional plasterer in Gold Coast, We Plaster & Recruit. We are fully licensed and insured, offering quality work while ensuring great value for money. Request a quote to get started!

Why Drywall Is a Must-Have for Any Home Renovation Project

If you’re considering renovating your home, it’s worth using drywall. This material is known for its versatility and durability and has become a common choice in modern construction for a good reason. So before booking plastering services, here’s why drywall is a must-have for any home renovation project:

What is Drywall?

A drywall is a panel of gypsum plaster and two layers of thick paper. It comes in different sizes and thicknesses, which makes it adaptable for various projects. Installing drywall involves attaching screws, nails, or adhesive to the ceiling or wall.

Why is Drywall Essential for Home Renovation?

Strength and Durability

Drywall is a sturdy, long-lasting material perfect for home improvement projects. It can withstand constant use and abuse in hallways, kitchens, and living rooms. When installed by a skilled plastering service, drywall can remain in excellent condition for many years showing no signs of wear and tear.

Fire Resistance

Drywall is a popular building material widely used in construction due to its various benefits, including its fire-resistant properties. When exposed to high temperatures, drywall can effectively slow the spread of fire, providing valuable time for evacuation and minimising property damage.

This is because of the gypsum core in drywall, which contains water molecules released when exposed to heat, acting as a natural fire retardant. Aside from that, drywall can be treated with special coatings or additives to enhance its fire-resistant properties further.

Soundproofing

If you value peace and quiet, you’ll be pleased to know that drywall is an excellent soundproofing material. Due to its dense and thick composition, drywall can effectively block unwanted noise outside or within a building.

Furthermore, multiple layers of drywall can be combined with insulation materials to improve soundproofing further. This is particularly useful in buildings such as apartments, offices, and music studios, where noise control is important.

Fast Installation

Unlike other building materials, drywall is easy and fast to install. It can be hung quickly using screws or nails, and joints can be easily covered with tape and joint compound. This makes it a popular choice for construction projects with tight timelines.

Easy Maintenance

Maintenance is not an issue with drywall. After all, it is a durable and sturdy material that can withstand normal wear and tear. In case of minor damages, such as small holes or dents, they can easily be repaired using a spackle or joint compound. Moreover, drywall can be painted or wallpapered to match any interior design, giving homeowners a wide range of options to decorate their walls.

Interior Ideas

Numerous interior designs incorporate drywall, so you won’t have any problem finding inspiration for your home. For example, you can create accent walls using textured drywall panels or a sleek and modern look using smooth, seamless drywall surfaces.

Final Thoughts

Installing drywall is ideal for any interior space as it is easy to install, cost-effective, and provides a smooth and clean finish. Whether you want a modern, minimalist look or a more traditional and ornate aesthetic, drywall can achieve your desired look. With its numerous benefits, it’s no wonder why drywall remains a popular choice among homeowners and contractors alike.

If you want top-quality plastering services, look no further than We Plaster & Recruit. Our experienced team of professionals will make your walls look flawless in no time. Contact us today to schedule a consultation and get started on your project.

5 Common Types of Plasterboard for You and Its Uses

Plasterboard, also known as drywall, wallboard, or gypsum board, is a construction material made of gypsum, a soft mineral sandwiched between two paper layers. It is widely used in the construction industry for interior walls, ceilings, and partitioning systems due to its adaptability, ease of installation, and affordability. 


With the increasing demand for plasterboard in modern construction projects, it is essential to understand the different types available and their specific uses.


In this blog, we will examine the common types of plasterboard and their respective uses in the construction industry, helping you make an informed decision regarding your next plastering service project.


1. Standard Plasterboard


The most commonly used type of plasterboard, standard plasterboard, is suitable for most general construction applications. It is an excellent choice for creating internal walls, ceilings, and barriers in residential and commercial buildings. Standard plasterboard is available in various thicknesses, ranging from 9.5mm to 15mm, and can be easily cut to size and fixed with screws or nails.


Uses: Standard plasterboard is ideal for internal walls and ceilings in residential and commercial buildings because of its ease of installation and cost-effectiveness. It is also suitable for dry lining and as a base for applying plaster or paint finishes.


2. Moisture-Resistant Plasterboard


As the name suggests, moisture-resistant plasterboard resists moisture ingress in damp or humid environments. This type of plasterboard contains additives that make it more resistant to moisture absorption than standard plasterboard. It is typically identifiable by its green-coloured paper facing.


Uses: Moisture-resistant plasterboard is best suited for high-moisture areas such as bathrooms, kitchens, and utility rooms. It can also be used in external soffits and sheltered areas where exposure to moisture is unavoidable. However, it is essential to note that this type of plasterboard is not entirely waterproof and must not be utilised as a substitute for proper waterproofing measures.


3. Fire-Resistant Plasterboard


Fire-resistant plasterboard, or Type X or Fireboard, provides enhanced fire protection compared to standard plasterboard. It contains glass fibres and other additives that allow the board to maintain its structural integrity for longer when exposed to high temperatures. 


Uses: Fire-resistant plasterboard is ideal for areas where increased fire protection is required, such as fire-rated walls, ceilings, and separations in residential and commercial buildings. It is also suitable for garages, boiler rooms, and kitchens where fire hazards may be present.


4. Sound-Resistant Plasterboard


Sound-resistant plasterboard, also known as acoustic plasterboard or soundproof plasterboard, is specifically designed to provide improved sound insulation. This type of plasterboard is denser than standard plasterboard, often featuring additional layers of gypsum or other insulating materials, making it more effective at reducing sound transmission between rooms.


Uses: Sound-resistant plasterboard is an excellent choice in rooms where sound insulation is essential, such as home theatres, music studios, bedrooms, and conference rooms. It can also create partitions in open-plan offices or living spaces to reduce noise pollution and improve privacy.


5. Impact-Resistant Plasterboard


Impact-resistant, high-impact, or abuse-resistant plasterboard withstands more significant wear and tear than standard plasterboard. It features a denser core and reinforced paper facing, making it more resistant to damage from impacts, scratches, and punctures.


Uses: Impact-resistant plasterboard suits high-traffic areas and environments prone to wear and tears, such as schools, hospitals, sports facilities, and commercial buildings. It can also be used in residential properties where durability and resistance to damage are essential, such as children’s playrooms, garages, and hallways.


Conclusion


Understanding the different plasterboards available and their specific uses is crucial for a construction project. By selecting the plasterboard for your project, you can ensure that your walls, ceilings, and partitions meet the performance requirements for fire resistance, moisture resistance, sound insulation, or impact resistance.


We Plaster & Recruit has established itself as a reliable and reputable company committed to delivering the highest quality plastering services across Gold Coast, Brisbane, and Queensland. With a team of skilled and dedicated professionals, our company ensures that each project is executed precisely and excellently, resulting in a superior finish and customer satisfaction. Do not hesitate to contact us for all your plastering requirements, as we are dedicated to providing exceptional service and exceeding your expectations.

A Complete Guide to Painting Plaster Walls: What to Know

Painting plaster walls can be a daunting task, especially if you are new to it. However, with the right tools, preparation, and technique, it can be a rewarding and satisfying experience. Plaster walls are a popular choice for homes and buildings, but they require a bit of extra care when it comes to painting. 


This complete guide will walk you through everything you need to know to paint your plaster walls like a pro. From selecting the right paint and tools to preparing the surface and applying the paint, we’ve got you covered. So, let’s get started and transform your plaster walls into a beautiful and vibrant space.

Can you paint plaster walls?


Yes, plaster walls can be painted. However, it is important to properly prepare the surface before painting to ensure the paint adheres well and lasts for a long time.


Preparing Plastered Walls for Painting


Before painting your plaster walls, there are a few key steps you need to take to prepare the surface properly.


1. Clean the Walls


Use a damp cloth or sponge to wipe down the walls and remove any dirt, dust, or debris. Let the walls dry completely before moving on to the next step.


2. Repair Any Damage


If there are any cracks or holes in the plaster, use a patching compound to fill them in and smooth them out. Sand the area lightly once the compound has dried to create a smooth surface.


3. Prime the Surface


Apply a coat of primer to the walls to help the paint adhere better and to ensure that the final paint colour looks even. Allow the primer to dry completely before painting.


Choosing the Right Paint for Plaster Walls


When it comes to painting plaster walls, it is important to choose the right type of paint. Here are some tips to help you make the right choice:


1. Look for paint specifically formulated for plaster walls: This type of paint will provide the best coverage and adhesion.

2. Choose a paint with a satin or eggshell finish: These finishes are ideal for plaster walls because they provide a smooth, even finish that is easy to clean.

3. Avoid using high-gloss paint: High-gloss paint can highlight any imperfections in the plaster, so it is best to stick to a lower gloss level.


Tools Needed for Painting Plaster Walls


To paint your plaster walls, you will need the following tools:


1. Paintbrushes


Use a high-quality paintbrush to cut in around the edges of the walls and to paint any areas that can’t be reached with a roller.


2. Rollers


Use a paint roller to apply paint to the larger areas of the walls. Choose a roller with a thick nap to ensure even coverage.


3. Paint Tray


A paint tray is necessary for dipping your roller into the paint and distributing it evenly.


4. Painter’s Tape


Use painter’s tape to mask off any areas you don’t want to paint, such as trim or window frames.


Tips for Painting Plaster Walls


Now that you have everything you need to paint your plaster walls, here are some tips to help you get the best results:


1. Work in small sections: Paint one small section at a time, starting at the top of the wall and working your way down. This will help prevent drips and ensure even coverage.

2. Use a technique called “feathering”: When using a roller, use a technique called “feathering” to create a smooth, even finish. Start at the top of the wall and roll the paint down in a “W” shape. Then, use light strokes to blend the paint together, creating a seamless finish.

3. Don’t overload your brush or roller: Too much paint on your brush or roller can lead to drips and an uneven finish. Make sure to remove any excess paint before applying it to the wall.

4. Use a second coat: Plaster walls may require a second coat of paint to ensure even coverage and a vibrant finish. Allow the first coat to dry completely before applying the second coat.


By following these steps, tips, and techniques, you can paint your plaster walls like a pro and create a beautiful, vibrant space in your home or building.


Conclusion


Painting plaster walls is a task that can be accomplished with ease by following the steps outlined in this comprehensive guide. From preparing the surface to selecting the right paint and tools, the key to achieving a flawless finish lies in attention to detail and patience. By taking the time to properly prep the walls, choosing high-quality materials, and using the right techniques, you can transform any room in your home with a fresh coat of paint. 


Whether you’re a seasoned DIYer or a novice painter, this guide has provided you with the knowledge and skills necessary to tackle your plaster wall painting project with confidence. So, roll up your sleeves, grab your paint brushes, and get ready to give your walls a much-needed makeover!


If you’re looking for skilled plasterers in Brisbane, come to We Plaster & Recruit. We provide high-quality plastering services throughout Brisbane, Gold Coast and Queensland areas.