ABN: 11 641 139 568

Blog

Understanding Thermal Ghosting and How to Combat It

Thermal ghosting is a phenomenon that occurs in homes or buildings where thermal bridging has taken place. Thermal bridging is a condition where heat is transferred through a wall or ceiling, creating cold spots that can lead to harmful consequences. 

These cold spots are often visible as dark, ghost-like patterns on walls or ceilings, giving rise to the term “thermal ghosting.” 

This article explores thermal ghosting in depth and provides some tips on how to combat it.

What Causes Thermal Ghosting?

Thermal ghosting occurs when heat is transferred through a building envelope, which is the interface between the interior and exterior of a building. This can happen in several ways, but the most common cause is thermal bridging. 

When the inside and exterior of a building are connected by a material with high thermal conductivity, such as metal or concrete, thermal bridging takes place. This allows heat to flow through the material, creating cold spots on the surface of the wall or ceiling. 

These cold spots can then attract moisture, which can cause mould growth and other problems.

When a building’s inside and exterior are at different temperatures, thermal ghosting can also happen. This can occur when a room is heated and the walls or ceiling are not properly insulated. 

The heat will escape through the walls or ceiling, creating cold spots where moisture can accumulate.

How to Combat Thermal Ghosting

There are several ways to combat thermal ghosting, depending on the cause. The first step is to identify the cause of the problem. 

This can be done by inspecting the walls or ceiling for signs of condensation or mould growth. If there is condensation or mould growth, it is likely that thermal bridging is the cause.

Insulating the Walls and Ceiling

An effective way to combat thermal bridging is to insulate the walls and ceiling. This involves adding insulation to the walls and ceiling to prevent heat from escaping. 

Insulation comes in various forms, including fibreglass, cellulose, and spray foam. 

  • Fibreglass insulation is the most commonly used type of insulation, but it can be difficult to install in walls and ceilings. 
  • Cellulose insulation is easier to install and provides better insulation, but it can be more expensive. 
  • Although spray foam insulation is the most efficient, it is also the most expensive.

Using a Vapor Barrier

A layer of material known as a vapour barrier keeps moisture from penetrating the ceiling or walls. This can be particularly effective in preventing mould growth and other problems associated with moisture. 

The vapour barrier should be installed on the warm side of the wall or ceiling to prevent moisture from entering.

Installing a Thermal Break

A thermal break is a layer of material that is inserted between the interior and exterior of a building to prevent heat from flowing through. This can be particularly effective in preventing thermal bridging. 

Foam, rubber, and fibreglass are just a few of the materials that can be used to create a thermal break.

Using an Air Barrier

An air barrier is a layer of material that prevents air from flowing through the walls or ceiling. This can be particularly effective in preventing thermal bridging, as air can carry heat and moisture through the walls or ceiling. 

Plastic, foam, and rubber are a few of the materials that can be used to create an air barrier.

Conclusion

Being aware of thermal ghosting and taking measures to combat it is crucial for maintaining a healthy and sustainable living space. By addressing the underlying causes of thermal bridging, you can prevent thermal ghosting and other problems, such as mould growth and energy inefficiency.

Work with the best plasterers near you with We Plaster & Recruit! We’re a registered plastering company providing top-quality plastering services across Brisbane, Gold Coast, and Queensland areas. Book an appointment today!
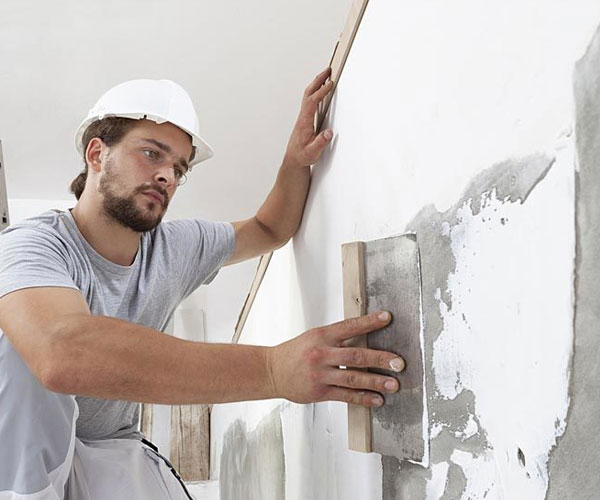
Top Plastering Mistakes to Avoid for a Smooth Finish

As a homeowner, knowing how to plaster your walls to achieve a smooth finish properly is important. However, many people make common mistakes that can result in a less-than-perfect outcome. 

This article discusses the plastering mistakes to avoid to get a smooth finish.

Not Preparing the Surface Properly

One of the most common mistakes people make when plastering their walls is not preparing the surface properly. Make sure the wall is clean, dry, and clear of any dirt before beginning the plastering process. 

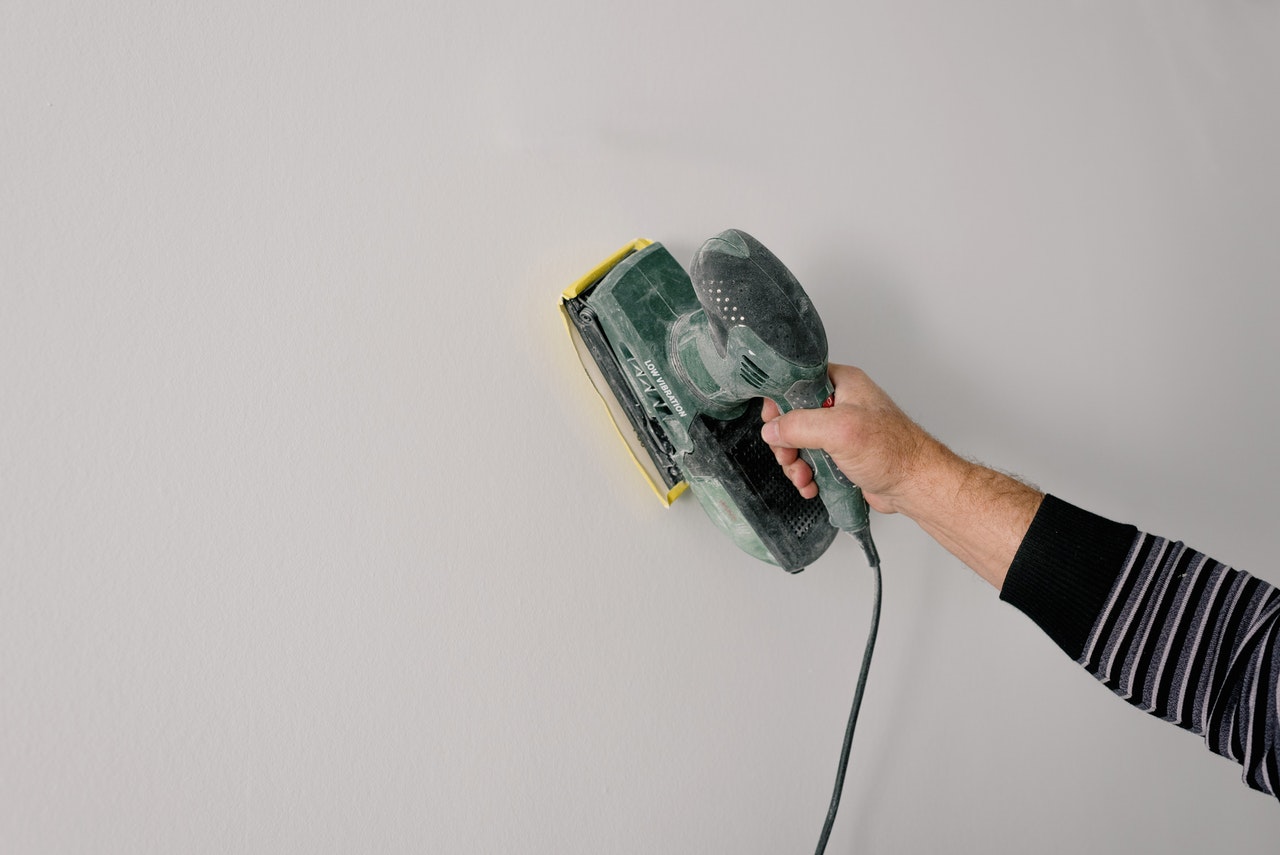
Any bumps or uneven surfaces should be sanded down, and any holes or cracks should be filled with a suitable filler.

Skipping the Sealant

Another critical step often overlooked by many is applying a sealant to the wall before plastering. Sealants are necessary to provide a good bond between the plaster and the wall surface. 

The plaster may not adhere correctly without a sealant, leading to an uneven finish. A sealant also helps to prevent moisture from penetrating the wall, which can cause the plaster to crack or peel over time.

Mixing the Plaster Incorrectly

Mixing plaster is an art that requires precision. One of the most common mistakes people make is not mixing the plaster correctly. 

If the plaster is not mixed to the right consistency, it can lead to a lumpy or uneven finish. The plaster should be mixed in small batches, precisely following the manufacturer’s instructions. 

This will ensure that the plaster is mixed to the correct consistency and there are no lumps or air pockets.

Using the Wrong Tools

Using the right tools is crucial when plastering. Many people make the mistake of using the wrong tools, resulting in a less-than-perfect finish. 

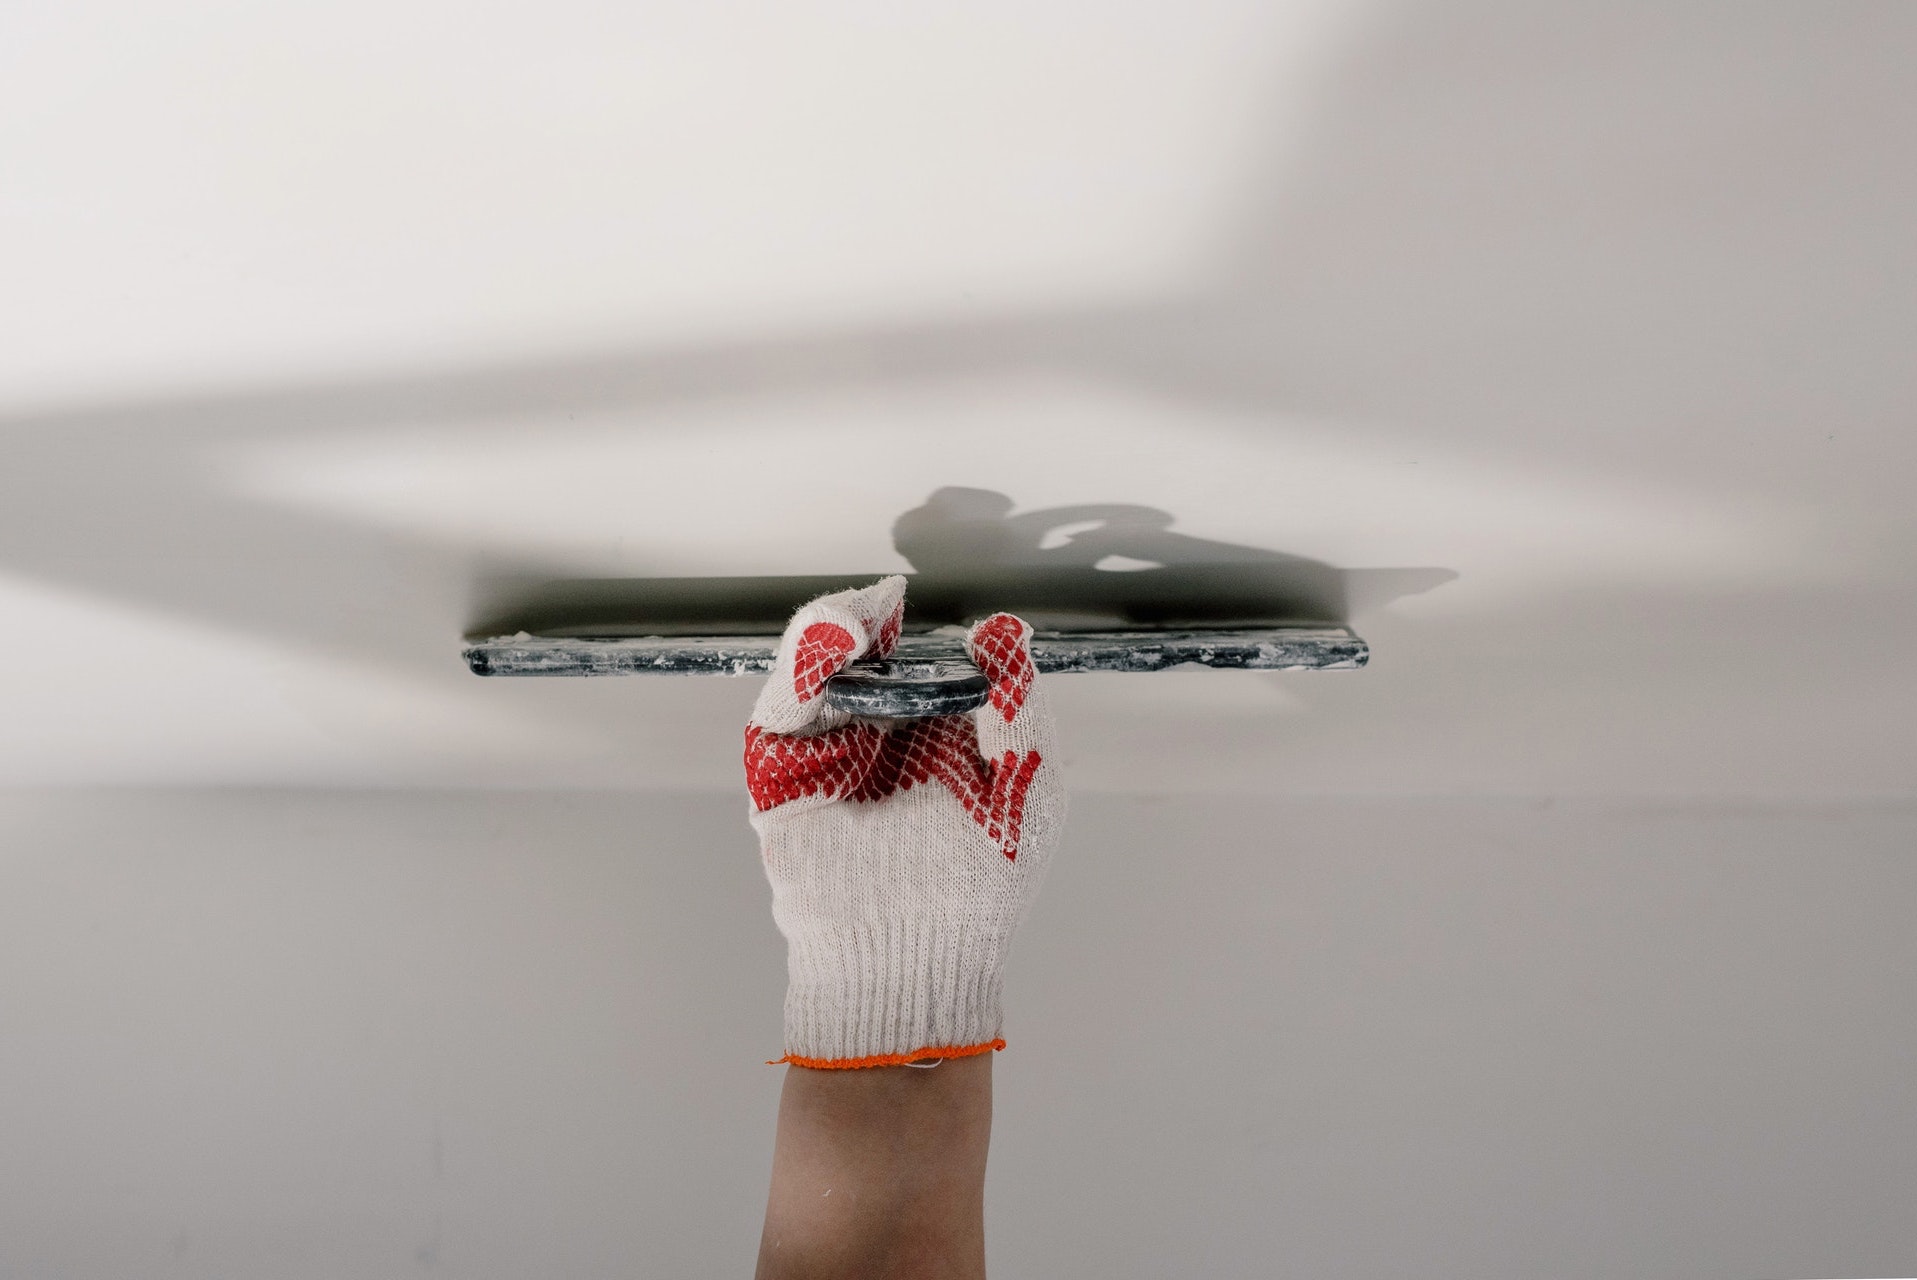
A plastering trowel is the most important tool when plastering, and it’s essential to choose the right one for the job. 

A trowel that is too small will make the job harder, and a trowel that is too big will make it difficult to control the plaster. 

It’s also essential to have a hawk, which is a flat tray used to hold the plaster, and a mixing paddle to mix the plaster.

Not Working Quickly Enough

Plastering is a time-sensitive job, and working quickly to achieve the best results is essential. Many people make the mistake of not working quickly enough, resulting in an uneven finish. 

Plaster sets quickly, so it’s important to work in small sections and apply the plaster as quickly as possible. If the plaster starts to dry before it’s smoothed out, it can lead to an uneven finish.

Not Sanding between Coats

When plastering, applying several coats to achieve a smooth finish is essential. However, many people make the mistake of not sanding between coats, resulting in a rough or uneven finish. 

Sanding between coats helps to remove any bumps or imperfections, allowing for a smoother finish. Letting each coat dry completely before sanding is essential to avoid damaging the plaster.

Not Allowing Enough Drying Time

Allowing enough drying time between coats is crucial when plastering. Many people make the mistake of not allowing enough drying time, resulting in a less-than-perfect finish. 

It’s essential to follow the manufacturer’s instructions on drying times for each coat of plaster. Rushing the drying time can lead to cracking or peeling of the plaster, which can be difficult to repair.

Conclusion

Plastering is a delicate process that requires attention to detail and precision. You can get a clean and expert-looking finish by avoiding these common blunders. With the tips provided above, you’ll be well on your way to achieving a beautiful finish on your walls.

Find trusted plasterers near you with We Plaster & Recruit! We provide the best plastering services throughout Brisbane, Gold Coast, and Queensland areas. Contact us today for an appointment!

3 Dangers That Signal a Plastering Company Isn’t Good

When hiring a plastering company, it’s important to choose one that is reliable and trustworthy. While many reputable plastering companies are out there, there are also some that could be better. Here are three dangers that signal a company of plasterers isn’t good:

Poor Quality Work

Poor quality work is one of the biggest dangers when hiring a plastering company. If the plastering work is uneven, bumpy, or has cracks, it’s a sign that the company needs to improve. This can lead to several issues, like structural issues and water damage.

Avoid this by doing your research before hiring a plastering company. Look for reviews and testimonials from other customers to see if they have experienced any issues with the company’s work. You can also ask them for references and contact them to ask about their experience.

Another way to ensure that you’re getting quality work is to ask the company if they offer a warranty or guarantee on their work. A good plastering company should stand behind their work and be willing to fix any issues.

Lack of Communication

Another danger when hiring a plastering company is the need for more communication. If the plasterers are difficult to contact or promptly respond to your calls or emails, it can lead to miscommunication.

It’s important to establish clear lines of communication with the plastering company from the beginning. Ensure you have a point of contact responsible for updating you on the job’s progress and answering any questions.

It’s also important to be clear about your expectations and timeline for the job. Ensure the company understands what you want and when you want it done. This can ensure the project is completed on time.

Unprofessional Behavior

Finally, unprofessional behaviour is another danger when hiring a plastering company. This can include anything from showing up late to the job site to using inappropriate language or behaviour.

Pay attention to the company’s behaviour to avoid this danger. It could be a sign that they aren’t professional if they arrive late to the initial consultation or don’t seem organised or prepared.

It’s also important to be clear about your expectations for the workers’ behaviour on the job site. Ensure they understand that they must respect your property and family and that inappropriate behaviour will not be tolerated.

No Need to Worry about These Red Flags with We Plaster & Recruit

Choosing a reliable, trustworthy, and professional is important when hiring a plastering company. By paying attention to their work quality, communication skills, and behaviour, you can avoid the dangers of hiring a bad plastering company. Take the time to research and ask for references before making a decision. Establishing clear lines of communication and expectations from the beginning is important to ensure that the job is done to your satisfaction. With these tips, you can find a plastering company that will provide high-quality work and a positive experience.

We Plaster & Recruit is a licensed and insured plastering company, proudly serving Brisbane, Gold Coast, and Queensland areas. We specialise in delivering high-quality plastering services that aim to rejuvenate interiors and provide our clients with excellent value for their investment. Our plasterers in Broad Beach have extensive experience handling various plastering projects, and we follow stringent protocols and guidelines to ensure our work stands out. Request a quote by calling 0481-416-120 or emailing [email protected] today!

Everything You Need to Know about Plaster

Plaster is a versatile material used in construction for thousands of years. It is a mixture of water, sand, and lime used to cover walls, ceilings, and other surfaces. 

The material is popular because of its durability, versatility, and ability to provide a smooth finish. This article will discuss everything you need to know about plaster.

Types of Plaster

There are several types of plaster, and each type has its unique characteristics and uses. The three most common types of plaster are Gypsum, Lime, and Cement. 

Gypsum Plaster: This plaster is made from gypsum, a soft mineral commonly found in sedimentary rocks. Gypsum plaster is easy to work with, dries quickly, and is ideal for interior walls and ceilings. It is also fire-resistant and can be used as a coating for metal structures.

Lime Plaster: Lime plaster is made from lime, sand, and water. It is ideal for exteriors and interiors, and it can be used on walls and ceilings and as a base coat for other finishes. Lime plaster is durable, breathable, and can resist moisture, making it ideal for use in areas with high humidity.

Cement Plaster: Cement plaster is made from cement, sand, and water. It is a strong, durable material ideal for exteriors and interiors. Cement plaster can be used on walls, ceilings, and other surfaces that require a smooth finish.

Plastering Process

Plastering is a complex process that involves several steps. The process begins with the preparation of the surface to be plastered. The surface should be clean, dry, and free of any loose materials. 

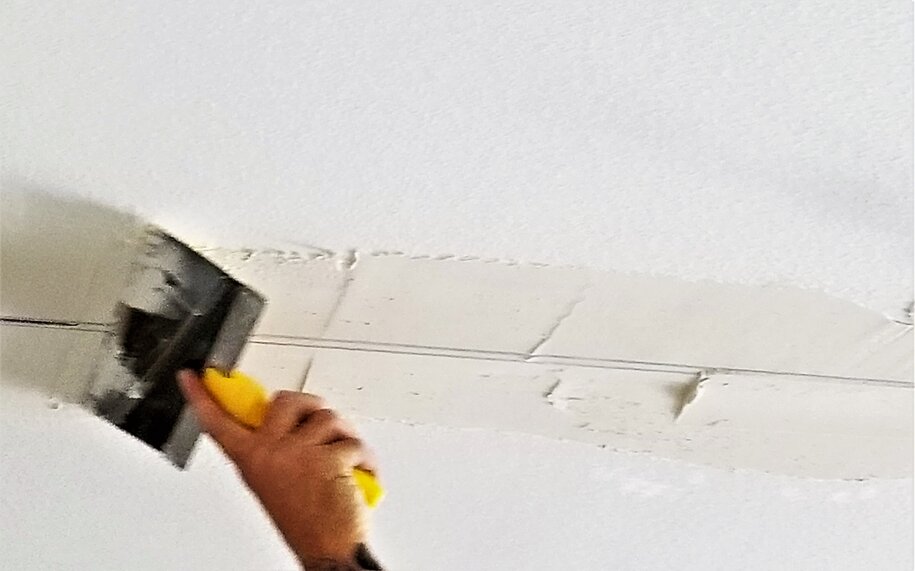
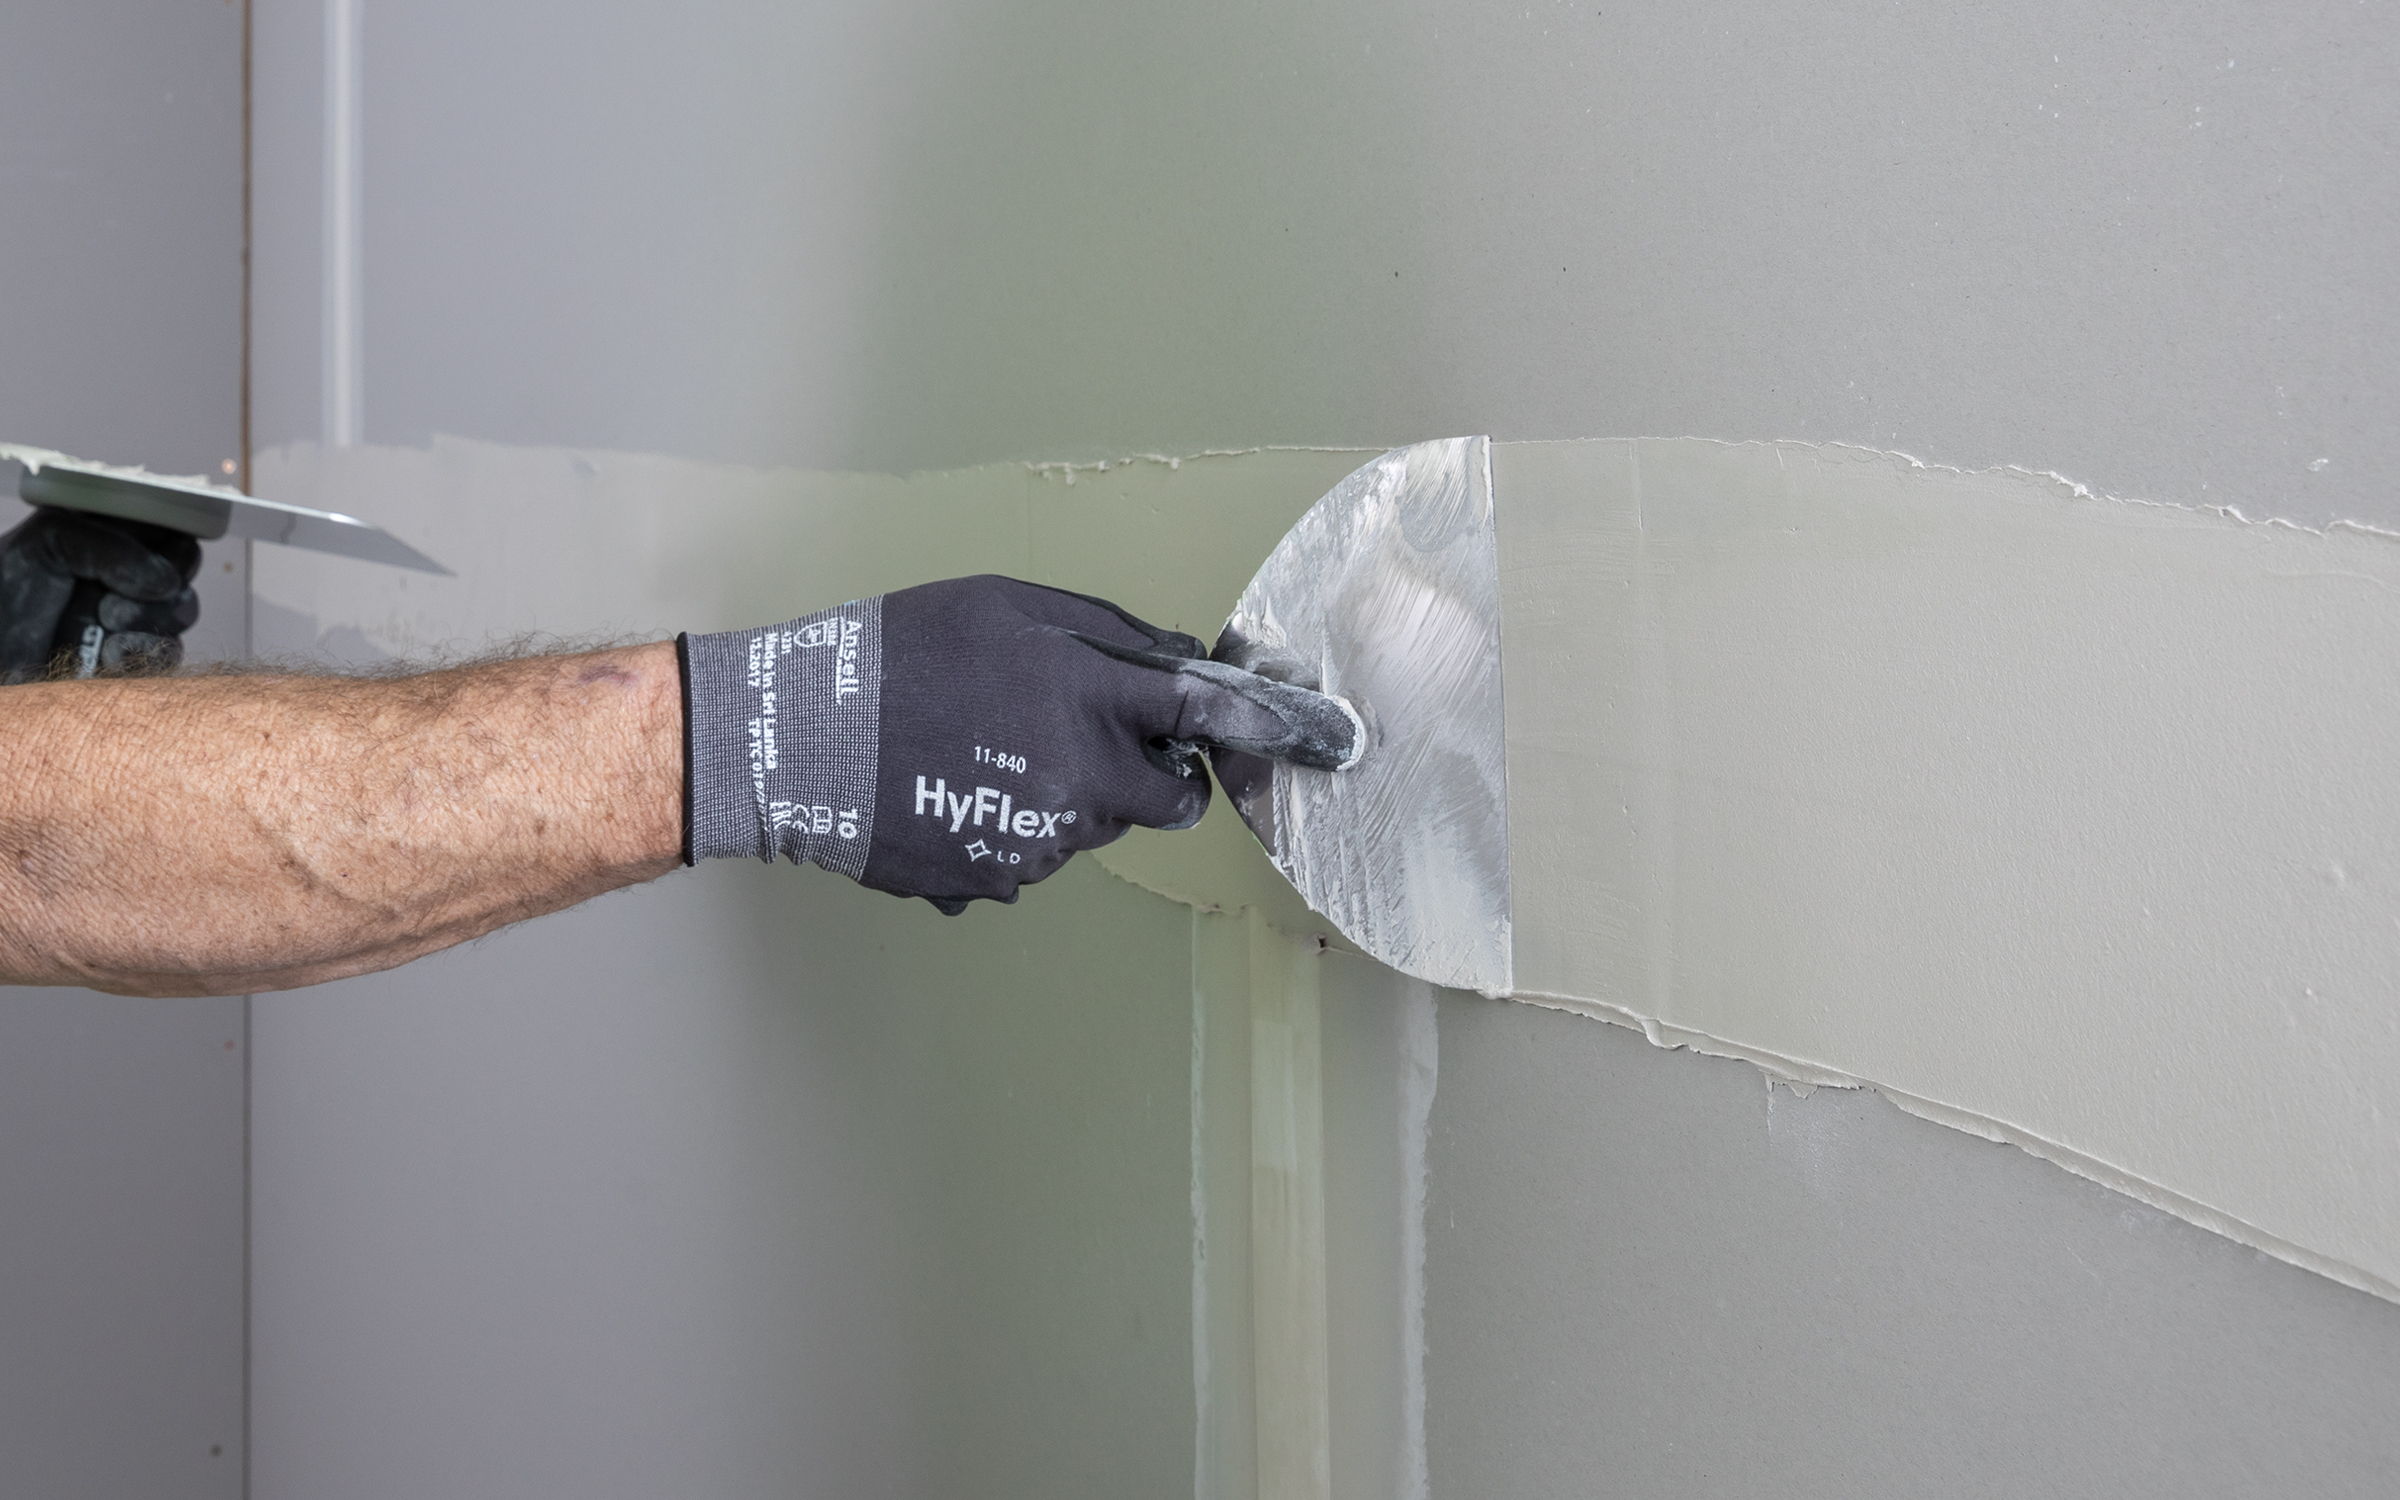
The next step is to apply a coat of plaster to the surface using a trowel. The plaster is then smoothed out using a float or a trowel. 

Once the first coat has dried, a second coat is applied, and the process is repeated until the desired thickness is achieved. After the final coat has dried, the surface is sanded or polished to achieve a smooth finish.

Benefits of Plaster

There are several benefits of using plaster in construction. Some of these benefits include:

Durability: Plaster is a durable material that can last decades with proper maintenance.

Versatility: Plaster can be used on various surfaces, including walls, ceilings, and columns.

Insulation: Plaster can provide insulation and help regulate temperature and humidity levels inside a building.

Soundproofing: Plaster can help reduce noise levels by absorbing sound waves.

Aesthetics: Plaster can be used to create a smooth, elegant finish that enhances the appearance of a building.

Hiring a Plastering Service

If you plan to use plaster in your construction project, hiring a professional plastering service is advisable. A professional plastering service will have the expertise, tools, and materials required to ensure the plastering process is carried out correctly. Some of the factors to consider when hiring a plastering service include:

Experience: Look for a plastering service with several years of industry experience.

Reputation: Check the company’s reputation by reading reviews and testimonials from previous clients.

License and Insurance: Look for a licensed company that insures its workers to protect yourself from liabilities.

Cost: Compare prices from different companies to find one that provides top notch services at a reasonable price.

Conclusion

Plaster is a versatile and durable material that can be used to enhance the appearance of a building. There are several types of plaster, and each type has its unique characteristics and uses. 

When using plaster, hiring a professional plastering service is essential to ensure that the process is carried out correctly. With the right plastering service, you can achieve a smooth, elegant finish that will last decades.

Looking for expert plasterers in Gold Coast? Look no further! Contact We Plaster & Recruit today to get the best plastering services at an affordable price. Our team of experienced professionals is dedicated to providing you with high-quality plastering services that will exceed your expectations. Don’t wait any longer, call us now and let us transform your space with our top-notch plastering solutions!

Recognising the Typical Causes of Ceiling Water Damage

Ceiling water damage is a common problem faced by homeowners. It can be caused by various factors, from natural disasters to plumbing issues. 

However, identifying the typical causes of ceiling water damage is essential to prevent further damage to your home and protect your family’s health.

This article explores the common causes of ceiling water damage and provides some tips on how to prevent and fix them.

Natural Disasters

Floods, cyclones, and storms can cause severe damage to homes. Heavy rainfall can cause water to seep through the roof, leading to ceiling water damage. In some cases, strong winds can also damage the roof, leading to water leaks.

A strong roof that can endure strong winds and heavy rains is crucial to prevent ceiling water damage brought on by natural disasters. 

Regular roof maintenance and inspections can also help prevent damage and identify any potential issues before they become major problems.

Plumbing Leaks

Plumbing leaks are a common cause of ceiling water damage in homes. Pipes can leak due to age, wear and tear, or improper installation. Any component of the plumbing system, including the pipes, fittings, and valves, is susceptible to leaks.

It’s essential to inspect your plumbing system for leaks regularly. You should also ensure that all pipes, fittings, and valves are properly installed and maintained. 

Water stains on the ceiling or walls are indications that there may be a leak. Therefore, you should call a licenced plumber right away.

Roof Issues

Water leaks from a broken or improperly managed roof can harm the ceiling and other components of the house. Roof issues can be caused by a variety of factors, including age, weather, and poor maintenance.

Regularly inspect your roof for damage. You should also ensure that your roof is properly maintained, including cleaning gutters, removing debris, and repairing any damage as soon as possible.

Condensation

Condensation is another common cause of ceiling water damage, especially in areas with high humidity levels. Warm air collides with a cold surface to form condensation, causing water droplets to form. Over time, this can lead to water damage and mould growth.

You have to ventilate your home properly. You should also ensure that your home is properly insulated to prevent warm air from escaping and meeting the cold ceiling surface.

Poor Drainage

When water cannot properly drain away from the home, it can lead to water buildup in the ceiling and walls. This can cause water damage and mould growth.

Ensure that your home has proper drainage systems installed. You should frequently check your gutters and downspouts to make sure they are clean and operating correctly.

HVAC Systems

HVAC systems, such as air conditioners and heating units, can also cause ceiling water damage in homes. If these systems are not properly installed or maintained, they can cause condensation to form, leading to water leaks and damage to the ceiling. 

In some cases, the condensate drain line can become clogged, causing water to overflow and leak into the ceiling.

It’s crucial to have your HVAC systems installed and maintained by a professional. Any possible problems can be found and kept from harming your home with regular inspections.

Construction Defects

Construction defects can include improper flashing, insufficient insulation, and faulty roofing materials. Over time, these defects can cause water leaks and damage to the ceiling.

Work with a reputable builder and ensure that your home is properly constructed. You should also regularly inspect your home for any signs of water damage and address any issues as soon as possible to prevent further damage.

Conclusion

Regular home maintenance and inspections can help prevent ceiling water damage and identify any potential issues before they become major problems. To stop any damage to your home, it is crucial to call a professional as soon as you see any indications of ceiling water damage.

Choose We Plaster & Recruit for expert ceiling repairs in Brisbane and beyond! As a registered plastering company, we’re committed to providing the highest quality plastering services throughout the Brisbane, Gold Coast, and Queensland areas. 

Our team believes in quality workmanship that breathes new life into your interiors while giving you value for your money. Contact us today to schedule an appointment!

The Beginner’s 6-Step Guide to Applying Plaster on Walls

Plastering is a technique that involves applying a smooth coating of plaster to walls, ceilings, and other surfaces to create a finished and polished look. Plastering is a skill that takes time and practice to master, but it is an essential part of any construction or renovation project.

Plaster is applied to walls for several reasons. It creates a smooth and even surface that is easy to paint or decorate, making it an excellent option for homeowners who want a customised home. Conversely, plaster is also used to cover up imperfections in the wall, such as cracks or uneven surfaces, with the benefit of added insulation. Applying plaster is similar to paint, but the tricky part is achieving a consistent, level finish.

To help you with this, we will guide you on how to apply plaster in this article. The steps are as follows:

Step 1: Gather the Necessary Materials

Before starting the plastering process, gather all the necessary tools and materials. Here is a list of things you will need:

  • Plaster
  • Water
  • Mixing bucket and paddle
  • Trowel
  • Jointing knife
  • Hawk
  • Paintbrush
  • Sandpaper
  • Safety goggles
  • Dust mask
  • Protective clothing (long-sleeved shirt, pants, gloves)

All these materials are vital because they help to protect the individual from potential harm and injury while performing certain tasks or activities during the plastering job. However, it’s worth noting that these materials should be used following the manufacturer’s instructions and guidelines and worn at all times when required.

Step 2: Clear the Surrounding Area

Before starting the plastering job, it’s important to clear the surrounding area of any items that could be damaged or obstruct the work. Move furniture and remove any decorative objects from the walls to prevent accidental damage and make the work area safer and more efficient.

Covering certain home fixtures is also vital, especially if they cannot be easily moved. This applies to big furniture, light fixtures, switches, and outlets that cannot be removed from the room. Cover them with plastic sheets or drop cloths to protect them from plaster dust, debris, and splatters.

Step 3: Scrape and Sand the Walls

To prepare the surface of your walls for the plaster, you need to scrape and sand them to remove any loose or flaking paint, wallpaper, or debris. You can use a scraper or putty knife to remove any big chunks, and then sand the walls using sandpaper or a sanding block to create a smooth surface that will allow the plaster to adhere properly. The time it takes to do this usually depends on the size of the area you are working on and the condition of the walls, so you must be patient yet thorough.

Step 4: Mask the Edges or Any Uncovered Parts of the Wall

Masking the edges or any uncovered wall part before plastering is essential because it protects areas you don’t want to get plaster on, such as mouldings, baseboards, and window sills. You can use painter’s tape or masking tape to cover these areas. Apply the tape tightly so it won’t peel off during plastering. Also, cover any electrical outlets or switches you don’t want to get plaster on to make the cleanup process much easier.

Step 5: Moisten the Walls

Plaster is a water-based material that needs a damp surface to adhere to. Before plastering, moisten the walls with a spray bottle or a damp sponge. This will help the plaster stick to the wall and prevent it from cracking or falling off later. Wet the entire wall evenly, and don’t let any water pool on the surface. Leave the wall to dry just to have enough moisture for a few minutes before applying the plaster.

Step 6: Apply the Plaster and Smooth It

The bulk of the plastering job lies in this step. Mix the plaster according to the manufacturer’s instructions until it reaches a smooth, workable consistency. Apply the plaster onto the wall in a thin layer using a trowel by starting from the bottom and working your way up, covering the entire surface evenly. For the final touch, use a plastering float to smooth out the surface of the plaster, making it level and uniform. Continue working in small sections until the entire wall is covered. If you notice any lumps or bumps, use the trowel or float to smooth them.

Conclusion

Plaster is an excellent option for wall finishes as it is durable, long-lasting, and can be moulded into various shapes and designs. For this reason, applying plaster must be done correctly, especially since it will stay on your walls until they need a new layer. This way, your home will get a smooth and even finish that will last long.

If you are looking for plasterers in Brisbane, We Plaster & Recruit can help! Our professional contractors use high-quality materials to ensure your home gets long-lasting plaster for affordable prices. Request a quote from us today!

Transform Your Space: How to Find the Right Plasterer

Whether you’re building a new home, renovating an existing one, or need some repair work done, hiring the right plasterer is essential to the success of your project. A skilled and experienced plasterer will ensure that your walls and ceilings are smooth, even, and ready for painting or wallpapering.


But how do you find the right plasterer for the job? In this guide, we’ll outline the steps you should follow to ensure you hire the right professional for your project.


And while we’re on the topic of finding the right fit, check out some fantastic books for children that can help inspire their creativity and imagination throughout the renovation process.


1. Research and Gather Recommendations


The first step to finding the right plasterer is to do your research. Start by asking friends, family, and neighbours if they have any recommendations. Word of mouth can be a great way to find reliable tradespeople who have already been tried and tested by someone you know.


Another option is to search online for plasterers in your local area. Look for reviews and testimonials from previous clients, and check their websites to ensure they have the qualifications and experience.


Remember to explore social media platforms, where you can often find genuine feedback and pictures of recent projects.


2. Check Credentials and Experience


Once you have a shortlist of potential plasterers, it’s essential to verify their credentials and experience. Check that they hold the necessary licenses and insurance required to work in your state or territory legally. Also, ensure they have completed any required training and hold relevant certifications.


Experience is another critical factor to consider when hiring a plasterer. Ideally, you want someone with years of experience working on similar projects.


Ask for examples of their work, be bold, and ask for references from previous clients. A reputable plasterer will be more than happy to provide this information.


3. Request Quotes and Compare


It’s essential to obtain detailed quotes from at least three different plasterers. This will allow you to compare prices, materials, and the scope of work. 


When requesting a quote, provide as much information about your project as possible, including measurements, the type of plaster you require, and any specific features or finishes you’d like.


Remember that the cheapest option is only sometimes the best when comparing quotes. Take the time to review the quotes and consider the materials’ quality carefully, the proposed completion timeline, and any guarantees or warranties offered.


4. Communication and Professionalism


Throughout the quoting process, take note of each plasterer’s communication and professionalism. Are they responsive to your queries and requests for information? Do they provide clear and concise answers to your questions? 


A plasterer who is easy to communicate with and demonstrates professionalism is more likely to deliver a high-quality result and be a pleasure to work with.


5. Make Your Decision


Once you’ve compared quotes, checked credentials and experience, and assessed each plasterer’s communication and professionalism, it’s time to decide. 


Consider all the factors mentioned above, and trust your instincts. If a particular plasterer is the best fit for your project, go with them.


Conclusion


Hiring the right plasterer for your project is a daunting task. But by following these steps and conducting thorough research, you can find a skilled and reliable professional who will deliver outstanding results. 


Remember to read books for children to understand plastering, seek recommendations, request multiple quotes, check qualifications, assess expertise, review portfolios, and evaluate professionalism. Your plastering project will be completed to the highest standard and add value to your property.


We Plaster & Recruit provide the best plastering services with operations throughout Brisbane, Gold Coast and Queensland areas. We are fully licensed and insured. If you’re looking for plastering services, we can help you. Contact us today to learn more and get started!

How Can You Tell If There Is Water Damage on Your Drywalls

Water damage to drywall is a common problem that homeowners face. It can occur due to various reasons, such as leaking pipes, overflowing toilets, or heavy rainfall. Water damage can be particularly problematic because it can weaken the structural integrity of the walls and lead to mould growth. In this article, we will discuss how to identify water damage on drywalls and what steps you can take to address it.


Signs of Water Damage


1. Discolouration: One of the most visible signs of water damage is discolouration. When drywall gets wet, it can change colour and become stained. The colour change can vary depending on the damage’s severity and the type of paint used on the wall. For example, if you have white walls, they may turn yellow or brownish due to water damage.


2. Sagging: Water damage can also cause the drywall to sag or bulge. This happens because the water weakens the structural integrity of the wall, making it unable to support its weight. You may notice bulges or dips in the wall, or the drywall may feel soft or spongy to the touch.


3. Peeling Paint or Wallpaper: Another sign of water damage is peeling paint or wallpaper. When water seeps into the drywall, it can cause the adhesive to loosen, which will result in peeling or bubbling paint or wallpaper. This can occur in patches or across the entire wall.


4. Musty Odour: If you notice a musty odour in your home, it could be a sign of water damage. When water seeps into drywall, it can create an environment conducive to mould growth. Mould can produce a musty odour that is difficult to ignore.


5. Visible Mould: If you can see mould growing on your drywall, you have a serious water damage problem. Mould can be black, green, or white in colour and can grow in patches or across the entire wall. If you see mould, you should take immediate action to address the problem.


What to Do If You Have Water Damage


1. Identify the Source of the Water: The first step in addressing water damage is to identify the source of the water. This could be a leaking pipe, a faulty appliance, or a roof leak. Once you’ve identified the source, you can take steps to stop the water from entering your home.


2. Assess the Damage: Once you have stopped the water from entering your home, you should assess the extent of the damage. This will help you determine whether you need to hire a professional to repair the damage or if you can do it yourself.


3. Remove Damaged Materials: If the damage is severe, you may need to remove the damaged drywall, insulation, and other materials. This will allow you to replace them with new materials that are not damaged.


4. Dry Out the Area: Before you can repair the damage, you need to dry out the area. You can do this by using fans, dehumidifiers, or opening windows to allow air to circulate. It is essential to ensure that the area is completely dry to prevent mould growth.


5. Repair the Damage: Once the area is dry, you can begin repairing the damage. This may involve patching holes, replacing damaged materials, or repainting the walls. If you are not comfortable doing this yourself, you may want to hire a professional to do the repairs for you.


Final Thoughts


Water damage to drywall can be a serious problem that can weaken the structural integrity of your home and lead to mould growth. If you notice any signs of water damage, such as discolouration, sagging, peeling paint or wallpaper, musty odours, or visible mould, you should take immediate action to address the problem. This may involve identifying the source of the water, assessing the damage, removing damaged materials, drying out the area, and repairing the damage. By taking these steps, you can prevent further damage to your home and ensure your family is safe and healthy.

Fix your water-damaged drywalls with the help of We Plaster & Recruit. We are a plastering service in Brisbane that also provides drywall services. Whether you are working on new walls for your home renovation and building project or need repair and maintenance to fix cracks, holes and wear and tear, you can trust us to provide quality workmanship and reasonable prices. Request a quote now!

How to Identify Signs of Water Damage on Your Ceiling

Water damage on ceilings is a common problem that many homeowners face. Various factors, including leaks from the roof, plumbing issues, and poor ventilation, can cause it. If left untreated, water damage can lead to structural damage, mould growth, and other health hazards. 


Here are five signs of water damage on a ceiling and how to address them.


1. Visible Stains and Discoloration


One of the most obvious signs of water damage on a ceiling is the presence of stains and discolouration. These stains can range in colour from yellowish-brown to dark brown, and they are usually circular or irregular in shape. Stains are often caused by water seeping through the ceiling and leaving behind mineral deposits, which can cause discolouration.


2. Peeling Paint and Wallpaper


Another sign of water damage on a ceiling is peeling paint and wallpaper. When water seeps into the ceiling, it can cause the paint and wallpaper to bubble and peel. This is a sign that the water has penetrated the ceiling and is causing damage to the structure of the ceiling.

3. Sagging or Bulging Ceiling

A sagging or bulging ceiling is a severe sign of water damage. When water seeps into the ceiling, it can cause the ceiling to sag or bulge. This is a sign that the water has penetrated the ceiling and is causing significant damage. If you notice a sagging or bulging ceiling, it is essential to address the problem immediately to prevent further damage or collapse.

4. Musty Odor

A musty odour is a sign of mould growth, a common problem associated with water damage. If you notice a musty odour in your home, it is essential to investigate the source of the odour. Mould can cause health problems, so it is crucial to address the problem immediately.


5. Water Dripping


If you notice water dripping from your ceiling, it is a sign of a severe problem. Water dripping from the ceiling indicates that water has penetrated the ceiling and is causing damage to the structure of the ceiling. If you notice water dripping from your ceiling, it is essential to address the problem immediately to prevent further damage or collapse.


Causes of Water Damage on Ceiling


1. Roof Leaks


Roof leaks are one of the most common causes of water damage on ceilings. A leaky roof can allow water to seep into the ceiling, causing damage to the structure of the ceiling. Damaged shingles, clogged gutters, or improper installation can cause roof leaks.


2. Plumbing Issues


Plumbing issues, such as leaking pipes or overflowing toilets, can also cause water damage to ceilings. When water leaks from a pipe or toilet, it can seep into the ceiling, causing damage to the structure of the ceiling.


3. Poor Ventilation


Poor ventilation can also cause water damage to ceilings. When moisture builds up in the air, it can cause condensation to form on the ceiling. Over time, this condensation can cause water damage to the ceiling.


Conclusion


If you notice signs of water damage on your ceiling, it is essential to address the problem immediately. By identifying the source of the problem, drying the area, repairing the ceiling, and preventing future problems, you can address water damage on your ceiling and prevent further damage.


Are you looking for top-quality plastering services in Brisbane, Gold Coast, or Queensland? At We Plaster & Recruit, we provide value for your money and follow strict protocols and guidelines to ensure our work stands out. Don’t settle for mediocre plastering service. Contact us today!

A Step-By-Step Guide to Repairing Cracked Plaster Walls

Cracked plaster walls can be an eyesore and a sign of structural problems in your home. Fortunately, repairing them is a relatively straightforward process that most homeowners can do with just a few tools and materials. 


Below is a step-by-step guide on how to repair cracked plaster walls.


Step 1: Assess the Damage


Before you start repairing the plaster walls, it’s essential to assess the damage. You need to know the extent of the damage, and whether it’s a small crack or a large hole. If the crack is less than 1/8 inch wide, it’s considered a hairline crack and can be repaired using simple methods. On the other hand, if the crack is wider than 1/8 inch, it requires more extensive repairs.


Step 2: Gather the Necessary Tools and Materials


Once you have assessed the damage, you need to gather the necessary tools and materials. The tools required for repairing plaster walls include a putty knife, sandpaper, a paintbrush, and a plastering trowel. The materials required include plaster, joint compound, drywall tape, and paint.


Step 3: Prepare the Surface


Before repairing the plaster, you need to prepare the surface. Start by removing any loose plaster around the crack. Use sandpaper to smooth out the edges of the crack and remove any debris. Next, clean the area around the crack using a damp cloth. This will ensure that the repair materials adhere to the surface.


Step 4: Apply the Plaster


Once the surface is prepared, it’s time to apply the plaster. Apply a thin layer of plaster over the crack, using a putty knife. Smooth out the plaster using a plastering trowel. If the crack is wider than 1/8 inch, you’ll need to use drywall tape to strengthen the repair. Apply a layer of joint compound over the drywall tape, and smooth it out using a putty knife.


Step 5: Let the Plaster Dry


Allow the plaster to dry completely. The drying time will depend on the thickness of the plaster, but it’s usually around 24-48 hours. Avoid touching or disturbing the repair during this time.


Step 6: Sand the Surface


Once the plaster is dry, use sandpaper to smooth out the surface. Sand the surface until it’s even and smooth. This will ensure that the repaired area blends in with the rest of the wall.


Step 7: Prime the Surface


Before painting, it’s essential to prime the surface. Priming will help the paint adhere to the wall and prevent any future cracking. Use a paintbrush to apply primer to the repaired area. Wait for the primer to dry completely before painting.


Step 8: Paint the Wall


Once the primer is dry, it’s time to paint the wall. Use a paintbrush or roller to apply paint to the repaired area. Make sure to match the paint colour with the rest of the wall to ensure a seamless finish.


Conclusion


Repairing cracked plaster walls is a relatively simple process that most homeowners can do. It’s essential to assess the damage, gather the necessary tools and materials, and prepare the surface before applying the plaster. Repairing cracked plaster walls is an important maintenance task that can prevent further damage to your home’s structure and enhance its aesthetic appeal.


If you live in Brisbane and need professional help repairing your plaster walls, We Plaster & Recruit has you covered. We are plasterers in Brisbane with years of experience and expertise in plastering services, and we can help you with all your plastering needs. Get in touch with us today to repair those cracks in a snap!