ABN: 11 641 139 568

Blog

How Plastering Can Improve Your Home’s Aesthetic

There is no denying that a fresh coat of paint can brighten up any room. But if your walls need a little more TLC, it might be time to consider plastering services. Not only can plastering enhance the look of your walls, but it can also add value to your home.

If you’re considering putting your home on the market, you’ll want to do everything you can to increase its value. And if you’re not planning on selling anytime soon, you’ll still want to keep your home in tip-top shape. Either way, plastering services can be an excellent investment.

What Is Plastering?

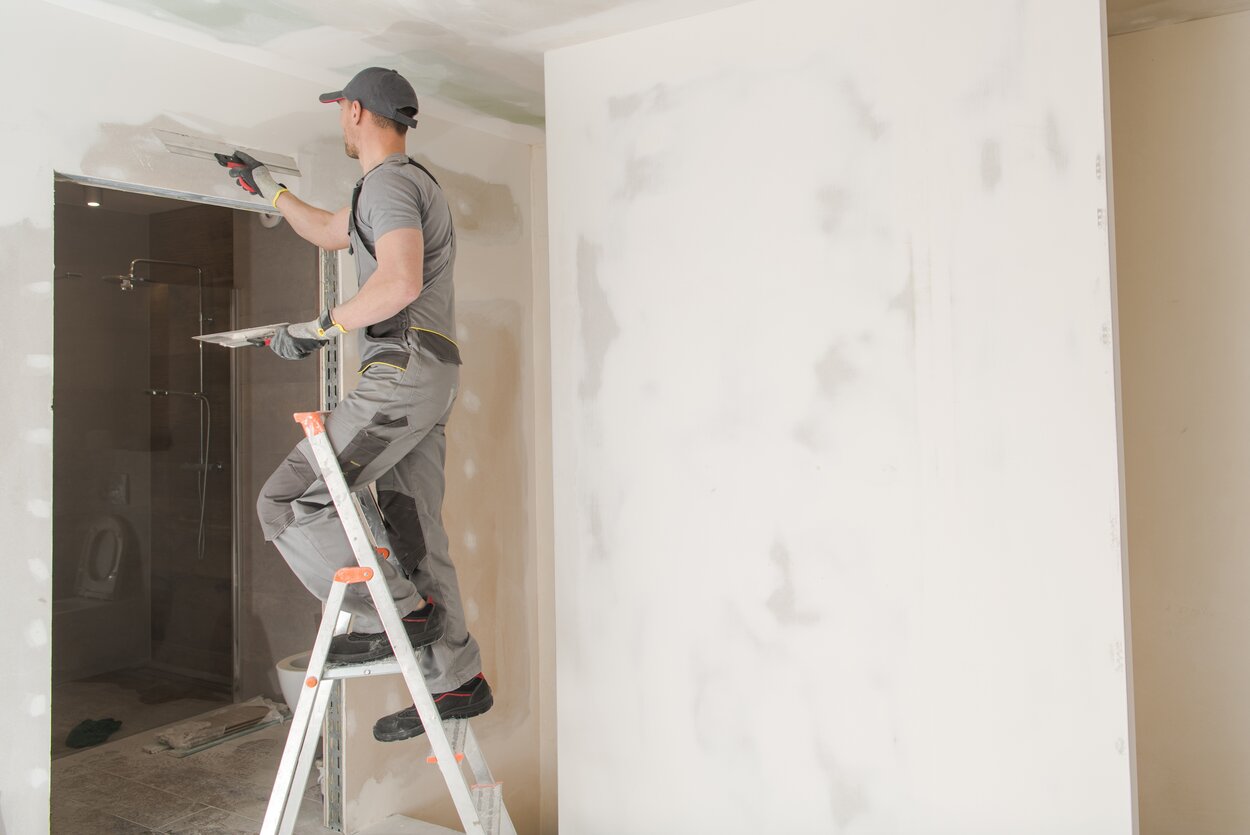
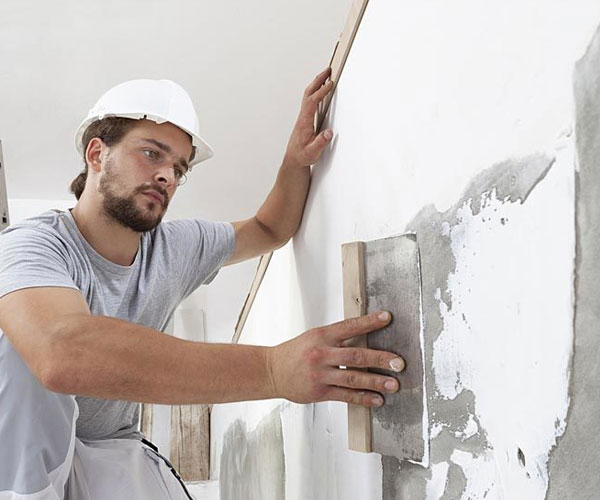
Plastering of walls is the process of applying a thin layer of material to a wall to create a smooth, even surface. Plaster is a popular material for this purpose, as it can be easily applied and dried to create a smooth, hard finish.

There are many different types of plaster, each with its advantages and disadvantages. Gypsum plaster is the most common type used in construction, as it is easy to work with and dries quickly. Lime plaster is another popular option, as it is much more durable than gypsum plaster and can be used in various ways.

Plastering is a skilled trade that requires a lot of practice to master. It is essential to have a steady hand and to be able to apply the plaster evenly to the wall. The process can be a messy job, so it is important to wear old clothes that you don’t mind getting dirty.

Benefits of Getting Your Walls Plastered

If you are considering plastering your walls, here are some of the benefits you can expect: 

1. Improved Insulation 

Plastering your walls can help to improve the insulation of your home. The plaster creates a barrier between the outside and inside of your home, which can help to keep out drafts and cold air. 

2. Draft Protection 

As well as helping to insulate your home, plastering your walls can also help to protect your home from drafts. It can fill in any gaps or cracks in your walls, which can help to keep out cold air. 

3. Moisture Protection 

Plastering your walls can also help to protect your home from moisture damage. It can help to waterproof your walls and can also help to prevent mould and mildew from growing. 

4. Improved Appearance 

Plastering your walls can also improve the appearance of your home. It can cover any imperfections in your walls and help create a smooth, uniform surface. 

5. Easier Cleaning 

Plastering your walls can also make them easier to clean. It can help to create a smooth surface that is easy to dust and wipe down.

Is Adding Plaster to Your Wall Something You Can DIY?

While adding plaster to your wall is something you can definitely DIY, plastering is a skilled trade and takes years of practice to perfect. A professional plasterer will have the knowledge and experience to get the job done right the first time.

While you can always try to do it yourself, you may end up with an uneven, bumpy surface that is difficult to repair. It takes special skills and training to apply plaster correctly. Hiring a professional plasterer is the best way to ensure that your wall is plastered correctly and looks its best.

Conclusion

Adding plaster to your wall can benefit your property in many ways. Plaster can help to insulate your home, protect your walls from moisture and pests, and even improve the appearance of your home. If you are considering adding plaster to your walls, be sure to consult with a professional to ensure that your home is properly prepared for the new material.

Need plastering services? We Plaster & Recruit is a registered plastering company providing the best plastering services with operations throughout Brisbane, Gold Coast and Queensland. We are fully licensed and insured and believe in quality work to breathe new life into the interiors while also giving you value for your money. Get in touch with us today to learn more about our services!

Maintaining Gyprock: 4 Easy Ways to Extend Its Longevity

After installation, most homeowners don’t give much thought to plasterboard, also known as gyprock, unless something goes wrong. We conduct thorough termite inspections, test air conditioning systems annually, and touch up paint as needed, but we do not evaluate plasterboard.  

Your home’s walls carry out several vital functions that are sometimes overlooked. Every day they must cope with scrapes, splashes, and bumps, and these flaws can add up over time. 

One of the most important things you can do to keep your property in good shape and avoid unnecessary damage is to maintain the plasterboard finishes. To ensure you get the most use possible out of your gypsum walls, ceilings, and cornices, we have put together a list of upkeep duties.

Here are the ways you can maintain your gyprock to extend its longevity:

1. Wipe It Clean Regularly 

There is no way to stop the inescapable buildup of minor dings on your house or place of business walls. Moving furniture, bumping into walls, and children playing inside all cause minor imperfections on plasterboard walls that need to be cleaned.

The fact that gyprock is a substrate should be kept in mind more than anything else. If your wall is painted or wallpapered, follow the manufacturer’s directions to remove any stains. Typically, moist cloth and mild soap can remove markings from plasterboard walls. After cleaning the wall, be sure to dry it thoroughly. 

While scouring pads should be avoided because they can eat through the paint, leaving the gypsum board exposed and vulnerable to water collection, firmer soaps can be used to remove stubborn stains.

2. Cover It With Paint

The best way to protect the gypsum board in your walls, cornices, and trimmings is to paint them. If not sealed, gyprock and other plasterboards made of thick construction paper and gypsum are vulnerable to dampness, scratches, and damage. 

The surface will be sealed and shielded from daily wear and tear with several coats of paint. Modern water-based acrylic paints are simple to use and will protect your plasterboard from spills, scratches, and minor bumps.

3. Check for Cracks and Dents 

Over time, minor blemishes like smudges and other wall flaws like scratches and dents begin accumulating. Cracks can allow water and other elements to seep into the concrete, leading to further damage.

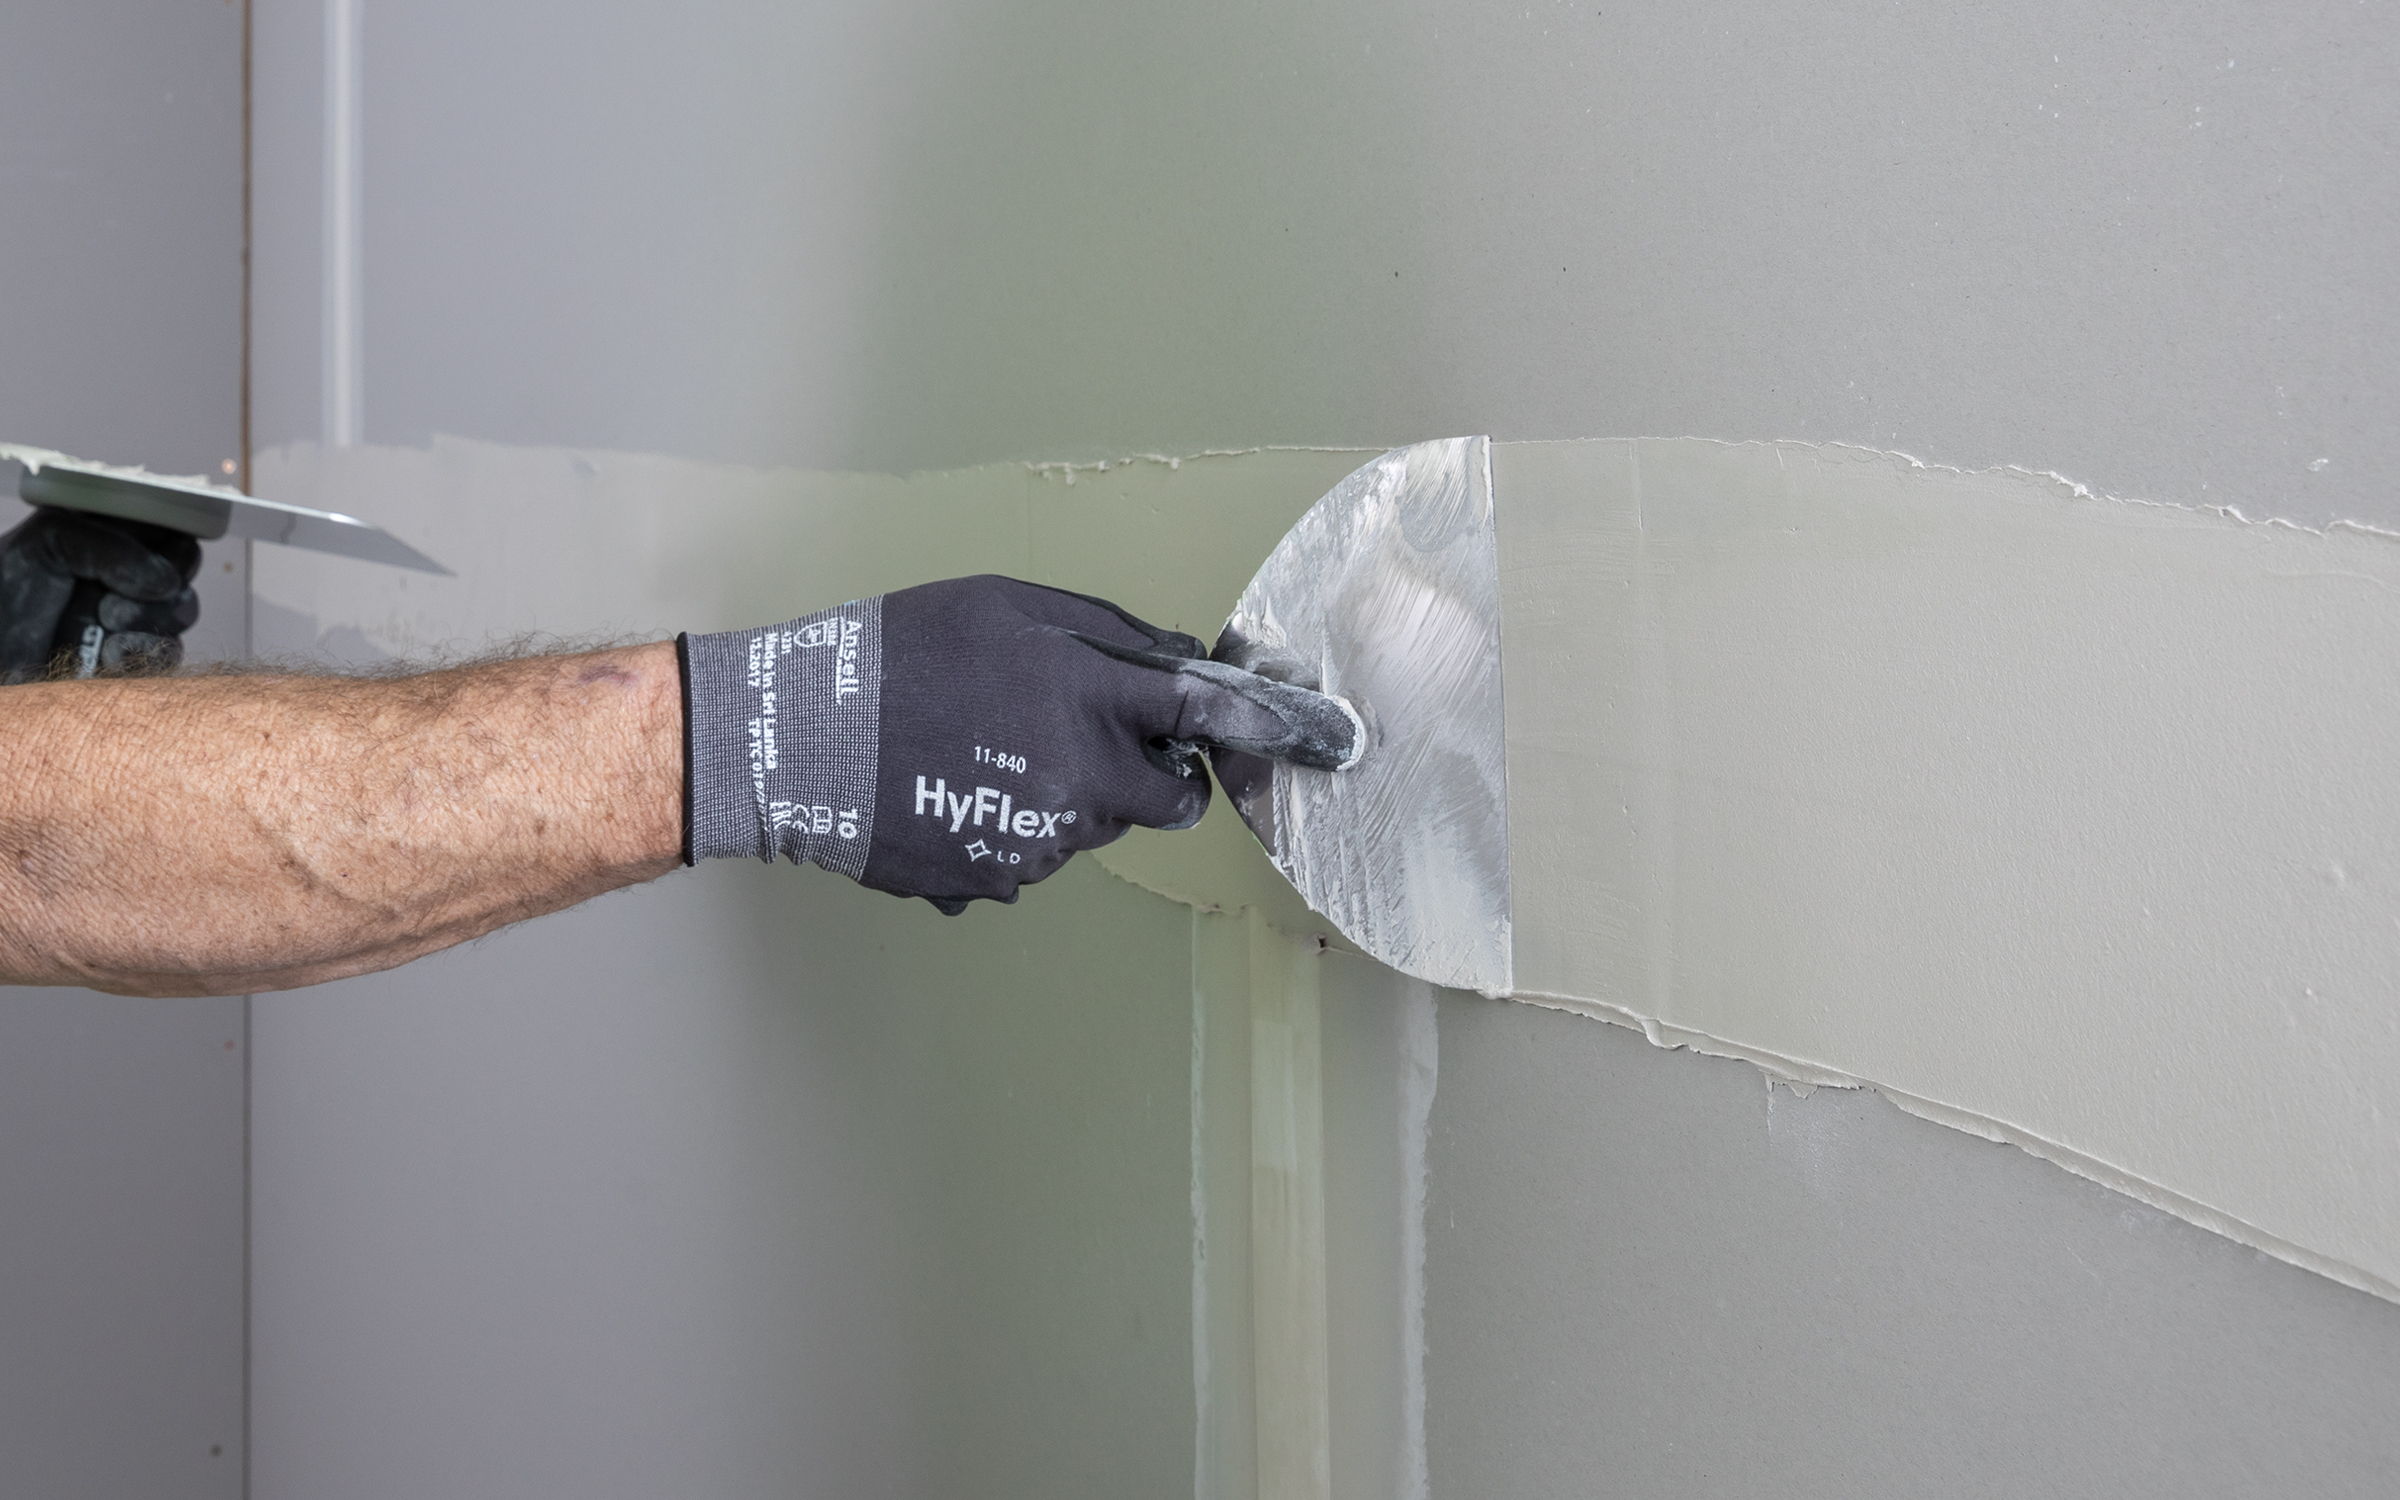
Always look for issues and address them as soon as they arise. Scratches and dents can be quickly fixed with plaster cement. Filling them out as soon as they’re discovered can help prevent this. No one will ever be able to tell that your wall was damaged with only a quick sanding and a fresh coat of paint.

4. Repair Serious Damage

The homeowner can quickly repair minor drywall dents, but larger holes or flaws require professional assistance. The damaged plasterboard is frequently removed and replaced to patch significant wall gaps. Use these simple procedures to repair significant holes in gypsum walls:

  • Chipping or cutting a large area with cracks or damping water.
  • Create a hole using a saw to remove cracks and patch a new cut gyprock.
  • When it is patched and attached with plaster compound, dry then sand it in preparation for painting.

Conclusion 

The plasterboard that makes up your walls, ceilings, and decorative mouldings needs routine care, just like the rest of your house. As long as you clean it and fix any errors you or others may have made, maintaining drywall should be straightforward, just like keeping anything else. Even though the wall isn’t finished, it should continue to be in good shape.

If you’re planning to do a gyprock repair due to minor blemishes or significant water damage, We Plaster & Recruit is here to help! Our team comes prepared with the tools and materials they need to repair most issues with your plasterboard, restoring your spaces to their former glory. Contact us today to book an appointment with our team!

10 Reasons Why Plastering Cracks and What You Can Do about It

Cracks in plaster can be unsightly, but they can also signify damage and other structural issues that can lead to further problems.


Plaster is a material used to create a smooth surface on walls and ceilings. It is made up of water, lime, and sand. Over time, plaster can become damaged and start to crumble.


Cracks in plaster are a common problem in older homes. Plaster can crack for various reasons, including settling the house, expansion and contraction of the plaster, and poor workmanship. If the cracks are large or numerous, they can cause problems with painting or wallpaper.


There are many factors that cause plastering cracks. While some of these factors are out of your control, there are measures you can take to help prevent plaster cracks or at least minimise their severity.


Settlement


Settlement cracks are caused by the house settling over time. These cracks are usually not a structural concern, but they can be unsightly. To avoid settlement cracks, have your foundation checked regularly and make sure that any cracks that do appear are repaired promptly.


Debonding


Debonding is another common cause of plaster cracks. This occurs when the bond between the plaster and the wall surface is broken. This can be caused by poor adhesion, improper mixing of the plaster, or the use of an incompatible primer. To prevent debonding, follow the manufacturer’s instructions carefully when mixing and applying the plaster.


Temperature Changes


Temperature changes can also cause plaster cracks. When the temperature outside fluctuates, the plaster can expand and contract, which can cause cracks. To help prevent this, make sure the room is well-insulated and maintain a consistent temperature inside.


Grinning


Grinning is another factor that can cause plaster cracks. The plaster on a wall can appear to be grinning if the mortar joints behind it are visible. This is usually caused by the difference in suction capacity between the cement mortar used for plastering and the bricks in a wall.


Popping


Popping can also cause plaster cracks. This occurs when contaminants get mixed with plaster as it dries, forming conical fragments that cause it to break and crack. To remove this, paint and cement filler can be applied to cover the cracks.


Improperly Cured Plaster


Improperly cured plaster can also cause cracks. If the plaster is not cured properly, it can become brittle and crack. To cure plaster properly, follow the manufacturer’s instructions carefully.


Expansion


Expansion can also cause plaster cracks. This occurs when the plaster expands as it dries, causing it to push against the wall surface. This can be prevented by using a slow-drying plaster and by keeping the room humidified during the drying process.


Impact or Vibration


Impact or vibration cracks are caused by construction traffic or heavy machinery vibrating the ground. These cracks are usually not a structural concern, but they can be unsightly. To avoid impact or vibration cracks, have your foundation checked regularly and make sure that any cracks that do appear are repaired promptly.


Dry Shrinkage


Shrinkage cracks are the most common type of cracks that appear in plaster. They are caused by the plaster drying too quickly, which causes it to shrink and pull away from the surface to which it has adhered. To avoid shrinkage cracks, apply plaster in thin coats and keep the area well-ventilated so it dries slowly and evenly.


Structural Cracks


Structural cracks are the most serious cracks that can appear in plaster. They are caused by foundation problems or the house settling over time. Structural cracks can be a serious concern and should be repaired by a professional as soon as possible.


Conclusion


If you have cracks in your plaster, it is important to have them repaired as soon as possible. Cracks can allow moisture to seep in, leading to further damage. They can also become wider over time, which can cause even more problems. If you have cracks in your plaster, don’t despair. Plaster cracks can be repaired, but it is important to identify and address the cause of the cracks to prevent them from recurring.


Plaster & Recruit has a team of professional plasterers in Brisbane dedicated to providing the highest quality plastering services to our clients. We specialise in all aspects of plastering, from small repairs to large-scale projects. We’re passionate about what we do and take pride in our work, so you can be assured that you’re getting the best possible service when you choose us for your plastering needs. Get a free quote today!

No Cracks: Plaster as a Viable Option for Ceiling Repairs

Ceiling plaster can deteriorate in two ways, by developing cracks all over the surface or by sagging. These faults are usually the result of an uneven settlement of the foundation, leakage from any utilities, or structural movements. As a result, repairing the ceiling is necessary to extend your house’s life.


Using a Plaster to Repair Your Ceiling Immediately


Ceiling cracks are cracks that occur in the ceiling. They can be caused by structural issues or leaks, and they can either be cosmetic in nature or not. If you have a ceiling crack, you should determine if it is a structural issue or leak, and then you can repair it with a thin coat of premixed joint compound and a coat of paint.


A Simple Checklist for Your Ceiling Repair


1. Identify the Repair Spots


Your repaired area is easy to find if you know what you’re looking for. Cracks in the structure or plaster bulges from sags are indications of areas needing to be repaired.


2. Cover the Walls and Floor Areas with Drop Cloths


You don’t want your walls or floor to get dirty from construction debris. To protect your home, use drop cloths to cover the walls and floor in the areas where you’ll be working. Tape the drop cloths in place.


3. Scrap the Loose Areas


Remove any bulging plaster from the laths using a putty knife or similar tool. Ensure that all loose areas are cleared. Do not over-scrape the well-bonded old plaster.


4. Clean the Affected Surface


Clean the surface of the patch area with a brush or sandpaper to remove any debris, dust, smoke, or grease. This is important to ensure a strong bond between the new plaster and the laths. Make sure the surface is completely clean before proceeding to the next step.


5. Moist the Treated Portions


To improve the adhesion of plaster to the laths, wet the surface first. You can use water to wet the repaired portion of the ceiling and let it dry for about 10 minutes. Be sure to wet all edges and corners.


6. Plaster the Ceiling with Joint Compound


Patching plaster is a type of material used to fill in holes or cracks in walls and ceilings. It is available in stores and is easy to use. To use it, mix the plaster with water to create a butter-like consistency. Next, use a putty knife to apply the plaster to the wall or ceiling in a thin layer.


7. Sponge the Surface for a Smooth Texture


After the first coat of plaster has been applied, you need to make sure the surface is smooth and even with the old plaster. Use a sponge and lightly apply it to the new plaster. Be careful not to scrape the surface too much with the sponge, or you could damage the treated area. Repeat this process after each new layer of plaster has been applied. There should be a total of three coats of plaster.


8. Utilise Primer and Paint


After the ceiling is repaired, it is important to prime and paint the repaired area. This will give the ceiling a finished look and hide any evidence of the repair work. It’s a good idea to use a primer before painting a surface. The primer helps the paint adhere to the surface and provides a smooth base for the paint to go on. Choose a paint that is the same colour as the old ceiling to blend in the repair work.


Conclusion


Indeed, plaster is a viable material for ceiling repairs. It is strong, durable, and can be easily repaired if it cracks. It is also a relatively affordable option, making it a good choice for budget-minded homeowners.


Take note of our checklist above and apply the necessary layers of plaster and coating to make your ceiling look good as new.


If you are looking for experienced plasterers on the Gold Coast, look no further than our experts here at We Plaster & Recruit. We are a registered plastering company providing the best plastering services with operations throughout Brisbane, Gold Coast and Queensland areas. Call us today, and let us deal with your cracked ceiling in no time!

Plasterboard or Drywall: A Guide for Beginners

You may be confused regarding the distinction between drywall and plasterboard. These materials are the same but have different names due to geographical differences.

The inner layers of the plasterboards are similar to plaster, which has been used in construction for centuries. However, plaster has evolved into today’s widely used drywall material. 

Drywall as the New Standard

Drywall recently rose as an excellent low-cost plastering option that avoided the need to wait for the plaster to dry. Homeowners appreciated the flame-resistant properties and ease of installation. 

Despite its unique characteristics, the use of drywall did not take off immediately. However, by the mid-century, it had gained a reputation as an exceedingly popular building material. 

The baby boomer generation needed more inexpensive and energy-efficient building materials. This boosted drywall sales, resulting in its continued popularity until this day.

A Guide to Plasterboard or Drywall

Here are some things you need to know about plasterboard or drywall:

1. Properties

Plasterboards are popular building materials for walls and ceilings because of their unique properties, as follows:

  • They are made of gypsum board covered with a paper facing. 
  • They are both versatile materials used in various residential and commercial construction applications. 
  • You can use drywall to create walls, ceilings, and floors. It is also used to create partitions, soffits, and suspended ceilings.
  • They are both lightweight and easy to install. They also have soundproofing qualities, are very durable, and are resistant to fire. 
  • Plasterboard and drywall are environmentally friendly because they are made of natural materials and recyclable.

2. Manufacturing Process

Gypsum is typically used to make drywall or plasterboards. This white sandy mineral is extracted from the ground in a variety of sites across the world. The mineral has a high water content, which gives drywall its fire resistance.

Moreover, gypsum is used in various products, including drywall boards, lawn fertiliser, and sidewalk chalk. 

Adding recycled paper pulp to gypsum creates a slurry or paste, which is applied in thin layers between two layers of paper or fibreglass backing. It is then heated in a drying chamber to harden and dry.

Moreover, the boards are sliced into various sizes based on the need or application. The drywall boards’ thickness also varies to accommodate different purposes and ranges. 

For instance, the thinnest boards are optimal for curving walls or adding a layer to existing drywall. On the other hand, thicker panels provide the most advantage if you want to minimise sound or add insulation to an outside wall.

3. Installation

The installation of drywall or plasterboard is a generally quick and efficient process. A skilled installation crew can accomplish work promptly. Since the technique does not necessitate loud power instruments, it creates minimal disruption.

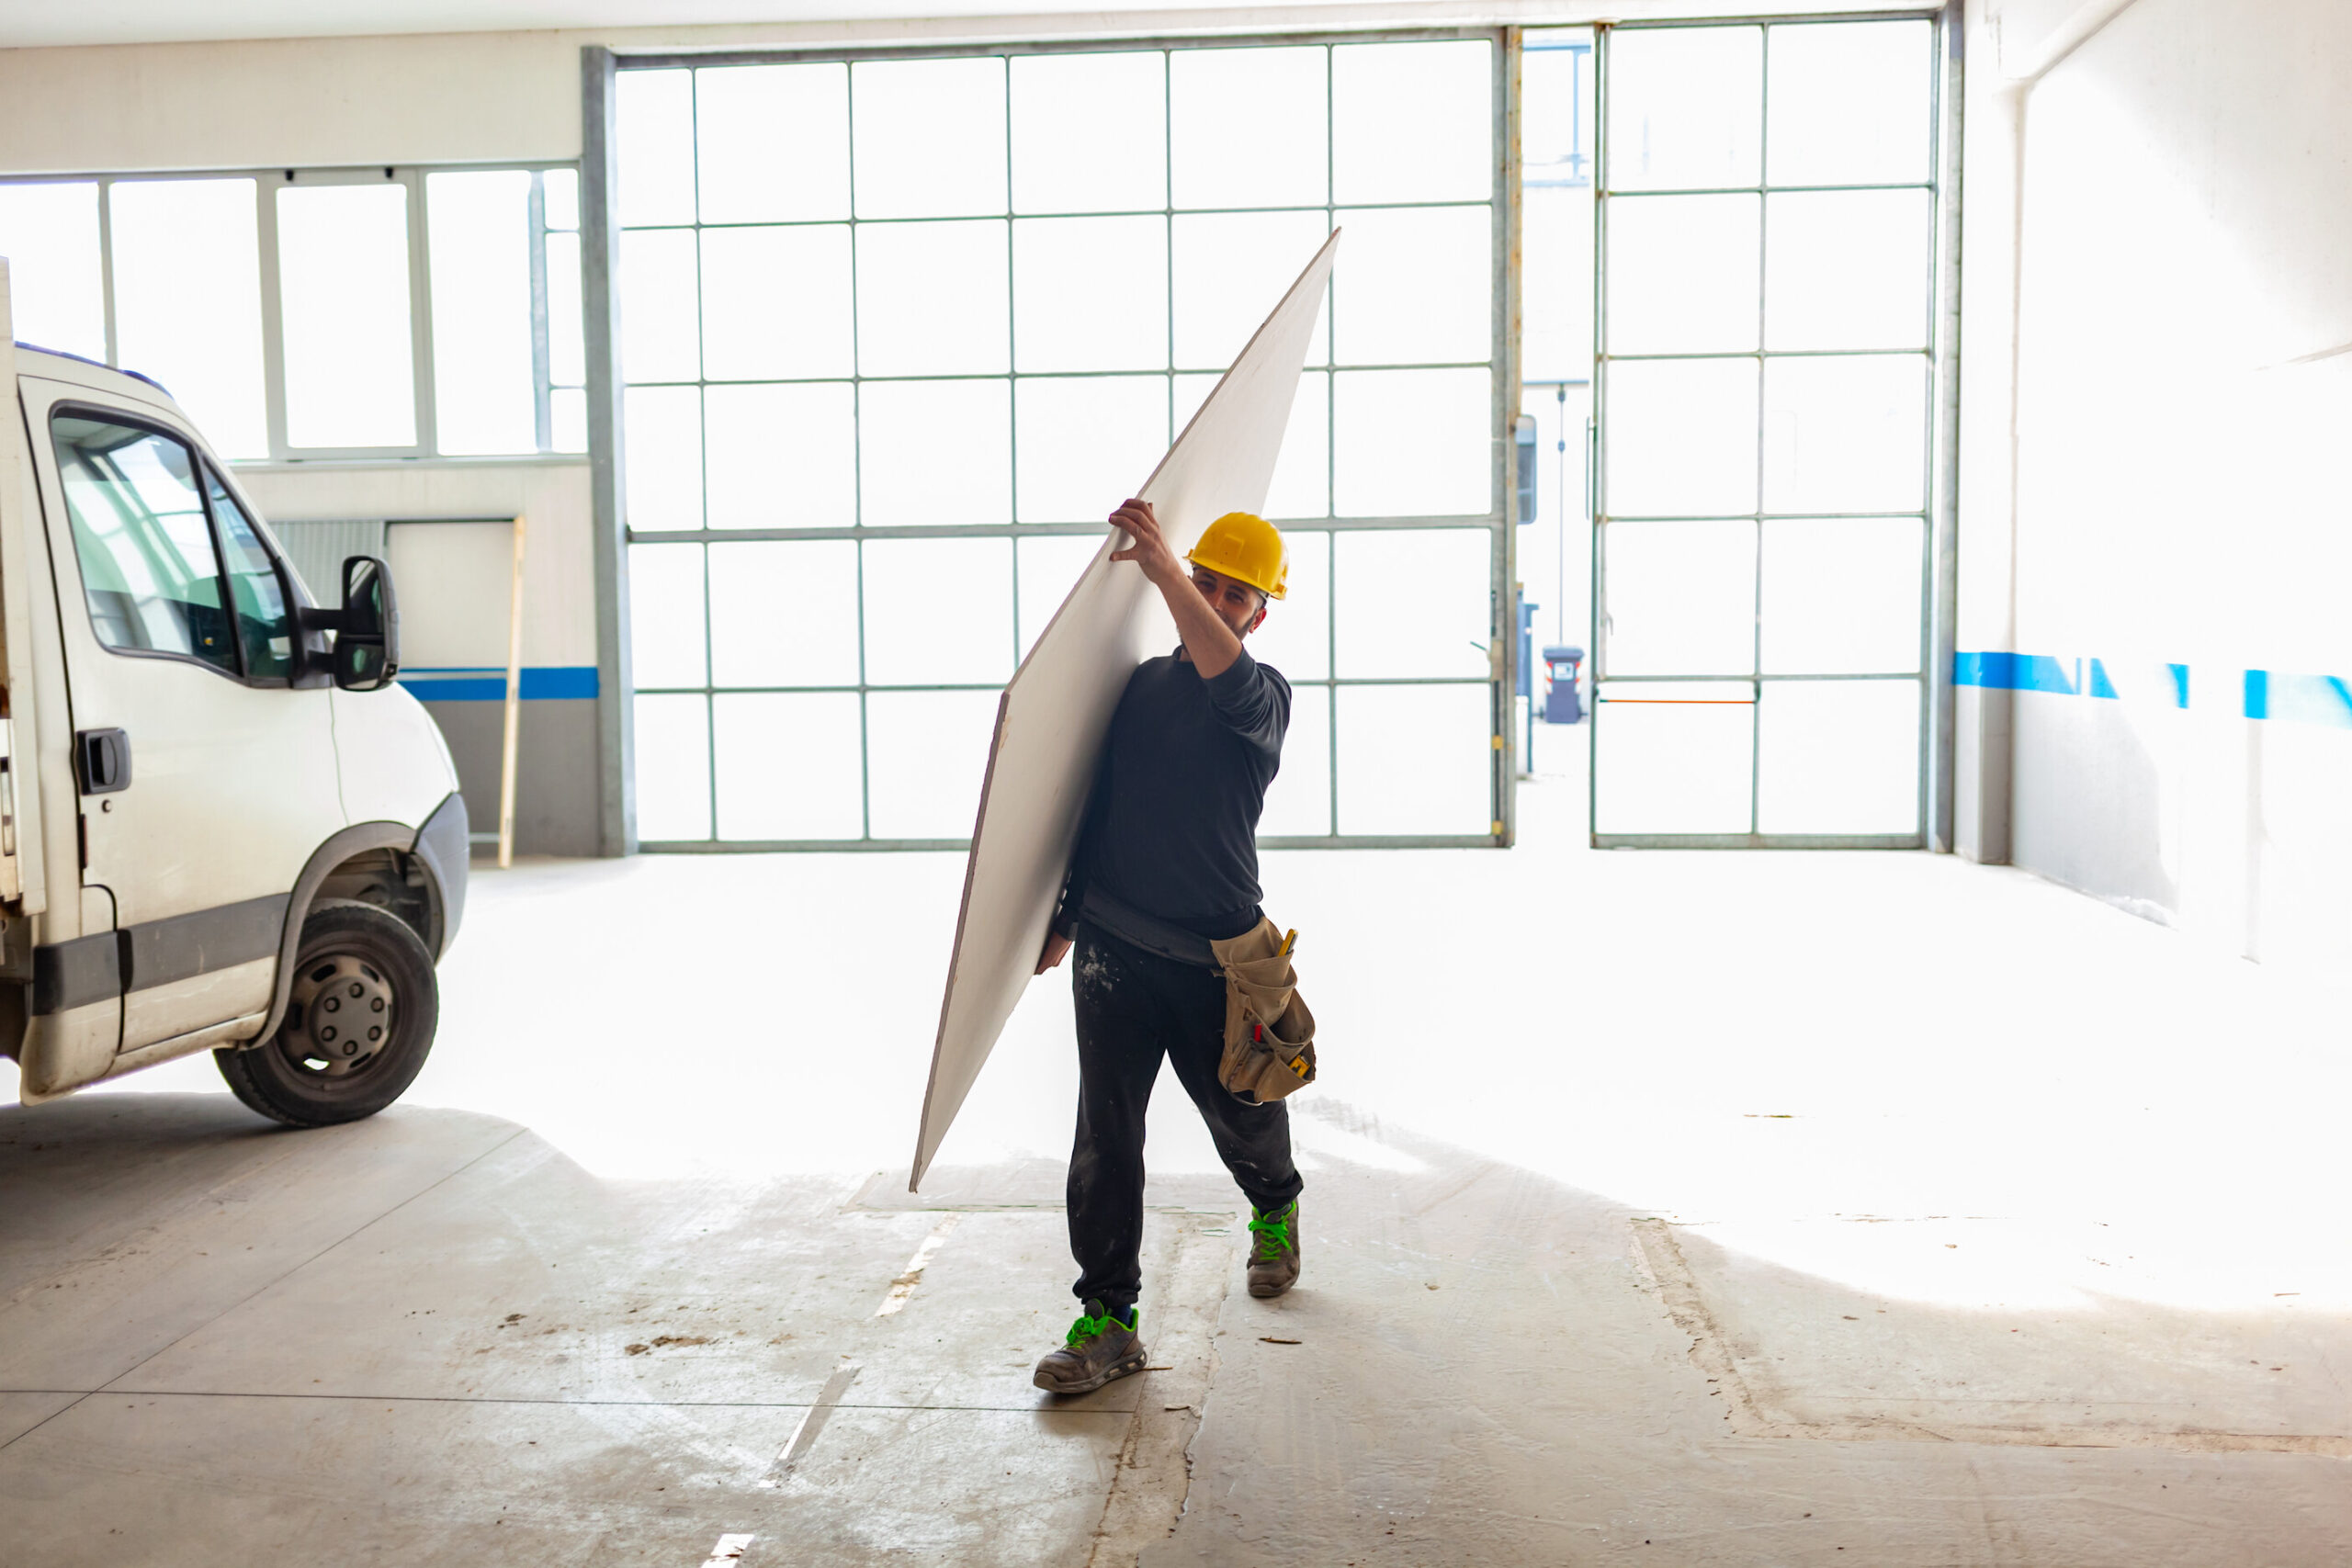
Boards are fastened to the walls with the proper fasteners. One advantage of employing this material is that it can be attached to virtually any surface, from cement blocks to metal or wood studs. It’s also lightweight, making installation easier and safer.

After that, the seams between the boards are neatly taped. A compound is put over the tape to ensure a smooth appearance and to conceal any seams. Many coats of the mixture may be applied to get a faultless appearance.

The surface is primed, painted, and sanded if you want a smooth finish. You can also apply various techniques if you prefer a textured finish rather than a smooth one. 

Conclusion

Drywall or plasterboard is a versatile material that has gained significant popularity in recent years. It’s affordable and has many benefits, which makes it a staple in construction and plastering.

We have what you need if you are looking for a plastering service on the Gold Coast. With years of experience, We Plaster & Recruit has become one of Brisbane’s most trusted names in the industry. We aim to provide high-quality services that enhance the inside of your house at a fair price. Get an estimate right away!

Breaking Down the Benefits of Drywalls

If you’re planning on doing any kind of construction work, it’s essential to know about drywalls. Drywalls are a type of wall panel that is commonly used in both residential and commercial construction.

Ultimately, drywalls are an integral part of the construction process because they provide a smooth, finished surface that also ensures your building’s water and fire resilience. They are also relatively easy to install, which makes them a popular choice for do-it-yourself projects.


Undoubtedly, drywalls are a staple in modern construction and have a variety of benefits that make them ideal for use in both residential and commercial settings. With that in mind, let’s take a closer look at some of the key advantages of drywalls so you can see why they’re such popular building materials.


What Are the Advantages of Drywall?


Benefit #1: Improves Sound Absorption and Insulation


Another advantage of installing drywall is that it improves sound absorption and insulation. This is especially beneficial in homes and businesses where noise pollution is a concern. Drywall can also help to keep heating and cooling costs down by trapping heat and cold air inside the building.

In that sense, it’s safe to say that drywall is a highly versatile material and can be used in various applications. 


Benefit #2: Increased Safety Features


Drywall is a material used to cover the interior walls of homes and businesses. It is made of a gypsum board, which is composed of a layer of gypsum plaster sandwiched between two sheets of heavy paper. On that note, one of the most significant advantages of drywall is that it provides a layer of protection against fire. 


Drywall is made of a material that is not flammable, so it can help to prevent the spread of fire. In addition, drywall is also resistant to mould and mildew, so it can help to keep your home healthy.


Benefit #3: It Is Easy to Repair


When it comes to home improvement projects, drywall is one of the most versatile materials you can use. Not only is it easy to work with, but it is also relatively easy to repair. Whether you are patching a small hole or repairing a large section of the drywall, the process is relatively straightforward.


Benefit #4: Wide Range of Finishing Options


Drywall offers a wide range of finishing options, from smooth and sleek to textured and ornate. You can choose from a variety of textures, colours, and finishes to create the perfect look for your home. The most important thing to remember when choosing drywall is to select a finish that you love, and that will complement the rest of your home. 


Benefit #5: Various Price Points for Different Needs


Depending on the quality and thickness of the drywall, prices can range from reasonably affordable to quite expensive. This makes drywall an excellent option for a variety of budgets.


The Bottom Line: The Importance of Drywall in Any Construction Project


No matter what type of construction project you undertake, drywall will likely be the material you use. Whether you’re building a new home or office, renovating an existing space, or just making some repairs, drywall is an essential part of the process.


Are You Looking for a Drywall Service in Brisbane?


For all your plastering and cladding needs, We Plaster & Recruit is the right choice. We would be happy to guide you through the entire cladding process! Whether you need plaster supplies or drywall in Brisbane, we can get the job done right for you. 


Contact us today for more information on how we can complete your construction projects!

7 Questions to Ask before You Hire a Plasterer

So, you’ve decided to have your walls or ceilings plastered and are now looking for a qualified plasterer to do the job. But with so many plasterers out there, how do you know who to choose?


Here are some questions you need to ask your plasterer before hiring them:


1. Is your business licensed and insured?


This is an important question to ask as it protects you from any damages that may occur during the plastering process. It also protects you from any legal issues if an accident occurs on your property.


It is always best to hire a licensed and insured plasterer to protect you.


2. How long have you been in business?


This is an important question to ask as it gives you an idea of the plasterer’s experience. If they have been in business for a long time, they have a lot of experience and are more likely to do a good job.


It is always best to hire a plasterer who has been in business for a long time and has a lot of experience.


3. Do you have any references?


This is an important question as it gives you an idea of what other people think of the plasterer. If they have good references, it means that they have done a good job for other people and are more likely to do a good job for you.


It is always best to hire a plasterer who has good references.


4. What is your price?


This is an important question to ask as it gives you an idea of how much the plasterer will charge you. It is always best to get a few quotes before hiring a plasterer so that you can compare prices.


It is always best to hire an affordable plasterer who offers a good value for your money.


5. What is the quality of your work?


This is an important question as it gives you an idea of what you can expect from the plasterer. If they say they do a good job, they are more likely to do a good job for you.


It is always best to hire a plasterer who does a good job and offers a good value for your money.


6. What is your experience in the field?


This is an important question because it gives you an idea of how long they have been doing this job. If they have been doing this job for a long time, it means that they have a lot of experience and they will be able to do a good job for you. It is always best to hire a plasterer with a lot of experience.


7. Will there be any extra charges?


Some plasterers charge for their services by the hour. Others may charge a flat fee for their services. You should ask about this before you hire a plasterer. 


The Bottom Line


In conclusion, before hiring a plasterer, there are a few key questions you need to ask to ensure you are making the best decision for your home. By discussing your project with your plasterer in advance, you can get an idea of the cost, the timeline, and the level of experience they have. By asking the right questions, you can be sure your project will be completed on time and to your expectations.


Are you looking for the best plasterer? We Plaster & Recruit is a registered plastering company providing the best plastering services throughout Brisbane, Gold Coast, and Queensland. Get in touch with us. 

How You Can Hang Heavy Curtains on Your Drywall

Most people think that you can only hang curtains over framed windows, but you can actually hang them on internal windows as well. The problem is, the plasterboard may look solid, but it can’t hold a screw. If you don’t mount the curtain rod properly, the curtain will sag and you’ll have a hole to patch. However, if you have the right tools and know the right technique, you can hang heavy fabrics like velvet on internal windows without a wooden border.


When it comes to hanging heavy curtains on plasterboard, there are three main methods you can use: curtain rod anchors, longer screws, and center support brackets. The materials you need to install curtains will vary depending on the style you choose. However, for most styles of curtains, you can use one of these three methods to get the job done:


Use Curtain Rod Anchors


If you’re looking for a way to add a little extra support to your curtain rod, you may want to consider using curtain rod anchors. Curtain rod anchors are small devices that can be attached to the wall or ceiling to provide additional support for your curtain rod.


There are a few different types of curtain rod anchors available on the market, so it’s important to choose the right type for your needs. The most common type of curtain rod anchor is the screw-in type. These anchors are simply screwed into the wall or ceiling, and then the curtain rod is screwed into the anchor.


Use Longer Screws or Nails


To install curtain rods on plasterboard, you will need to use screws or nails that are longer than you would use for traditional window installation. This is because the extra length will help distribute the weight of the curtains more evenly across the plasterboard, making the joint stronger. Be sure to choose the right screws or nails, as you don’t want to keep drilling, which may cause more wall damage, to find the right fit.


Use Center Support Brackets


When it comes to hanging heavy curtains on plasterboard, center support brackets are one of the best ways to go. These brackets will provide extra support in the middle of the curtain rod, so that the weight of the curtains is evenly distributed. This will help to prevent the plasterboard from sagging in the middle, and will also make it easier to open and close the curtains.


You will need to purchase two center support brackets and two sets of screws. The first set of screws will be used to attach the brackets to the plasterboard. The second set of screws will be used to attach the curtain rod to the brackets. Be sure to use screws that are long enough to reach into the studs behind the plasterboard, so that the brackets are securely attached.


Once the brackets are in place, simply slide the curtain rod into the brackets and screw it in place. Then, hang your curtains on the rod and adjust the height of the rod so that the curtains fall evenly.


Conclusion


There are a few different ways that you can hang heavy curtains on dry walls or plasterboards. The most important thing is to make sure that the curtains are hung correctly so that they do not fall and cause any damage. Whether you choose to use curtain rod anchors, longer screws or nails, or center support brackets, you must ensure that you’re following the instructions correctly to get the best results and prevent damage to your drywall.


We Plaster & Recruit is a registered company that offers the services of a reliable plasterer in Brisbane. Get in touch with us to get a quote for your project!

Effective Ways on How to Select the Best Drywall Contractor

Drywall is an essential part of any construction project, so it is vital to choose the best contractor who can do a good job. Continue reading as we give you some tips on how to choose a suitable drywall contractor:

1. Conduct Research

Drywall is used to create walls and ceilings. It is made from plasterboard, which is a type of wallboard. Drywall contractors are professionals who install, repair, and replace drywall.

When choosing a drywall contractor, it is essential to do your research. Make sure to check the references and ensure that the contractor has a good reputation.

2. Ask Around

When looking for a good drywall contractor, you should take the time to ask around. Talk to friends, family, and neighbours who have had work done recently and see if they have any recommendations. Also, check online reviews to see what others have to say about local contractors. 

Once you have a few options, you should call each and ask for a quote. Be sure to ask about the cost of materials and labour, as well as the estimated time frame for the project. 

3. Assess How They Communicate

One crucial aspect is how they communicate. You will want to ensure the contractor is clear and concise in sharing with you. 

They should be able to explain the project in detail and answer any questions you have. They should also be responsive to your requests and concerns. If you feel like the contractor is not communicative or is being evasive, it is best to move on to another option.

4. Check Their Past Work

When you’re ready to hire, check their past work to ensure they’re the best fit. You can check for online reviews. There are several online review sites where you can read reviews from past customers. This can give you a good idea of what others have thought of the contractor’s work.

In addition, ask the contractor for references. Any reputable contractor can provide you with a list of references from past clients. Be sure to follow up with these references and ask questions about the quality of the contractor’s work.

5. Pose Questions

Here are some questions to ask when you are interviewing potential contractors:

  • How long have you been in business? 
  • How many projects like this have you completed? 
  • Can you provide references from previous clients? 
  • What is your estimated timeline for this project? 
  • How much will it cost? 
  • Do you offer any warranties or guarantees?

Asking these questions will help you narrow down your choices and find the best contractor for the job.

Conclusion

A good drywall contractor will have the experience and expertise to get the job done on time and within budget. They will also be able to advise you on the best materials and methods to use to get the best results. 

We Plaster & Recruit is a registered plastering company in Brisbane that provides the best plasterer for dry walls. We believe in quality work to improve the interiors of your home while giving good value for your money. Request a quote now!

Wall Rendering 101: The Common Mistakes You Should Avoid

The walls in your home are crucial as they protect you from the outside elements and help maintain the temperature. With that said, the walls should be strong enough to support the entire structure of the house, and as the homeowner, you should do your best to maintain them in good condition. After all, a damaged wall could lead to the collapse of the entire house.

The best way to keep your walls in good condition is to ensure they’re well-rendered. Wall rendering is one of the most common practises that plasterers use in the building industry as it provides cohesion and strength to the walls. It also makes the walls look more aesthetic, improving the house’s overall appearance.

What Is Wall Rendering?

Wall rendering is a technique professional plasterers use to make walls more durable. The process involves applying a thick layer of plaster to the wall’s surface. The plaster can be applied with a trowel or a spray and is usually made from cement, lime, or gypsum.

The process of wall rendering starts with the preparation of the wall surface. The professionals will remove any existing paint or plaster on the wall. Once the wall surface is clean, the professionals will apply a layer of primer before applying the plaster. After the plaster has been applied, it will be left to dry for a few hours. Once it dries, the professionals will use the paint on top of it.

What Mistakes Are Most Frequently Made When Rendering Walls?

1. An Insufficient Ratio of Cement Rendering Material

There are instances where there’s excessive or insufficient use of rendering cement, which can cause several issues during the application. After all, cement renders must be applied with force or else they won’t adhere to the surface properly. If there’s too much water used, the render will become runny and difficult to apply. Conversely, if not enough water is used, the render will be too stiff and difficult to spread evenly.

2. Lack of Surface Preparation

If there’s something you should know about wall rendering, it’s that it always takes patience and time. This is because the plaster has to dry completely before you can start painting or wallpapering. However, some homeowners don’t heed the advice of their builders and painters, which can cause issues with the render. For example, if the render doesn’t dry properly, it can cause cracks on the surface.

3. Overuse of Sealer With Materials for Rendering

Some professional plasterers often advise that using too much sealer with a thick paste can cause cracks in the render. Sometimes, this can cause the render to peel off the wall. To avoid this, you should only use a small amount of sealer in your render.

How Expensive Are Wall Rendering Errors?

The severity of the issue will tell the response to this question. Sometimes, it can be as simple as reapplying a new coat of render to the wall. However, the damage can be so severe in other cases that you may need to replace the entire wall.

If your wall has suffered from any of the abovementioned problems, you should contact a professional rendering company to repair the damage.

Final Thoughts

You need to be mindful of the common mistakes that can occur when rendering a wall. By taking the time to understand the process and having the proper tools and materials, you can avoid these mistakes and create a beautiful, professional-looking finish.

We Plaster & Recruit is a plastering company in the Gold Coast that provides reliable and high-quality plastering services, so you won’t have to deal with hefty costs on wall rendering mistakes. Get in touch with us today for more information!