ABN: 11 641 139 568

Blog

Wall Plasters 101: On Humidity and Atmospheric Changes

Whether you live at home with your family or not, it is important to know how humidity affects indoor air quality. For one, lime and clay plasters assist in reducing indoor humidity, which is vital for one’s health.

Indeed, improving indoor air quality can be a daunting task, especially when you don’t know what to do. To begin, you must know more about humidity and how it impacts the air quality in your home.

Read on as we talk about humidity, atmospheric changes, and the use of wall plasters in a home.

The Relationship between Indoor Humidity and Air Quality

  • When Humidity Is Too High

Excessive indoor humidity is a concern. One example is condensation on windows. Condensation can also form within walls. Excess moisture can cause mould, rot, and structural issues.

Mould spores, fungi, mites, and viruses multiply higher in damp environments. The off-gassing or release of hazardous compounds from building components is accelerated by high indoor humidity. The air quality will deteriorate. High humidity will eventually demand expensive repairs to remove mould and other impurities and restore the structural integrity and health of the property.

  • When Humidity Is Too Low

You may feel uneasy if the humidity inside is too low. Because perspiration evaporates more quickly in dry air, it makes you chilled. As a result, heating prices rise. The air may become drier depending on the source of heat. This causes trouble breathing, as well as dry eyes and skin.

Controlling Humidity Levels with Clay and Lime Plasters

Natural plasters absorb moisture from the air when relative humidity is high and gradually release it when relative humidity is low. This preserves humidity balance. As a result, humidity remains constant regardless of temperature or environment. All of the moisture absorbed by your plaster will not condense on a mould-prone component. Mildew-resistant clay and lime plaster

Wall Plasters and Atmospheric Changes

The weather has an impact on the application and quality of plaster. Temperature, humidity, wind, and sun exposure all play an impact.

  • The Cold and Condensation

A drop in temperature slows the setting and hardening of all plasters. Plastering in cooler weather requires longer intervals and retraining. Otherwise, the cold and thermal fluctuations can reduce the strength of the material and result in fractures.

It’s critical to note that cooler temps prevent cement from hydrating. Cooler temperatures also cause the setting procedure to take longer, or fail to instal overall.

Moreover, cold winter condensation can cause damage to completed plaster in some areas. Furthermore, it can prevent or postpone the drying of wet building activities for weeks or months, making plastering problematic.

  • The Hot and Dry

In hot, dry conditions, plaster can dry out before setting. Partially set weak material frequently has a powdery surface that is unsuitable for the next coat or ornamentation. Cement plaster is a sensitive material. Maintain a wet surface while curing.

Conclusion

Many Australians are now aware that during the cooler months, efflorescence is a concern. Salts are more visible during cooler days and nights than during warmer days and nights. Meanwhile, frosty winter efflorescence is caused by seasonal fluctuations in evaporation. 

Additionally, the rate of evaporation may be substantial in warmer or hotter conditions, resulting in significant evaporation of moisture within the cladding. Colder weather may cause evaporation to be delayed, allowing precipitation to reach the plaster’s surface before evaporating and leaving behind salt deposits. 

Following cold weather techniques during the cooler months may lessen or eliminate efflorescence.

We Plaster & Recruit is an esteemed company that offers  professional plastering services. With us, you can address the problems of your home and get solutions for them. Contact us today!
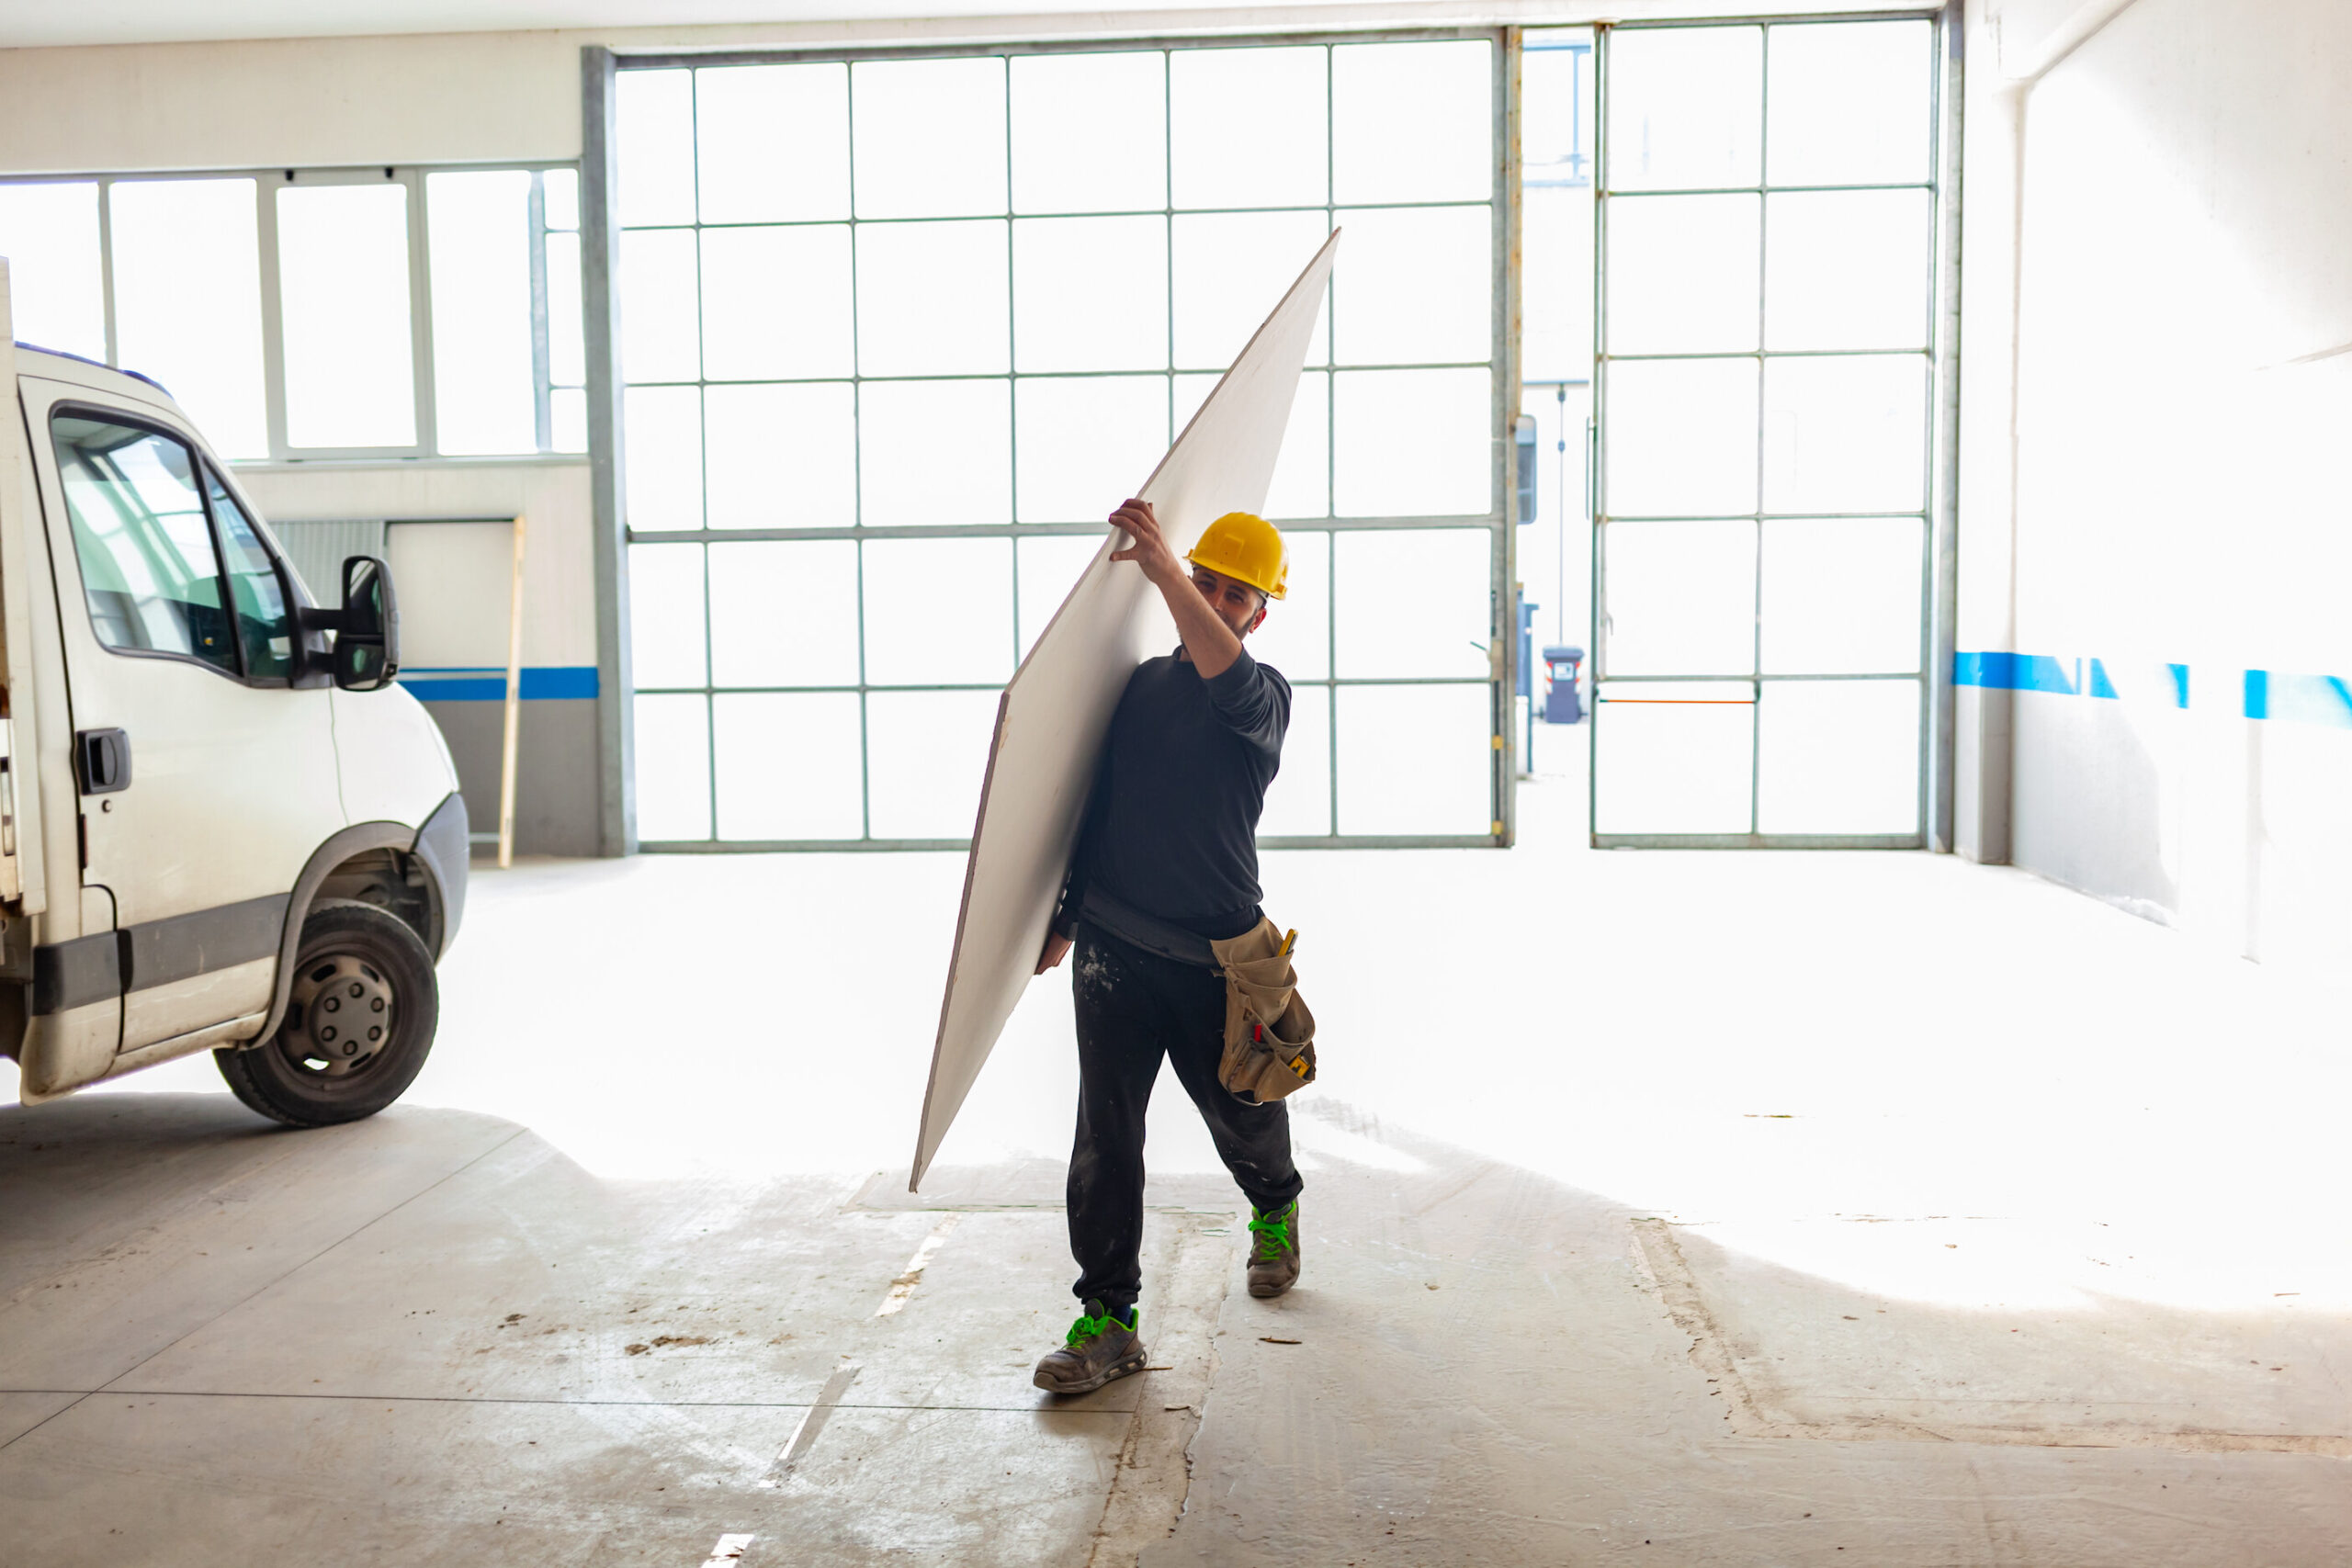
Some Notable Tips to Prepare Your Walls for Painting

Achieving a beautiful end result when decorating requires careful planning and execution. That said, spending a little extra time and attention on wall preparation before painting will lead to better results.


Read on to learn how to prep up freshly plastered walls, painted walls with cracks and holes, and walls that have been wallpapered in the past.


Walls of any material should be clean, dry, and free from greasy or dusty buildup. It should also be clear of any holes, cracks, loose or flaking plaster, peeling paint, or shards of wallpaper.


The best course of action is to remove as much furniture as possible from the affected area or to move it all to the middle of the room and cover it with plastic.


This would be the best canvas you’ve ever had. The best surface can be achieved simply by rolling on a primer and undercoat. The plaster will absorb any paint like a sponge if it has not been primed with a sealer, leading to excessive waste and the need for more coats of paint than are necessary. It’s important to wait until all new or raw plaster is cured before decorating. When the dark spots disappear or the colour changes to a pale pink or grey, you’ll know it’s dry.


Preparing Old Surfaces


Preparing previously painted walls for a new coat of paint is a simple process, but there are still steps you need to take to ensure a professional result.


Filling All the Holes and Cracks


You’ll need some fine sandpaper, sugar soap, some flexible filler, and a flexible filling knife. In addition to that, here are some other considerations:


  • First, use sugar soap to remove any dust from the gaps, ensuring that the filler sticks to the wall.
  • Second, you will need to use your flexible filling knife to smooth out the filler in the hole.
  • And lastly, wait for the filler to dry, then sand it down to a smooth finish.


Sanding the Walls


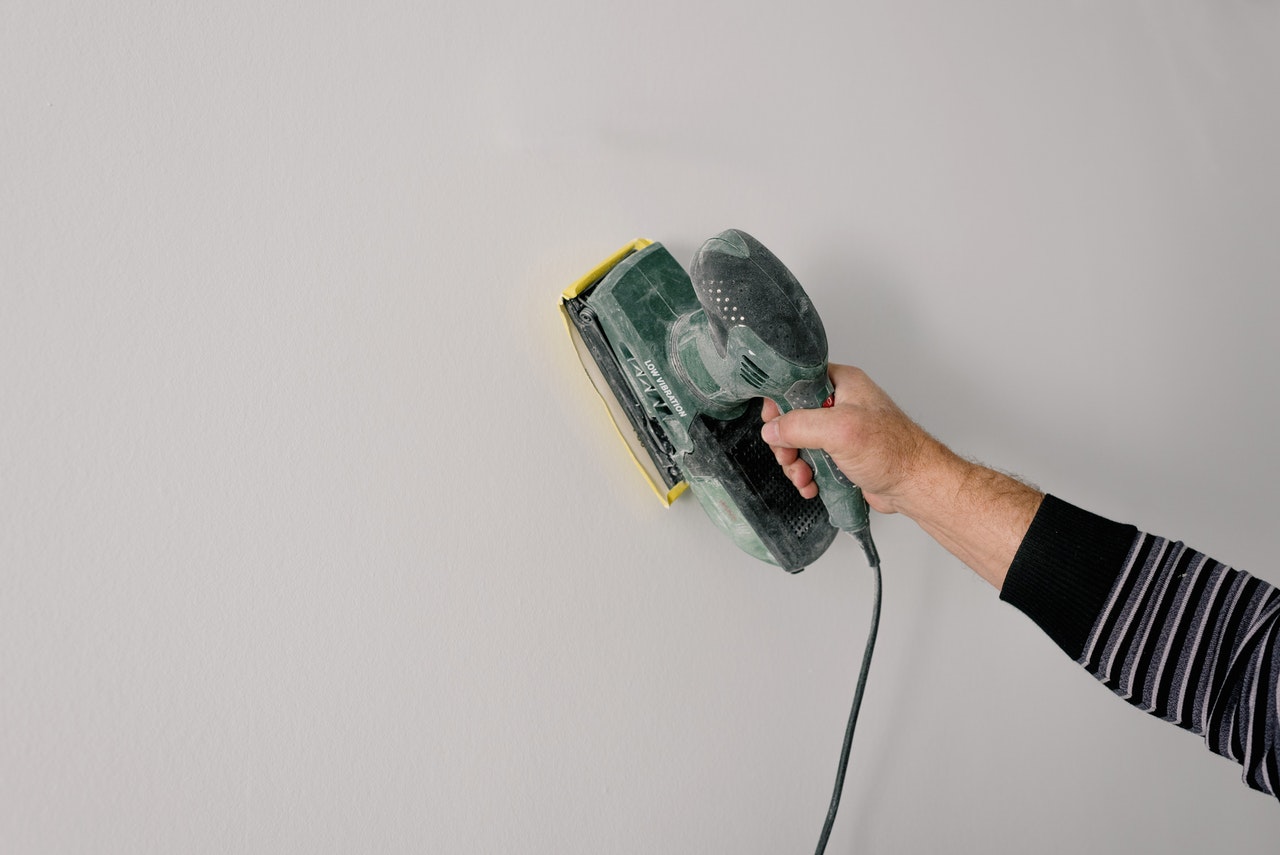
Get a new sheet of fine sandpaper and gently sand the entire wall, paying special attention to any flaking paint. Giving the wall some texture like this will make it easier for the paint to adhere.


To do this task, get sugar soap, a sponge, and some protective gloves. Use a sugar soap solution to get rid of grimy fingerprints, crayon marks, and oil. This is available in both pre-blended and aqueous forms. It’s best to use gloves when applying the sugar soap to the walls. Once you’ve finished washing the walls, rinse the surface with warm water to remove any soap residue. Don’t touch anything until the walls are completely dry.


Prepping up Your Previously Wallpapered Surfaces


These materials are required:


  • Bucket
  • Sandpaper
  • Sponge
  • Steam stripper
  • Stripping knife or orbital scorer
  • Sugar soap
  • Wallpaper stripping solution


First, using a stripping knife or orbital scorer, score the wallpaper in diagonal crosses without damaging the plaster underneath it.


Second, use a sponge and hot water to soften the wallpaper, making it more manageable to peel off. Soften it by wetting it in increments of a few metres and letting it sit for five minutes. Work carefully around electrical outlets and switches.


Then, remove the paper by sliding a wide stripping knife into one of the slits. To get rid of all the paper, repeat the steps above.


If you’re having trouble removing the wallpaper, consider using a wallpaper stripping solution, which dissolves the wallpaper paste. Just soak the paper in the solution, set it aside for a while, and then peel it off with the knife.


After you’ve removed the major remnants of paper, you may find some smaller bits still clinging to the wall. Try sandpaper if the stripping knife doesn’t do the trick. Using fresh sandpaper, you may also gently sand the walls.


And lastly, use a sugar soap solution to wash away any greasy fingerprints, crayon marks, or other grime. This is available in both pre-blended and aqueous forms. It’s best to use gloves when applying the sugar soap to the walls. Once you’ve finished washing the walls, give the surface one more rinse with warm water to get rid of any soap residue. Don’t touch anything until the walls are completely dry.


Conclusion


Indeed, painting your walls can be a daunting task, but with proper preparation, it can be a relatively easy and rewarding process. First, it is important to remove all furniture and other items from the room. Next, you will need to clean the walls, repair any damage, and apply a primer. Once the primer is dry, you can begin painting. Be sure to use the proper tools and techniques for the best results.


If you are looking for experienced painters and plasterers in Brisbane, look no further than our experts here at We Plaster & Recruit. We are a registered plastering company providing the best plastering services with operations throughout Brisbane, Gold Coast and Queensland areas. Call us today and let us prep your walls and paint them smoothly in no time!

5 Best Construction Materials Used in Weatherboard Cladding

Cladding applies one material over another to provide a protective layer. It is most commonly used on buildings to protect the structure from the elements, insulate it, and improve its aesthetic appearance.

Usually, weatherboard cladding is the most common material used in projects for its low pricing rates in the market. However, it is also the material with the ability to maintain upkeep. But what other construction materials should become ideal cladding materials? Here are some ideas.

1. Fibre Cement

Fibre cement cladding is becoming an increasingly popular choice for homeowners looking for a durable, low-maintenance solution. It is made from a mix of cement, sand, and cellulose fibres, which are then pressed into boards or sheets.

Fibre cement is a robust and durable material that is highly resistant to fire and water, making it an excellent choice for cladding in areas prone to bushfires. It also adds versatility as it can be installed in various ways—on roofs, walls, and facades.

2. Aluminium

Aluminium cladding is a popular choice for modern buildings due to its lightweight, low maintenance requirements, and durability. It is also fire-resistant and can be easily recycled, making it a great environmentally friendly option.

Aluminium cladding is available in various colours, textures, and finishes, making it a great choice for commercial buildings. It also offers excellent thermal insulation and soundproofing, making it an ideal choice for residential and commercial buildings.

3. Vinyl

Vinyl cladding is a popular option for residential and commercial buildings due to its low cost and ease of installation. It is available in various colours, textures, and finishes and is highly water-resistant, making it an excellent choice for coastal areas.

Vinyl cladding is also fire-resistant and can be easily recycled, making it an environmentally friendly option. Therefore, using it for cladding does improve not only the house but also the environment. It is also lightweight and easy to install, making it an excellent choice for DIYers.

4. Rusticated

Rusticated cladding is a timeless and traditional form of cladding that has been used for centuries. It is famous for its interior and exterior walls, providing a rustic look and feel. It is made up of interlocking wood, usually cedar, and is designed to give a rustic look.

When installing rusticated cladding, it is essential to ensure that the pieces fit together securely, as this will help to protect the walls from moisture and other environmental factors. The parts should be sealed with a weather-resistant sealant to ensure that the wood remains strong.

5. Timber

Timber cladding is a type of cladding made up of timber boards and is one of the most popular types of cladding due to its natural beauty and durability. It is available in various finishes, including untreated or treated, and can create a unique look for any home. Timber cladding is low maintenance and can last many years if it is well-looked. It is also an environmentally friendly option, as it is a natural material that is renewable and recyclable.

Conclusion

Many other cladding materials are used in home projects, each providing protection from various elements. However, it is essential to ensure that the cladding is installed correctly and sealed properly to ensure maximum longevity and security. Cladding can also suit any budget and style, making it an excellent choice for any home.

We Plaster & Recruit is a renowned plastering company offering plastering services in Brisbane. But aside from building dry walls in homes, offices, and commercial spaces, we also provide ceiling repairs throughout Gold Coast and Queensland areas, offering a holistic approach to reinforcing properties. Learn more about our services and book a plastering service near you today.

How Long Does Drywall Last in a House: What You Need to Know

Drywall is one of the most essential components of a home. It is used to construct walls and ceilings, and it is the foundation of many home improvement projects. But how long does drywall last in a house? While this may seem like a straightforward question, there are a number of things that you need to consider. To help simplify things, here’s a brief discussion on how long drywall lasts in a house after it’s been installed.

How Long Does Drywall Last in a House?

The answer depends on several factors, such as the quality of the drywall, the environment, and the amount of wear and tear it receives. Generally, drywall can last up to 20 years in a house, with proper maintenance and repairs. However, if the drywall is exposed to extreme temperatures, moisture, or excessive wear and tear, it may need to be replaced sooner.

When it comes to the quality of the drywall, the thicker the drywall, the longer it will last. The standard thickness for drywall is 1/2 inch, but thicker drywall can be used for certain areas, such as bathrooms or garages, where moisture levels are higher. Thicker drywall is also more resistant to damage from nails and screws.

The environment in which the drywall is installed also plays a role in its longevity. If the drywall is exposed to high levels of moisture, such as in a bathroom, it may need to be replaced more often. Also, if the humidity levels are too high, mold can form on the drywall. In order to prevent this, it is important to use a dehumidifier in high-humidity areas.

Finally, the amount of wear and tear the drywall receives can also impact its longevity. If the drywall is frequently exposed to heavy objects, such as furniture or appliances, it may need to be replaced sooner than expected. It is also important to protect the drywall from any sharp objects, such as tools or nails, to avoid damaging it.

How Do You Make Drywall Last Longer?

Making drywall last longer is a great way to save time and money on future repairs and renovations. drywall is a great choice for interior walls and ceilings, but without proper maintenance and care, it can quickly deteriorate. Fortunately, there are a few steps you can take to make drywall last longer and prevent unsightly damage.

First, it’s important to use the right type of drywall for your project. Different types of drywall are designed for different uses. Some are better suited for certain projects than others, so be sure to research the different types of drywall available before beginning your project.

Once you’ve chosen the right type of drywall for your project, it’s important to properly prepare the area prior to installation. This includes removing any debris, dust, and dirt from the area and ensuring that the walls are level and flat. If you’re installing drywall on an existing wall or ceiling, be sure to patch up any holes or cracks.

Finally, it’s important to regularly inspect the drywall for signs of damage. If you notice any cracks or chips, be sure to repair them right away. This will help to prevent further damage and ensure that the drywall lasts as long as possible.

Conclusion

Overall,  drywall can last up to 20 years in a house, with proper maintenance and repairs. However, the quality of the drywall, the environment it is installed in, and the amount of wear and tear it receives can all affect its lifespan. To ensure the drywall lasts as long as possible, it is important to use high-quality drywall, maintain the proper humidity levels, and protect it from any sharp objects.

We Plaster & Recruit is a registered plastering company providing the best plastering services with operations throughout Brisbane, Gold Coast and Queensland areas. We are fully licensed and insured. We believe in quality work to breathe in new life to the interiors while also giving you value for your money. For more information on what we can do for you, visit our website today!

5 Reasons to Get Your Damaged Drywall Fixed by Professionals

We all want to live in a clean and comfortable home, but such a home can only be brought to reality with the effort put in by the homeowner. Homeowners must do what they must to keep their homes maintained. Everything from vacuuming the carpets to wiping the table is just one of the many things that need to be done.

If your home has drywall, then drywall repair is something you must also consider getting done! Because what happens if you live drywall in a damaged state? Many things. Exposed drywall is a fire hazard, and there’s a higher potential for mould growth! Of course, damaged drywall doesn’t look good, either.

As such, drywall repair is an essential part of any home improvement project, and it’s important to make sure it’s done correctly. Hiring a professional drywall repair service can make the process much easier, and in some cases, it can even save you money.

That said, if you’re on the fence about hiring professionals to repair your drywall versus doing it yourself, here are a couple of good reasons you’re better off with the former:

1. Experience

One of the main reasons for hiring a professional for drywall repair is their experience. Professional drywall repair services have years of experience working on all types of walls and ceilings, and they can easily spot potential problems and fix them quickly and efficiently. Additionally, they have access to a variety of tools and materials that can help make the job easier.

2. Quality

Professional drywall repair services ensure high-quality results. They use the best materials and techniques to ensure that the finished product is durable and looks great. Additionally, they are familiar with all of the local building codes and regulations, so you can be sure that the repair will be done safely and properly.

3. Cost

Hiring a professional drywall repair service can save you money in the long run. How, you might ask? Well, think about it. When you go about DIY repairing your drywall, you need the right products and equipment to carry out the job. These are all added costs that you can avoid by hiring professionals. They have access to the best materials and tools, which can help reduce the cost of the job.

4. Safety

Drywall repair can be a dangerous job, and it’s important to make sure that it’s done safely. Professional drywall repair services are trained to identify potential hazards and take precautions to make sure that the job is done safely. Additionally, they have the necessary tools and materials to complete the job efficiently.

5. Peace of mind

Perhaps one of the best yet underappreciated reasons to hire a professional to deal with drywall repair (or any service for that matter) is the peace of mind that follows. By hiring a professional, you can be sure that the job is done safely and correctly. You won’t have to worry about the quality of the repair, and you can rest assured that your project will be done right.

Conclusion

Drywall repair can be a difficult and often dangerous task. That’s why it’s important to hire a professional service to make sure that the job is done safely and correctly. Professional drywall repair services are trained to identify potential hazards and have the necessary tools and materials to complete the job safely and efficiently. Furthermore, you can be sure that the job will be done correctly! All of these factors ensure that your drywall is restored to its former glory, giving you that dream space you’ve always wanted to live in without any drywall-related issues to plague your quality of life.

We Plaster & Recruit is a plastering company that offers various plastering services. If you are looking for plasterers in Gold Coast, work with us today!

Interesting Facts You Might Not Know About Plasterboard

If you are like most people, you likely think of plasterboard or gyprock as that bland, white material used to create walls and ceilings in homes and offices. 

But there’s a lot more to plasterboard than meets the eye. Here are several things you might not know about this ubiquitous building material:

Plasterboards Have Been Around for Centuries

The history of plasterboard is a long and interesting one. Plasterboard has been used for centuries as a material for walls and ceilings. The first known use of plasterboard was in the construction of the Egyptian pyramids. Plasterboard was also used in the construction of the Roman Colosseum.

In more recent history, plasterboard was used extensively in the construction of Victorian homes. It was also used in the construction of early 20th-century office buildings. Plasterboard fell out of favour in the mid-20th century as other materials, such as drywall, became more popular.

However, plasterboard has made a comeback in recent years and is now once again a popular choice for both home and office construction. Thanks to its many benefits, plasterboard is here to stay!

Plasterboards Are Fire-Resistant

Gyprocks are fire-resistant, meaning they are designed to resist fire and prevent the spread of flames. This makes them an ideal choice for use in homes and businesses, as they can help to reduce the risk of fire damage. Plasterboards are made from various materials, including gypsum, glass fibre, and paper, which all have fire-resistant properties.

Plasterboard Is So Versatile

Plasterboard is a versatile material that is used for a variety of applications. It is a popular choice for walls and ceilings, as it is easy to install and provides a smooth, clean surface. Plasterboard can also be used to create custom shapes and designs, making it a versatile material for both home and commercial applications.

Plasterboard Is Environment-Friendly

The plasterboard is an environment-friendly product that helps to reduce the carbon footprint of your house. It is made of natural materials and does not contain any harmful chemicals. Plasterboard is also recyclable, so it is a good choice for those looking for an eco-friendly option for their home.

Plasterboard Is Known By Different Names Depending on Where You’re From

Plasterboard is also known by different names, depending on where you’re from. In the United Kingdom, it is known as a plasterboard. In the United States, it is called drywall. In most parts of Australia, it is known as gyprock.

Plasterboard Is Made From Gypsum

Plasterboard is a construction material that is made from gypsum.

Gypsum is a soft mineral that is found in sedimentary rocks. It is made up of calcium sulfate and water and can be found in many parts of the world, and is mined in large quantities. This mineral is used in various products, including plasterboard, blackboard chalk, and drywall.

The manufacture of plasterboard begins with the mining of gypsum. Gypsum is then crushed and ground to a fine powder. The powder is then mixed with water and other ingredients and pressed into a mold, and finally, the plasterboard is then dried and cut to size.

Conclusion

There are a few things you might not know about plasterboard or gyprock. For one, it’s been around for centuries. It’s made of gypsum, which is a naturally occurring mineral. Plasterboard is also fire-resistant, making it a great choice for wall and ceiling materials. Additionally, plasterboard is recyclable, so it’s a sustainable building material.

We Plaster & Recruit can provide you with various services, including gyprock repair and replacement in Brisbane and nearby areas. Contact us to get a quote for your gyprock project!

9 Things Professionals Consider When Painting over Drywall

Many homeowners pick drywall for their homes because it is more affordable, fire-resistant, and can insulate sound and temperature. They may also paint over it after installation. 

Adding a fresh coat of colour to your newly-installed drywall can help brighten the room and boost your property value. Painting it can also help protect your home from expensive damages. However, as you contact your local contractors, you might wonder what they do to ensure they smoothly and efficiently apply those long-lasting colours. 

This article will discuss nine things professionals consider when painting your drywall. 

1. Seal the Holes and Cracks 

Besides being an eyesore, holes and cracks can also indicate your drywall has a severe problem. 

Professional painters will apply drywall compound to the gaps or gouges using a putty knife. On the other hand, they’ll use some putty and light spackle to fill the holes and cracks. A flexible filler for drywall treatments works best if your wall surface has small holes or cracks. 

2. Sand the Imperfections Away  

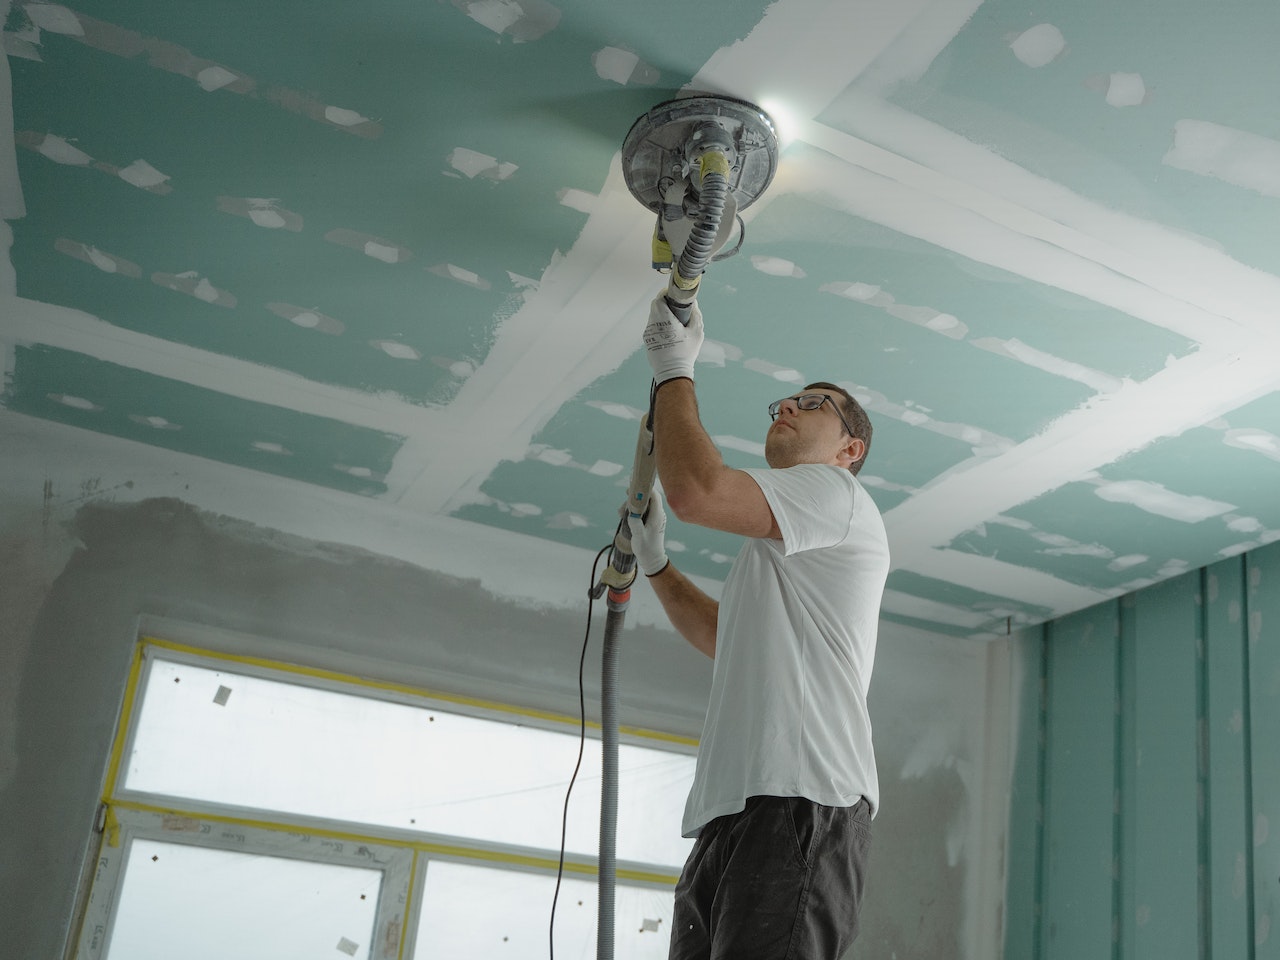
After letting the sealers dry, they’ll sand down the area’s imperfections. A wood sander will damage your drywall’s delicate surface. On the other hand, professional painters strongly recommend fine sandpaper and drywall sanders because they create a smoother surface. 

3. Clean the Drywall’s Surface 

Before painting or priming drywall, professional painters must always ensure a clean canvas. Newly-installed drywall can be dusty, and repaired ones in kitchens or bathrooms can accumulate oil, moisture, and grease. 

Painters can prevent cracking or chipping new paint by using a damp cloth to wipe away the dirt, dust, and grease buildup. They may also lightly sand the drywall or existing paint if it’s rough or slightly damaged. Neglecting this crucial step will decrease the paint’s effectiveness, and the grime may be visible in the finished results. 

4. Apply Painter’s Tape

Before beginning the paint job, they must apply painter’s tape to protect all edges from paint stains. They may also “cut in” on the edges while painting to achieve a clean finish.

5. Apply a Professional Drop Cloth

Besides the painter’s tape, painters must put down several professional drop cloths to protect the surfaces in your room. It will also prevent it from spreading paint across the house and protect your floors. 

6. Protect the Surrounding Area

No homeowner would want their priceless furniture covered in paint splatters. And for this reason, professional painters need to protect the surrounding areas. They may remove pieces of furniture from the workspace or throw a plastic tarp covering everything that remains in the room. They may also place several fans in the room to ensure proper ventilation.


7. Prime the Drywall 

Professional painters use polyvinyl acetate (PVA) to help the paint stick to the drywall surface better. Adding a pre-coat or primer can help prepare the surface and help the paint stay longer. It can also help reduce the required coats and create a cleaner result. 

However, while tinting the primer helps reduce the number of coats and match the final colour, this technique only works for a few dark colours. Professional painters use a grey primer tint when working with darker colours because it usually works better with darker shades.

8. Paint the Drywall

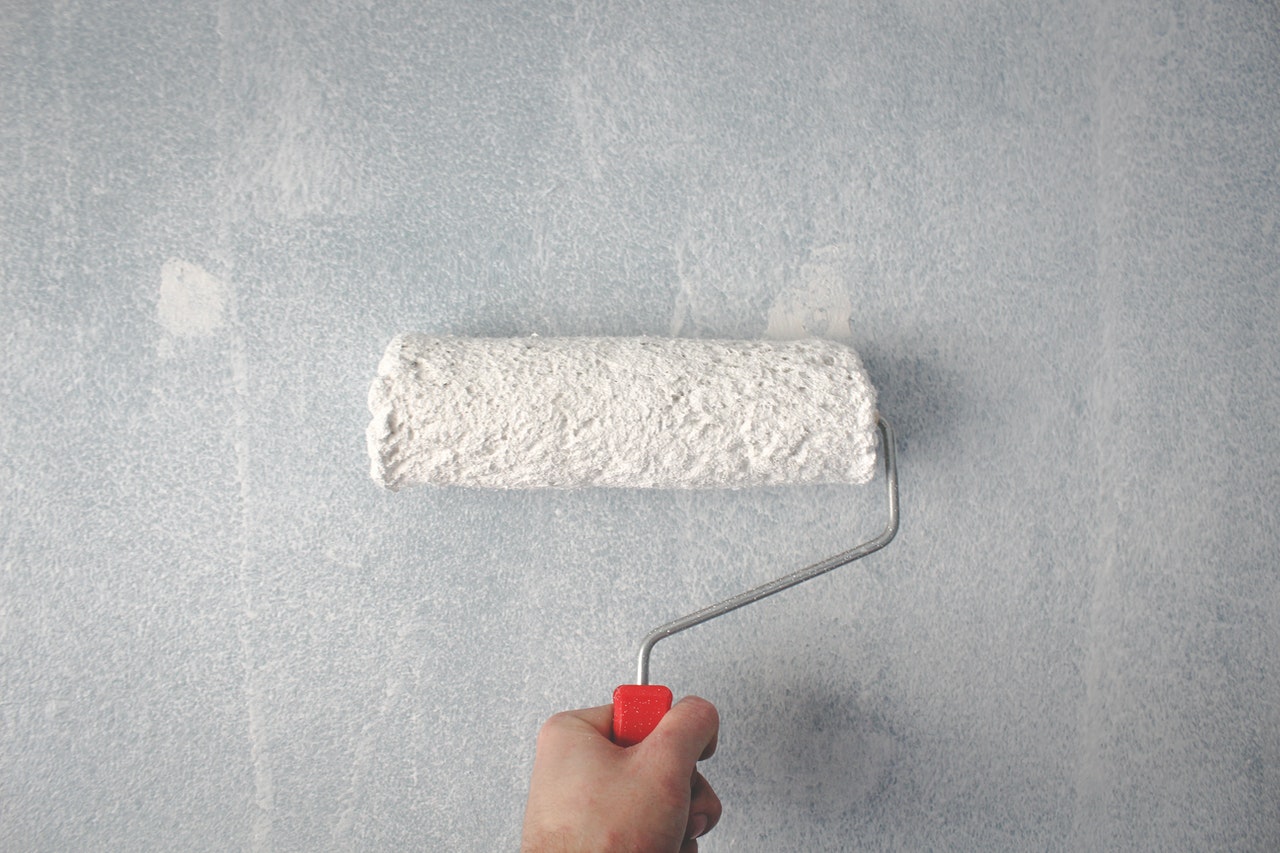
Next, professional painters will apply paint using rollers or sprayers. While spraying provides faster and even results, it requires a lot of preparation. On the other hand, although rolling can take a little longer, it requires a more straightforward application. 

9. Let It Dry

Lastly, professional painters will give the paint ample time to dry before applying the next coat. The drying time depends on how you used the primer, your climate, and which colour you used. 

Colouring a Brighter Home

Painting your drywall can boost your property value and brighten your room. While it may be tempting to do it yourself, hiring professional painters can help ensure better results. 

If you need help with your drywall, we can help you. We Plaster & Recruit offers professional yet affordable plastering services in Brisbane to help your home stand out. Contact us now to request a quote!

Tips to Find the Right Plasterer for Repair and Installation

Finding a reliable and experienced plasterer can be challenging, but with the right advice and tips, you can ensure that you pick the best professional for your job.

Plastering is a craft that requires precision and skill, as it involves covering surfaces with a thin coat of plaster to create a smooth and solid finish. Whether you need to repair existing plaster or are planning to install a new coating, it is essential to choose the right plasterer.

This article will provide valuable tips to help you find the best plasterer for repair and installation. By following this list, you can ensure you get the best price for your money and get the top results you are looking for.

1. Ask for Referrals

One of the best means to find a good plasterer is to ask for referrals from family and friends. You can also ask your local hardware store or contractor for recommendations. You can also ask around your local community or search online for testimonials from past customers. People who have had past experiences with a plasterer can give you valuable insight into the quality of their work and customer service.

2. Research Credentials

It’s necessary to do your research and make sure the plasterer you choose has the necessary credentials. Check if they are certified by a professional organisation and are appropriately insured. You should also ask for references from past clients to ensure they have a good track record.

3. Check for Insurance

Make sure the plasterer you choose carries the proper insurance. This will ensure that you will be covered if anything goes wrong with the project.

4. Consider Experience

When looking for a plasterer, it’s essential to consider their experience. Look for a plasterer who has experience with projects similar to yours. This will ensure that they understand the specific needs of your project and can provide quality work.

5. Review Portfolio

Take the time to review the plasterer’s portfolio. This will give you an understanding of the type of work they’re capable of and will also help you obtain a sense of their style and creativity. Additionally, this portfolio will give you a good indication of the quality of their work.

6. Get Detailed Estimates

Make sure to get a precise estimate from the plasterer before you agree to the project. This will help you understand the scope of the job and will give you a view of the overall cost. Additionally, make sure to ask about any additional costs that may arise during the project. This will help you compare the costs and ensure you choose the most cost-effective option.

By following these tips, you can rest assured that you’re hiring the right plasterer for your repair and installation job. You’ll be able to find someone who is experienced and has the necessary skills to complete your project to the highest standards.

Conclusion

Finding the right plasterer for repair and installation is essential to ensure the job is done correctly. The tips outlined in this article provide a good starting point for finding the right plasterer. Consider researching plasterers’ work experience and qualifications, ask friends and family for recommendations, and look for reviews online. Additionally, request estimates from multiple plasterers before making a final decision.

We Plaster & Recruit is a highly experienced and trusted plastering company that provides top-notch services throughout Brisbane, Gold Coast and Queensland. We are a fully licensed and guaranteed business dedicated to ensuring our clients receive the highest quality plastering services. If you are considering an experienced and reliable plasterer on the Gold Coast, contact us today for more information.

Basic Facts You Need to Know When Fixing Plaster Damage

Cracks in plaster walls are among the most common problems that homeowners face. While gaps in drywall or plaster can be caused by several things, such as settlement or poor craftsmanship, they are usually not a structural issue and can be easily repaired.


Although cracks can occur for various reasons, they are typically caused by changes in temperature or humidity. These changes can cause the material to expand or contract, which can stress the material and cause it to crack. External forces, such as impact or vibration, can also cause cracks.


Depending on the severity of the crack, there are different methods to repair cracks in plaster walls. For small cracks, using a putty knife or caulk to fill the damage and then painting over it is usually sufficient. For larger cracks, it may be necessary to use a patching compound to fill the gap and then sand and paint over it.


If you are unsure how to repair cracks in plaster walls, several resources are available; you should pay close attention to this article. We have tapped the expertise of leaders of the plastering service in Brisbane to share their knowledge. 


What Is Plaster Filler?


If you ask a contractor specializing in plastering services for the primary material for this project, they will probably respond with plaster filler or Polyfilla. It is a specialized plaster used to fill in cracks, holes, and other imperfections in walls and ceilings. 


Unlike traditional plaster, which is applied in a thin layer, Polyfilla is a thick, viscous material that can be spread over a wide area. It is typically made from gypsum, sand, and water and can be purchased at most hardware stores.


It is most commonly used to repair cracks in walls and ceilings, but it can also fill holes in woodwork or level out uneven surfaces. Plaster filler is easy to apply and can be sanded down to create a smooth, finished surface.


Should I Use Plaster or Plaster Filler?


There are several reasons why plaster filler is a better option than plaster for filling in cracks:


  1. It can be easier to control when working in a small area.
  2. It is easier to apply and smooth out.
  3. It is less likely to crack or chip when dry.

When working with plaster, it is necessary to have a good understanding of how it works. Plaster is a material applied wet and then dries to a hard, solid state. It is made up of a mixture of lime, sand, water, and other ingredients.


When working with plaster filler, you do not have to worry about it drying out too quickly. You can take your time applying it and smoothing it out. And if it does dry out too quickly, you can add more water.


Another advantage of plaster filler is that it is less likely to crack or chip when dried. Plaster can sometimes crack or chip when it dries, but plaster filler is much less likely to do so. Plaster filler is a brilliant option if you want a material to fill in cracks. It is easy to use, easy to control, and less likely to crack or chip.


Conclusion

Plaster repair may seem simple, but one false move can worsen the damage. It is wiser to seek a professional plastering service to avoid potential problems.

With that said, you should tap into one of the leading plastering services on the Gold Coast. We can efficiently assess the damage and provide the perfect solution. Before things worsen, contact us for a quote!

Helping You Decide between Replastering and Plasterboarding

When improving the look of your ceiling, it’s important to consider the two main options available. You can either plaster the ceiling using wet plaster or board it with a plasterboard. Both offer their own unique advantages and disadvantages, so it’s essential to weigh up your options and choose the one that suits your needs best.


To assist you in making an informed decision, this guide will provide you with the details of the two ceiling repair methods. Whether you want to do some house renovations, fix ceiling damage, or just upgrade an aged ceiling, this guide will help you to decide which method is suitable for you.


Replastering 


Hiring a professional plasterer to replaster with wet plaster is the optimal choice for achieving a beautiful, long-lasting result. The plaster is applied in a damp state to walls and ceilings, providing a strong and smooth finish that is superior to that of a plasterboard. 


This method of plastering is highly durable, ensuring your walls and ceilings will look just as good in the years to come as they do now. Wet plaster provides an advantage in that it can be used to plaster any area, no matter the size, shape, or difficulty. It can create a better seal than boarding, which helps keep the space warm and free of dampness. It is a versatile material with few restrictions.


The application of wet plaster is a delicate process, requiring those who work with it to possess a high level of skill, experience, and expertise. It is not something that an amateur can do. This is one of the reasons why it is vital to hire a professional who is familiar with the ins and outs of plastering and can provide a quality job. The other downside is that it can take a long time to dry, which can be inconvenient for homeowners.


Plasterboarding 


Plasterboarding is a great option if you require a fast yet professional-looking finish for your ceiling but don’t have the time or resources to hire a contractor to come and do the job. It is a much quicker method than traditional plastering, giving you a reliable and attractive result in a shorter timeframe.


This ceiling installation method involves obtaining pre-made boards that are the right size for your ceiling. Measurements of the ceiling area must be taken so that the correct number of panels can be ordered. These boards must be securely affixed to the ceiling, and any gaps between them should be filled to create a seamless finish.


Plasterboard is an excellent choice for wall coverings since it is pre-dried and much less likely to develop cracks than wet plaster. Also, the installation process is much simpler and faster than wet plaster.


The trickiest element of the job will likely involve attaching the boards together. This requires either adhesive tape or jointing compound; you will need the right tools and materials to complete this step correctly. To assist, a taping knife of a range of sizes should be employed.


Plasterboarding is a simpler and cheaper option than wet plastering for ceilings. It is typically faster to complete and can create a good finish. However, wet plastering is a better choice if you want a completely smooth surface. It is also the best option for an irregularly shaped ceiling, as plasterboarding may be difficult to fit correctly. Wet plastering will take more time and money, but it can create a much smoother finish.


Conclusion 


Plasterboard is an affordable and efficient way to renovate your ceiling. It’s simple to cut and install the boards, fill gaps or holes, and then your ceiling will be ready to go in no time. If you don’t know what kind of plaster to use, it would be wise to ask an experienced plasterer for advice. They can help you figure out which choice is best for you.


Are you looking for plasterers in Brisbane? Choose We Plaster & Recruit, a registered plastering company providing the best plastering services with operations throughout Brisbane, Gold Coast, and Queensland. We are fully licensed and insured. Request a quote!