ABN: 11 641 139 568

Blog

4 Cleaning and Maintenance Tips for Your Plaster Ceilings

Ceilings made of plaster are a common feature in older homes and buildings, and when properly maintained, they can last for many years. However, a plaster ceiling can become dingy and worn if not cared for properly. To ensure your plaster ceiling looks its best, it’s important to follow a few basic steps for cleaning and maintenance. 


Before beginning any cleaning or maintenance, removing any furniture or objects from the room and covering the floor to protect it from water or other cleaning agents is important. It’s also a good idea to wear a dust mask, goggles, and gloves to avoid inhaling any dust particles. 


1. Vacuum with a Soft Brush Attachment


The first step in cleaning a plaster ceiling is to vacuum it using a soft brush attachment. This will remove any dust, cobwebs, and other debris. If there are any stubborn stains or dirt spots, they can be removed using a damp (not wet) cloth. 


If more aggressive cleaning is needed, a solution of soap and water can be used. It’s important to avoid using harsh chemicals or abrasive sponges, as these can damage the plaster.


2. Check for Any Cracks or Damage


In addition to cleaning your plaster ceilings, it is important to inspect them regularly for any signs of damage. These can include cracks, bulges, or sagging. If you notice any of these, it is important to contact a professional plastering service as soon as possible to avoid further damage. If any cracks have appeared, they should be filled with a plaster repair compound.


3. Apply Paint or Sealant


When it comes to maintaining and cleaning plaster ceilings, one of the most important steps is to apply a sealant. A sealant helps to protect the plaster from moisture, humidity, and dirt, which can cause it to deteriorate over time. It also makes it easier to clean, as the sealant will make the surface more resistant to staining and dirt buildup.


When applying the sealant, use a brush or roller and apply an even coat of the product over the entire surface. Ensure not to over-saturate the surface, as this can cause the sealant to run and form puddles. Once the sealant has been applied, let it sit for around 24 hours before wiping away any excess.


4. Do Maintenance


Finally, it is important to remember that regular maintenance and cleaning is essential to keep your plaster ceilings looking their best. A professional plastering service can help you with this task, as they have the knowledge and expertise to care for your plaster ceilings properly. They can also inspect your ceilings for any signs of damage and provide the necessary repairs. By following these tips, you can ensure that your plaster ceilings remain beautiful and in good condition for many years to come.


Conclusion


Plaster ceilings are a great way to add an elegant and classic touch to any space, but they require regular maintenance to keep them looking fresh and attractive. However, if you find that your plaster ceilings require professional cleaning and maintenance, you should seek the help of a professional plastering service. They have the expertise, tools and knowledge to clean, restore and maintain your plaster ceilings properly, so you can be sure that your ceilings will remain beautiful for years to come.


Are you looking for a professional plastering service in Brisbane? Look no further than We Plaster & Recruit. We are a registered plastering company providing the best plastering services with operations throughout Brisbane, Gold Coast and Queensland areas. Get in touch with us today!
Is It Possible to Plaster a Ceiling? What You Need to Know

Most people think that plastering a ceiling is a simple and straightforward job. However, there are a few things you need to know before you start. In this guide, we’ll cover everything you need to know about plastering a ceiling, from the different types of plaster available, to the steps involved in the process.

By the end of this guide, you’ll be more knowledgeable on plastering ceilings!


Can You Just Plaster a Ceiling?


Plastering a ceiling is not as simple as just spreading some plaster on the surface and smoothing it out. There are a few things you need to know and do before you start, to get a good finish.


Ceiling Plastering: A Step-by-Step Guide of the Process


1. Preparing the ceiling


The first step in plastering a ceiling is to prepare the surface. This involves removing any existing plaster or paint, and repairing any cracks or damage. Once the surface is prepared, you’ll need to apply a bonding agent. This will help the new plaster to adhere to the ceiling.


2. Applying the plaster


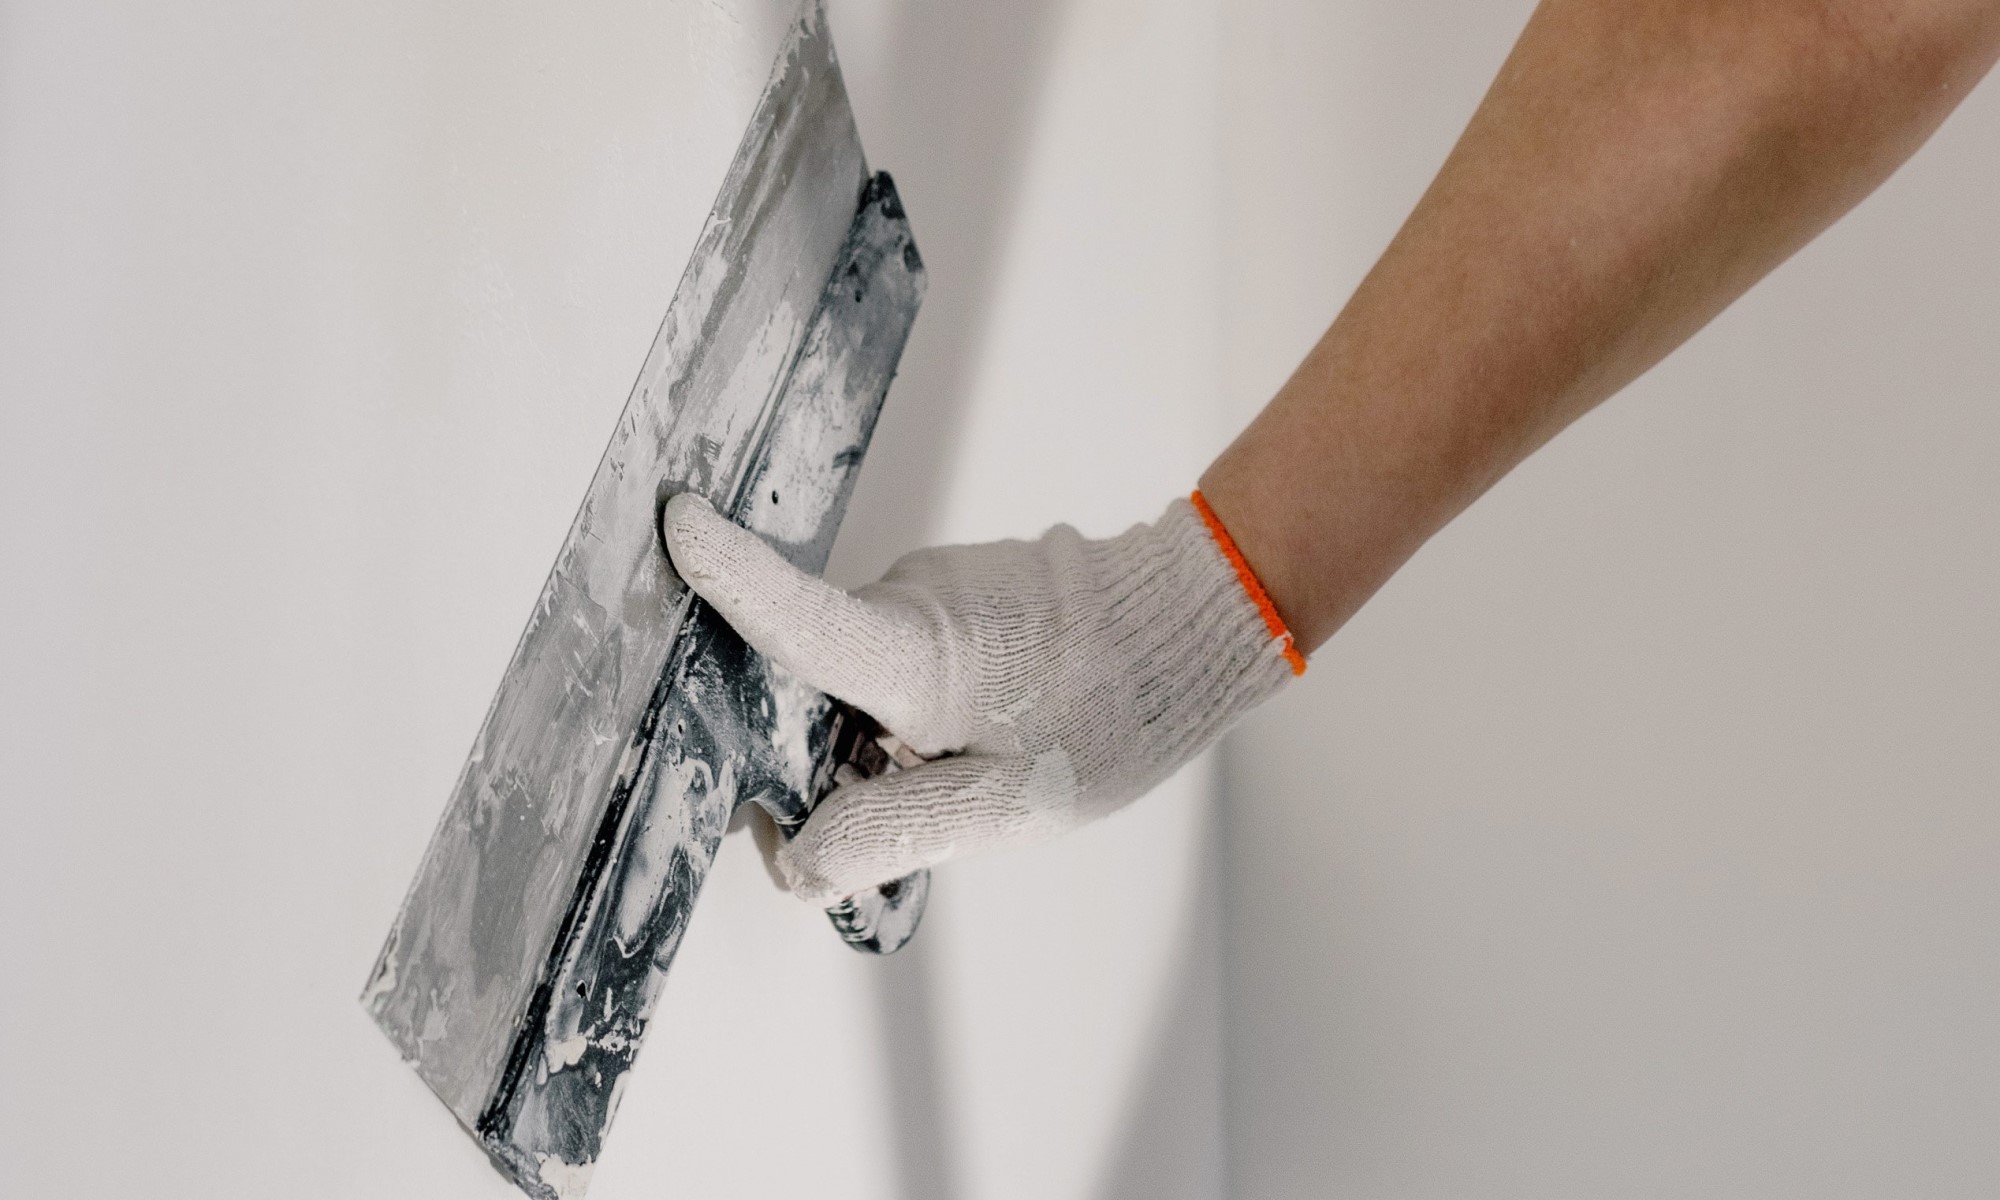
Once the bonding agent is dry, you can start applying the plaster. Plaster is applied in thin layers, and each layer must be allowed to dry before the next is applied. When applying the plaster, it’s important to use even strokes, and to avoid over-working the plaster.


3. Finishing the plaster


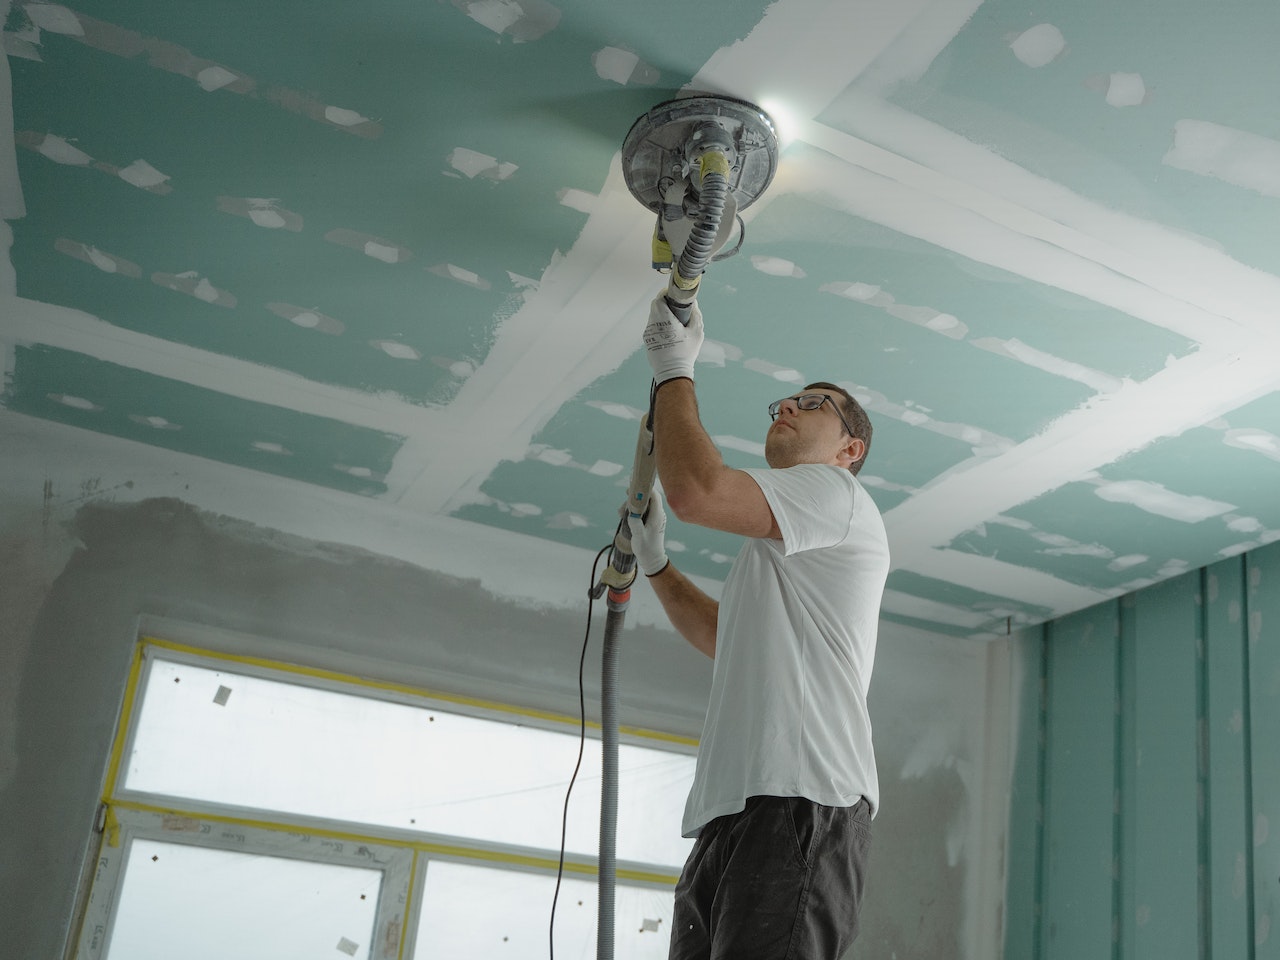
Once the final layer of plaster is dry, you’ll need to sand it smooth. Then, you can apply a primer and paint, or apply a finish of your choice.


What Materials Can Be Used to Plaster a Ceiling?


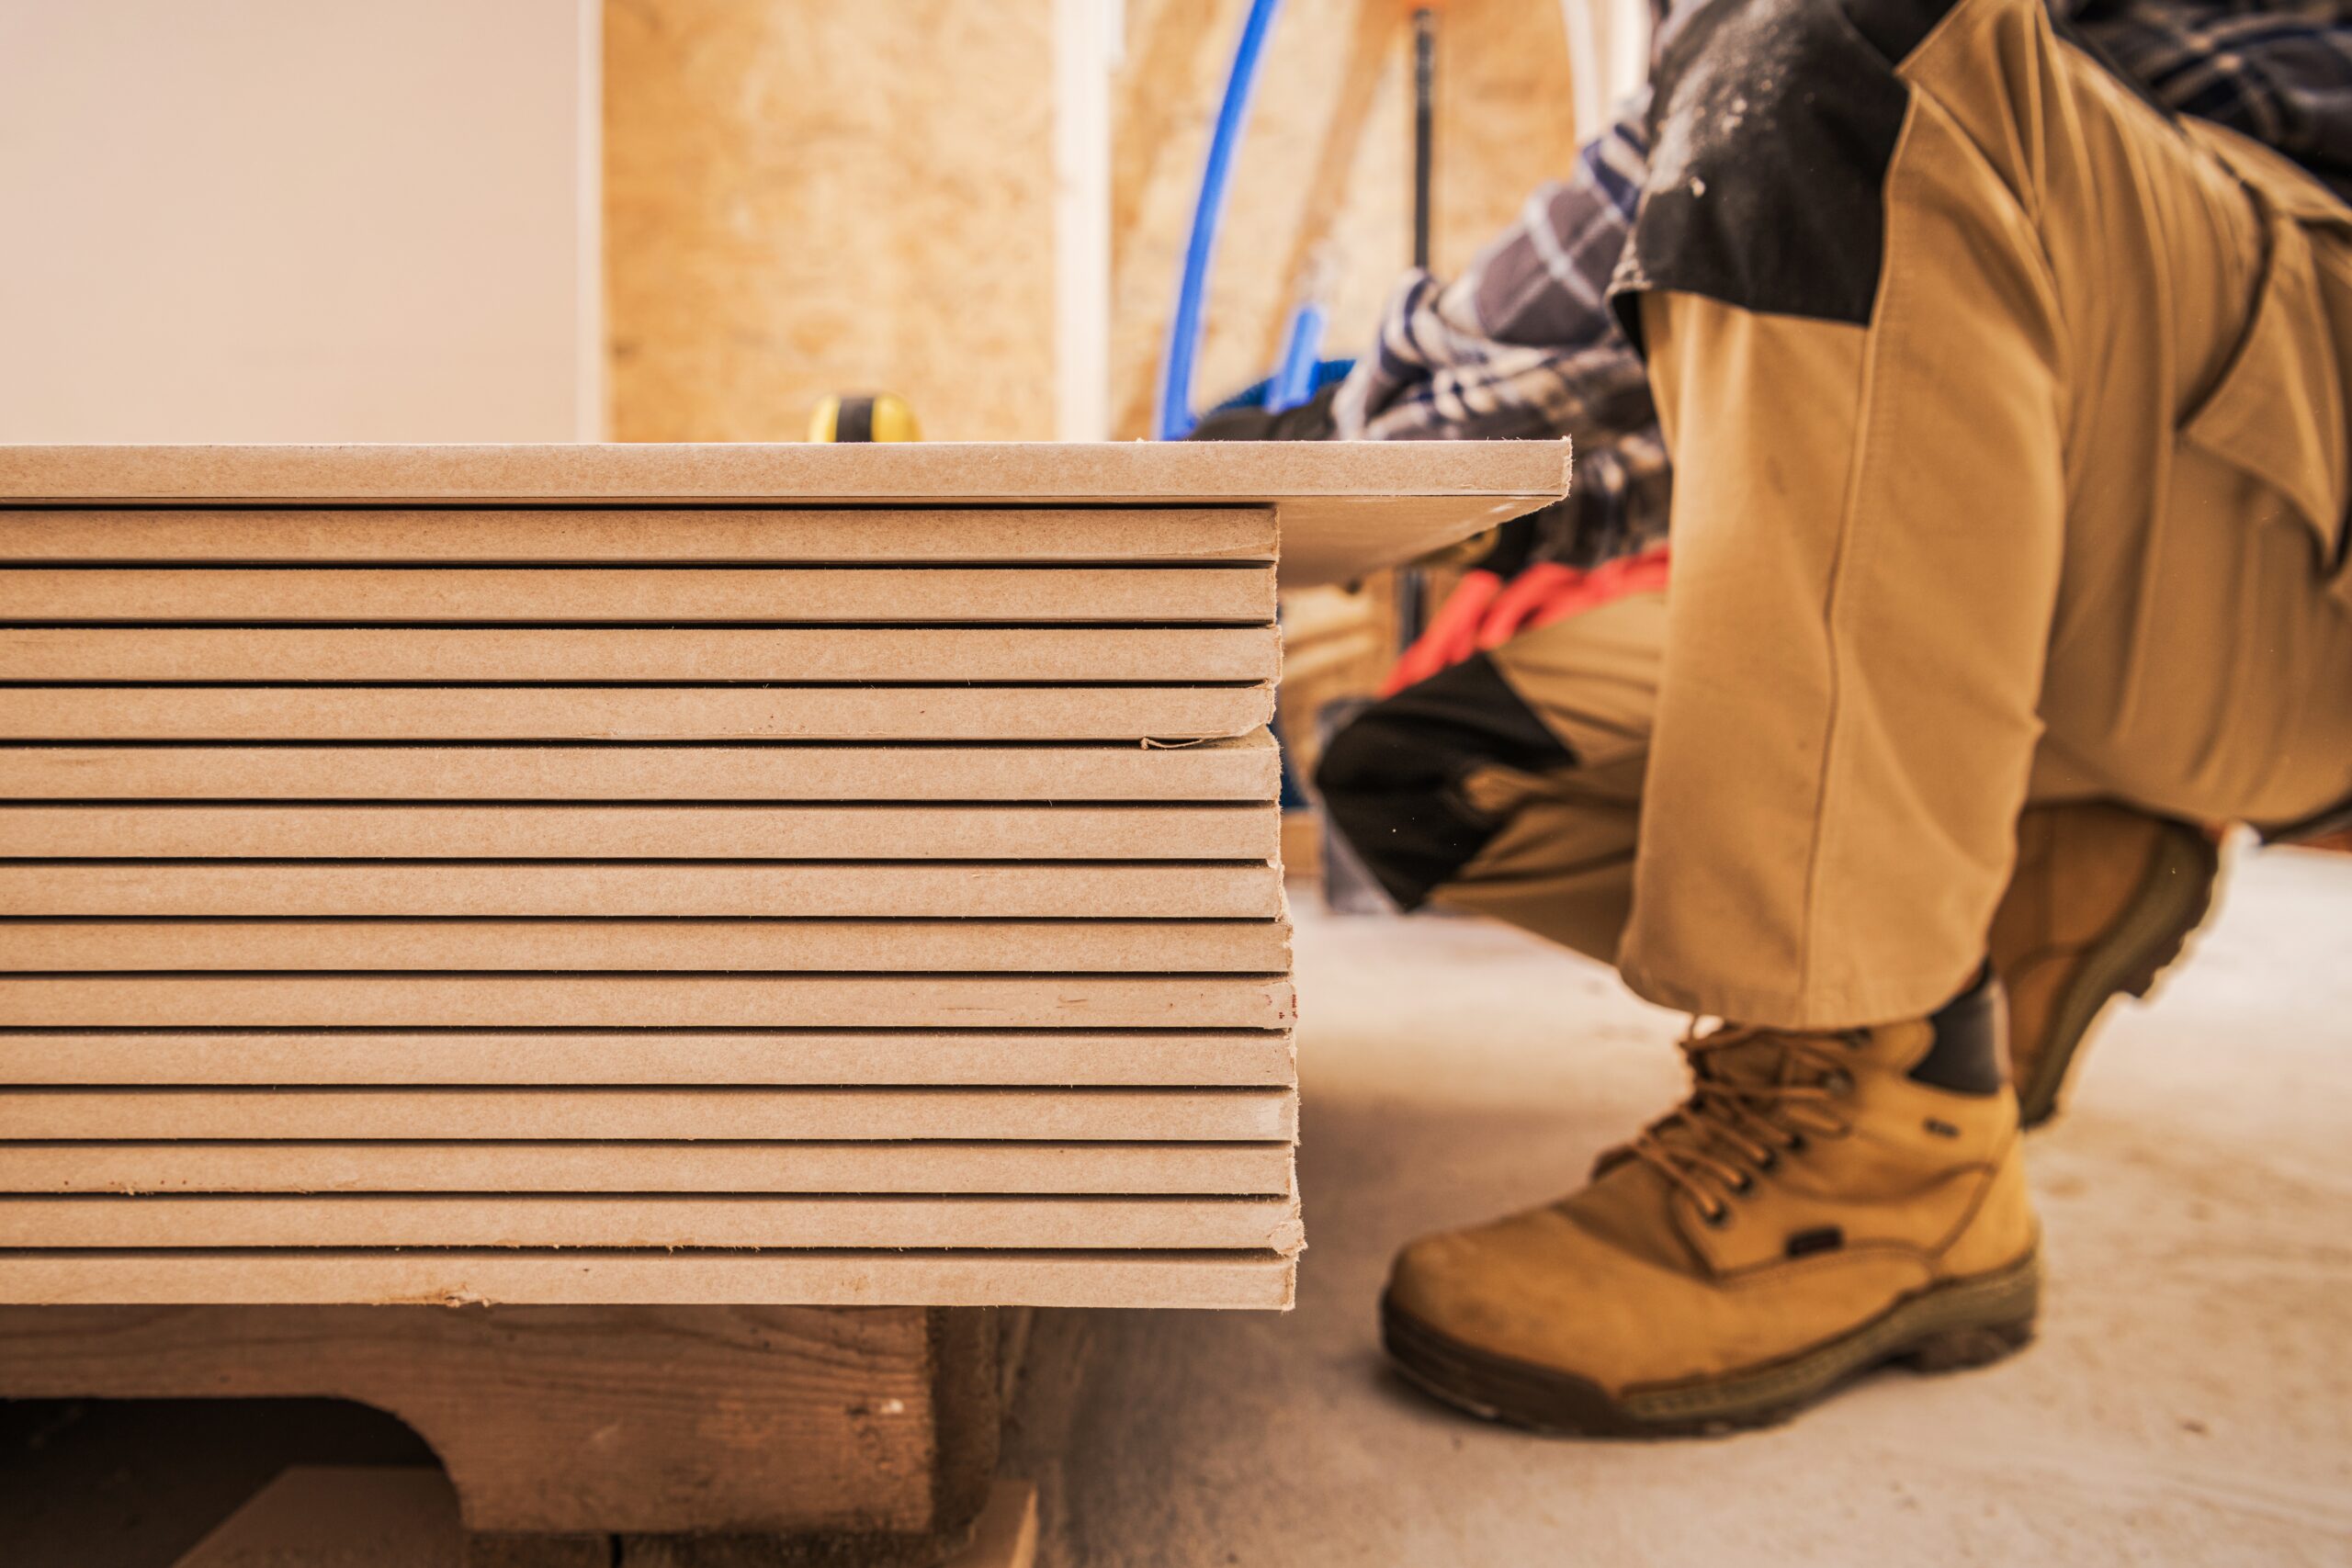
There are a variety of materials that can be used to plaster a ceiling, including tiles, paint, concrete, and wood. However, the most common material used for plastering ceilings is gypsum board, also known as drywall.


Gypsum Board


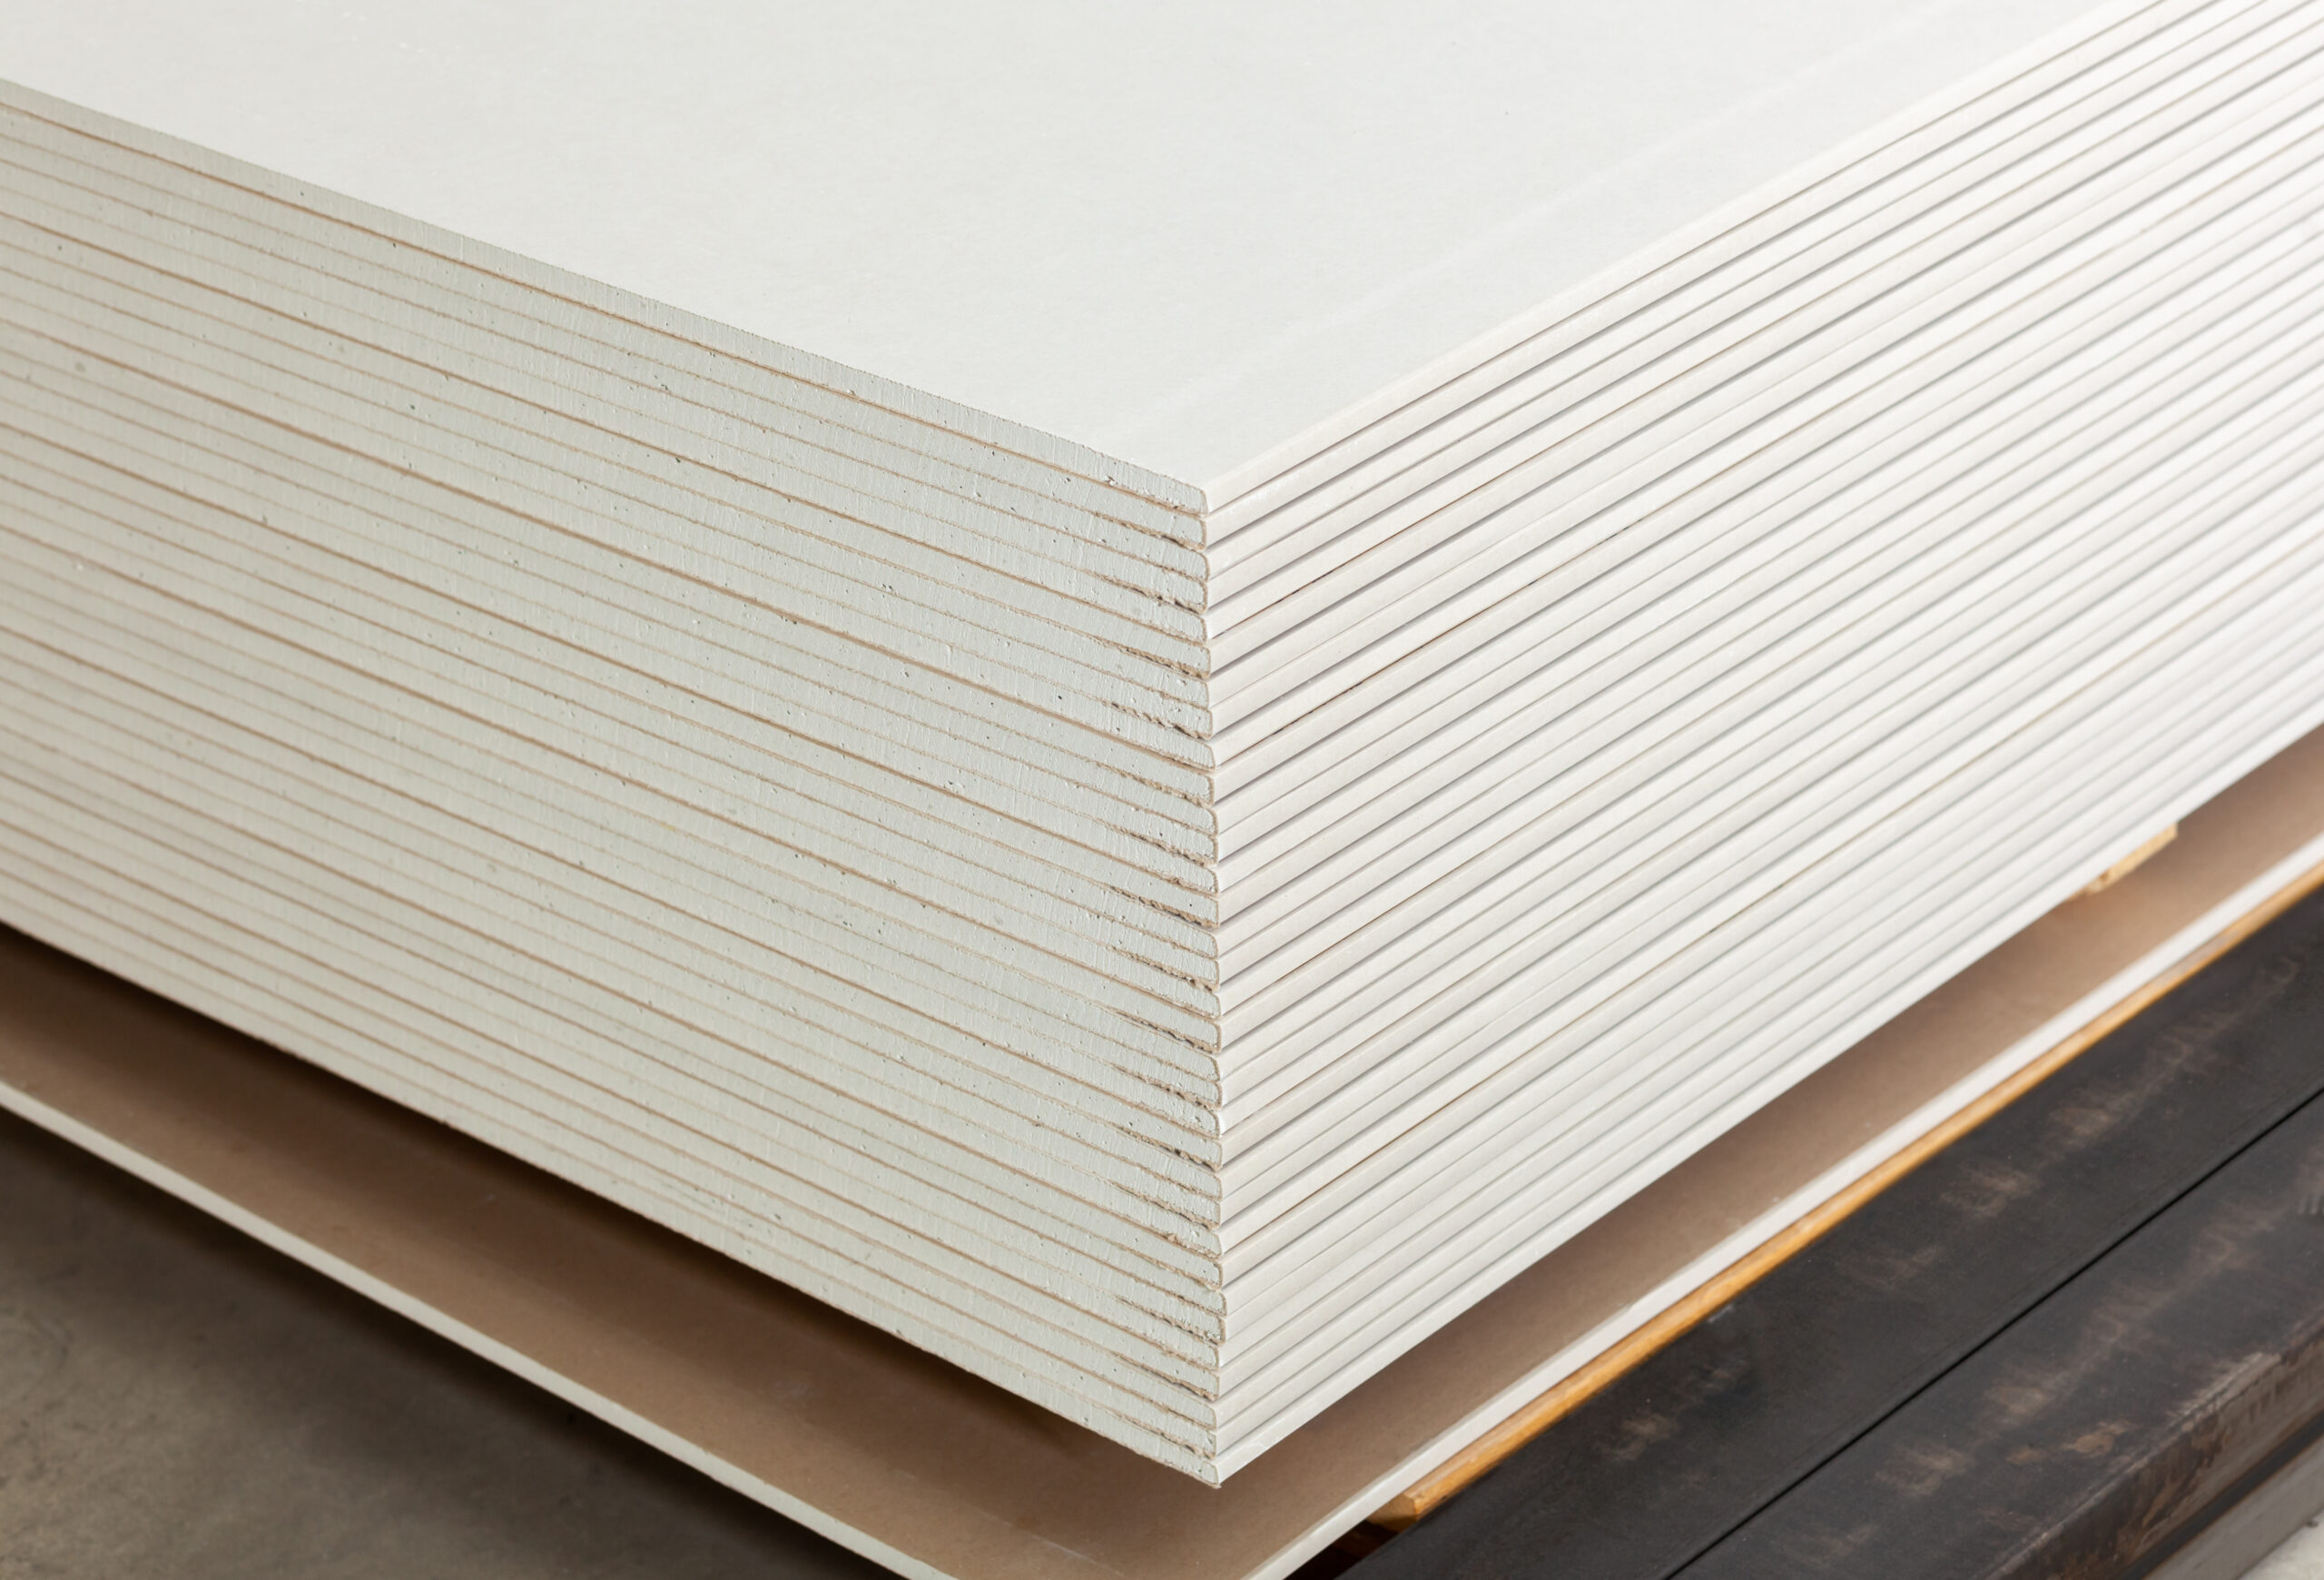
Gypsum board is a type of plaster that is made from gypsum, a naturally occurring mineral. Gypsum board is a lightweight material that is easy to work with, and it can be cut to fit any size ceiling. Gypsum board is also fire-resistant and mould-resistant, making it an ideal choice for plastering a ceiling.


Tiles


Tiles are a popular choice for plastering ceilings because they’re easy to install and they offer a wide range of design possibilities. However, tiles can be expensive, and they’re not always the best choice for rooms with high ceilings.


Paint


Paint is the cheapest option for plastering a ceiling, and it’s also the easiest to DIY. However, paint doesn’t always provide a smooth, professional finish, and it can be difficult to match colours if you need to patch or repair your ceiling in the future.


Concrete


Concrete is a durable option for plastering ceilings, but it’s also the most difficult to work with. If you’re not experienced in working with concrete, it’s best to leave this job to a professional.


Wood


Wood is another durable option for plastering ceilings, and it can be stained or painted to match your décor. However, wood is more expensive than other options, and it can be difficult to find boards that are the right size for your ceiling.


Why Ceiling Plastering Is Best Left to the Pros


If you’re not experienced in working with plaster, it’s best to leave the job to the pros. Plastering your ceiling is a messy job, and it’s easy to make mistakes. Plaster is also a time-consuming process, and it can be difficult to achieve a perfect finish.


Gypsum board is a type of plaster that is made from gypsum, a naturally occurring mineral. Gypsum board is a lightweight material that is easy to work with, and it can be cut to fit any size ceiling. Gypsum board is also fire-resistant and mould-resistant, making it an ideal choice for plastering a ceiling.


Conclusion


If you’re thinking about just slapping some plaster on your ceiling without any prep work, think again. There’s a lot more to it than that. You need to consider the type of ceiling you have, the condition of the surface, and what kind of finish you want. With a little bit of know-how, though, you can achieve a beautiful, professional-looking finish.


Are you looking for plastering companies on the Gold Coast? Look no further! We Plaster & Recruit is a registered plastering company providing the best plastering services with operations throughout Brisbane, Gold Coast and Queensland areas. We are fully licensed and insured. We believe in quality work to breathe in new life to the interiors while also giving you value for your money. Over the years, We Plaster & Recruit have mastered and worked on all sorts of plastering contracts. We follow strict protocols and guidelines to make our work stand out. Get in touch with our team today!

Everything You Need to Know about Using Gyprock at Home

If you want to change the look of your home, painting the ceilings and walls is a quick and easy way to do it. But, no matter what brand or color paint you use, it won’t look good if the surface isn’t smooth. Gyprock is the perfect base for a smooth finish.


A gyprock ceiling can really improve the look and feel of your home. It’s important to consider both the aesthetic and practical benefits when choosing a ceiling material. Gyprock is a popular choice for many homeowners because it is relatively inexpensive and easy to install. In this guide, we’ll show you how adding gyprock to your home is beneficial. 


Uses of Gyprock


Gyprock is a plasterboard that is used to create smooth, level surfaces on walls and ceilings. It is made of a layer of gypsum sandwiched between two layers of paper. Gyprock is commonly used in residential and commercial construction. Here are some practical uses.


1) Indoor Use


Gyprock is ideal for creating smooth walls and ceilings in interior spaces. It is often used in drywall construction to create smooth surfaces for painting or wallpapering. Gyprock is also used to create soundproof walls and ceilings, especially in offices and other commercial spaces.


Gyprock is a versatile material that can be used to create a seamless, finished look in both homes and businesses. It can be used in various applications, allowing it to be tailored to fit any style or design.


2) Insulation


Gyprock can also be used as an insulator to help keep a space warm and comfortable. It can be used in both residential and commercial settings to reduce energy bills and improve energy efficiency. Gyprock can be used in walls, ceilings, and floors, and can be cut and shaped to fit any space.


3) Fire Resistance


Gyprock is also fire resistant, making it an ideal material for use in areas where fire safety is a concern. It can help protect against the spread of fire and reduce the amount of damage caused by it.


The composition of gypsum in plasterboard helps to impede the progression of a fire.


4) Fixing Water Damage


Gyprock can also be used to fix water damage. It can fill in cracks and holes caused by water seeping through walls and ceilings. It is also an effective material for repairing water damage on ceilings or walls. It is easy to apply and can be painted over to match existing colours.


If your walls have been damaged by water, gyprock can be employed to provide a better-looking exterior. It’s a simple procedure that can help restore the walls to their original condition.


Should You Hire a Gyprocker?


It is recommended that you hire a professional gyprocker to handle any water damage repairs. Gyprockers have the experience and knowledge to ensure that the job is done correctly and safely. 


They will be able to assess the damage and advise on the best course of action for repair. Additionally, they can provide guidance on how to prevent future water damage.


Conclusion


Gyprock is a great solution for repairing walls that have been damaged by water. It is a simple process that can restore walls to their original condition. It is important to hire a professional gyprocker to ensure that the job is done safely and correctly. 


We Plaster & Recruit can help you install gyprock at home. We offer gyprock ceiling services in the Gold Coast to experience these amazing benefits. Get in touch with us today to learn how.

How You Can Effectively Remove Mould from Your Ceiling

Having a beautiful, neat, and spotless house is an ideal goal that many homeowners want. After all, who does not love coming home to a clean and orderly space?


Unfortunately, behind the seemingly clean facade of many homes and businesses can lie deadly mould spores. While mould is often visible, it can also be hidden in places that are difficult to see or reach. When inhaled, mould spores can cause various health problems, including respiratory infections, allergic reactions, and cancer.


Although it is prudent that you call for professionals when you find telltale signs of mould infestation, it is also wise to know the mechanics of removing the said fungus. After all, the earlier you catch the problem, the easier it is to nip it in the bud. This article will focus on removing mould from the gyprock ceiling.


How Mould Can Grow on Your Ceiling 


Mould can be a real problem in the home, mainly if it needs to be dealt with quickly and effectively. One of the main reasons why mould can spread so quickly is due to high humidity levels and poor ventilation. It can create the perfect environment for mould to thrive, particularly on gyprock ceilings and walls.

If you have a mould problem, it is essential to act fast. The sooner you can address the issue, the better. Below are some tricks to get rid of mould in your home:


  1. Increase ventilation. It is one of the most effective ways to prevent the fungus from spreading. Make sure you open doors and windows regularly to allow fresh air to circulate. If you have an extractor fan in your kitchen or bathroom, make sure you use it when cooking or showering. 
  2. Reduce humidity levels. If your home is too humid, it can create the perfect environment for mould growth. You can help reduce humidity levels by using a dehumidifier or opening doors and windows regularly to ventilate your home.
  3. Clean affected areas. Once you have identified where the mould is growing, you need to clean it. Use a mould removal product and scrub the affected area. Make sure you dry the area thoroughly afterwards. 
  4. Repair any leaks. If leaks are in your home, it is critical to repair them as soon as possible. Leaks can cause water to build up, leading to mould growth.
  5. Monitor humidity levels. You can buy a hygrometer to help you monitor humidity levels in your home. Aim to keep levels below 60% to help prevent mould growth.

Home Remedies to Remove Mould


Gyprock ceilings are a popular choice for many homeowners because they are durable and easy to maintain. However, over time, they can become stained and even develop mould. Below are some tips on how to keep your gypsum ceiling clean and mould-free:


  1. Begin by mixing equal parts water and vinegar in a bowl. 
  2. Soak a clean cloth in the mixture and wring it out so that it is damp, not dripping wet. 
  3. Rub the cloth over the mouldy areas of the ceiling, concentrating on any visible patches of mould. 
  4. Let the mixture sit on the mould for at least 15 minutes to allow the vinegar to work its magic. 
  5. Once the time is up, use a clean, damp cloth to remove the mould. 
  6. Finally, use a dry cloth to buff the area dry.

Conclusion


Mould can cause several health problems, so getting rid of it as soon as possible is vital. You can get rid of mould, but if the problem is severe, you may need to call in a professional. Either way, getting rid of mould will help improve your health and the quality of your home.


If the mould problem is severe, you should ask for help from We Plaster & Recruit. We will replace your gyprock ceiling so you will not have to deal with the fungus infection. So, contact us now for a quote!

Can You DIY a Damaged Plaster or Should You Call a Professional?

Plaster is a popular and affordable material used in interior walls and ceilings of most homes. It comprises several layers of material, including a base layer, a top coat, and a finish. Over time, plaster may become damaged, caused by various factors such as water, pests, or age. When this happens, it is important to consider whether to repair the damage yourself or to call a professional.

DIY or Call a Professional?

When it comes to repairing damaged plaster, doing it yourself can be challenging. It requires knowledge of the materials and tools needed and an understanding of the plaster repair process.

If you are unfamiliar with plaster repair and don’t want to risk damaging the wall further, it is best to call a professional. A professional plasterer has the experience and tools to repair the damage, so you can be sure that the job will be done correctly.

1. Consider the Costs

One factor to consider when deciding whether to repair the damage yourself or hire a professional is the cost. Hiring a professional may be more expensive, but it can save you time and energy in the long run. 

2. Consider the Tools and Materials

If you decide to repair the damage yourself, there are a few steps you should take to ensure the job is done properly. First, ensure you have the right tools and materials for the job. This includes a trowel, putty knife, sandpaper, and the appropriate plaster. 

Next, use the putty knife to remove any loose pieces of plaster. Once the loose pieces have been removed, use the trowel to apply a new layer of plaster and let it dry completely before sanding it down.

Why It’s Better to Call a Professional

When it comes to repairing damaged plaster, it is important to enlist the help of professional plasterers. Plastering is a delicate and intricate craft, and if done incorrectly can create further damage as well as health and safety issues. Professional plasterers have the skills, knowledge, and experience to undertake plastering repairs safely and effectively.

1. They Can Assess the Damage

The first step in repairing damaged plaster is to assess the damage. This assessment should determine the cause of the damage, the extent of the damage, and the best way to repair it. If the damage appears to be extensive, it is best to call in a professional plasterer who can evaluate the situation and recommend the most suitable course of action.

2. They Are Trained

Professional plasterers are trained to work with various materials, such as plaster, drywall, stucco, and cement. They are familiar with the appropriate tools and techniques for successful repairs, such as patching, sanding, and texturing. This expertise can save time and money, as well as prevent further damage from occurring.

3. They Have Access to Quality Materials

Professional plasterers also have access to quality materials when repairing damaged plaster. They know where to find the best supplies at the best prices and can also advise on the most suitable choice for the job.

Conclusion

When repairing damaged plaster, it is important to weigh the pros and cons of doing it yourself or calling a professional. DIY repairs can be a good option if the damage is minor and you have experience working with plaster. However, if the damage is severe or you are not experienced in working with plaster, it is recommended to call a professional. Professional plasterers offer the expertise, knowledge, and experience necessary for successful plaster repair. When it comes to damaged plaster, the best action is to contact a professional plasterer.

Are you looking for professional plasterers in Brisbane? Look no further than We Plaster & Recruit. We are a registered plastering company providing the best plastering services with operations throughout Brisbane, Gold Coast, and Queensland areas. Get in touch with us today!
5 Easy Steps to Follow to Install Floating Shelves

Have you been looking for ways to decorate your home and add more storage space? Floating shelves are a great way to add some extra storage and also give a unique and modern look to your home. Installing floating shelves is relatively easy, but there are a few things to keep in mind. To help you out, here are five easy steps to follow to install floating shelves in your home.

1. Choose the Right Location

When it comes to choosing the perfect location for your wall shelf, there are a few things you’ll want to keep in mind. First, you’ll want to make sure the wall is strong enough to support the shelf and the weight of the items you plan to store on it. Second, you’ll want to choose a location that won’t interfere with any other furniture or objects in the room. And last, but not least, you’ll want to make sure the shelf is level so that the weight of the items is evenly distributed. With these factors in mind, finding the perfect spot for your wall shelf should be a breeze.

Keep in mind that floating shelves look best when they’re installed in groups, so decide how many shelves you want and where you want to place them. Keep in mind that the shelves will need to be supported by wall studs, so use a stud finder to mark their locations.

2. Measure and Mark the Wall

When installing a shelf, it’s important to make sure that it is level. The best way to do this is to measure the width of the shelf, and then mark the wall where you want to install it. Use a level to make sure that the shelf is level before you begin to install it.

Once the shelf is level, you can begin to install it. Most shelves will come with all of the necessary hardware, so all you’ll need to do is follow the instructions. It’s important to make sure that the shelf is properly secured to the wall, so that it doesn’t come crashing down.

3. Pre-Drill and Attach Brackets

Pre-drill holes into the wall and then attach the brackets that will hold the shelf. Make sure the brackets are secure and level.

4. Install the Shelf

Once the brackets are in place, it’s time to add the shelf. Put the shelf on top of the brackets and make sure that it’s level. Use screws to attach the shelf to the brackets.

5. Add Decorations

Once the shelf is installed, you can add decorations to complete the look. Add pictures, plants, or other items to give the shelf some personality.

Conclusion

We hope this article helps you figure out how to install floating shelves. While it may seem tricky at first, this article should help make things infinitely more manageable. By following these simple steps, you can easily install floating shelves in your home. With the right materials and a little bit of effort, you can have a beautiful and functional addition to your home.

We Plaster & Recruit is a registered plastering company providing the best plastering services with operations throughout Brisbane, Gold Coast and Queensland areas. We are fully licensed and insured. We believe in quality work to breathe new life into your interiors while also giving you value for your money. For more information on what we can do for you, visit our website today!

A Guide to Finding the Right Plasterboard for Your Project

Plasterboards are one of the essential components of any building or construction project. It can be used to create walls, ceilings, and other structures. There are different types of plasterboard available, each with its unique characteristics and suitability for various applications. Understanding the structures and uses of every plasterboard mentioned below will help you make the best decision for your project and ensure the highest quality results.

Standard Plasterboards 

Standard plasterboards are an incredibly cost-effective building material designed for various purposes. They are most commonly used for walls, ceilings, and partitions and are typically made from gypsum and reinforced with paper or fibreglass. This type of plasterboard is easy to install and is fitting for both interior and exterior walls. Its advantage is that it is very affordable and can be available in a variety of sizes and thicknesses.

Fire-Resistant Plasterboards

Areas where fire safety is a priority should invest in this plasterboard. Its high fire rating provides better fire resistance and protects your property in the event of a fire. However, remember that not all plasterboards are the same, so understanding the differences between various kinds of fire-resistant plasterboards available is crucial. For example, a plasterboard with a fire rating of 75 minutes will provide more fire protection than a plasterboard with a fire rating of 30 minutes.

Acoustic Plasterboards

An acoustic plasterboard is specifically designed to help reduce sound transmission. It is best suited for places where soundproofing is necessary, such as recording studios and music rooms. This plasterboard is thicker than standard plasterboards and filled with materials that absorb sound waves, such as glass wool or rock wool. Acoustic plasterboards also add insulation to the space. This helps to keep the room warm in the winter and cool in the summer.

Impact-Resistant Plasterboards 

This plasterboard is made from a reinforced gypsum core with a strong, durable outer layer. It is often utilised in areas prone to damage from heavy objects, such as warehouses and factories. Hallways, staircases, and other areas prone to scratches and bumps may consider this plasterboard. Impact-resistant plasterboards are also used in public buildings, such as schools and hospitals, as they provide better protection against vandalism and accidental damage.

Moisture-Resistant Plasterboards

If the area is prone to moisture or humidity, you must consider a plasterboard’s moisture resistance. Go for plasterboards that are designed to be moisture-resistant, such as those made from gypsum board. This plasterboard has a waterproof coating that helps to protect the plasterboard from moisture, which causes mould and mildew. Moisture-resistant plasterboards are better suited to moist and humid environments, such as bathrooms and basements. 

Conclusion

The decision to find and choose the suitable plasterboard cannot be understated. It is the basis of the job that needs to be done. Depending on the price and environment, different types of plasterboard may be more suitable than others. 

Find high-quality plasterboards at We Plaster & Recruit. We provide plastering services in Brisbane, Gold Coast, and Queensland. Call one of our plasterers to receive a free quote!

5 Drywall Texture Options For Your Construction Project

Drywall is an incredibly versatile material that works well for various projects. It is most commonly used for walls and ceilings but works excellent for countertops, shelving, and furniture. 

Drywall can be painted, textured, and finished in various ways to suit any homeowner’s or builder’s needs. Depending on your taste, you can go from simple but timeless patterns to exquisite and complex patterns to suit any theme.

Here are five drywall texture options for your project that you can use to spice up your remodelling project.

1. Orange Peel 

Adding texture to your walls is excellent for adding visual interest to your home. One of the most popular drywall textures is the orange peel texture, which gives walls a slightly bumpy, orange peel-like look. This texture is created by splattering joint compounds onto the wall with a unique texturing tool.

2. Comb Drywall Texture

The comb texture is created by running the toothed trowel over the surface, creating a series of grooves in the wall or ceiling. The pattern of the grooves is usually laid out in half fans, which gives it a planned, intentional look while still being relatively simple to replicate should you need to repair them.

The comb texture is a great way to add a subtle textured look to your walls or ceiling without going overboard. It’s also a great way to hide any imperfections on the surface since the grooves will help to hide them. 

3. Skip Trowel 

The skip trowel texture is a drywall finishing method that adds a decorative touch to a wall or ceiling. The process begins by applying a layer of drywall mud over the entire surface. After applying the mud, the installer goes back over the mud with a clean trowel at an angle. This second pass pulls up the mud and creates a raised layer of small, rounded sections. The texture’s depth will depend on how much mud was used in the first coat.

4. Spray Sand Ceiling Texture

Spray sand ceiling textures are an excellent choice for those looking to add subtle texture to a ceiling. This type of texture is created by mixing sand with a primer, water, or very thin mud and then spraying it on the ceiling using a hopper gun. This method produces a textured surface that is much more durable than an orange peel texture and is less likely to crack or separate.

5. Sand Swirl 

A sand swirl finish is a drywall texture technique combining two other textures that produce a swirling pattern. It uses a brush with medium to thick bristles (similar to a wallpaper brush or the back of an ice scraper). These swirls can go in neat rows of half fans or more intricate patterns such as Cs or spirals. The brush can either be applied directly to a pre-applied mud layer or dipped into a bucket of mud and painted onto the wall.

The sand swirl drywall texture is achieved by mixing sand or other small particles into the mud used to apply to the wall. This creates a bumpy texture unique to this type of drywall texture. Selecting suitable mud for the job is essential to achieve the desired effect.

Conclusion 

Drywall is an incredibly versatile material used in various applications, from residential homes to commercial buildings. The flexibility of drywall makes it excellent for a wide range of textures. You can achieve any texture you want for your project if you work with a reputable and skilled plastering service.

We Plaster & Recruit provides the best plastering service in Brisbane, the Gold Coast, and Queensland areas. We follow strict protocols and guidelines to make our work stand out. Contact us today to request a quote. 

Learning about the Nature of Lath and Plaster Walls

Plaster walls were prevalent before drywall replaced them as the prefered material for modern homes. Plastering was frequently used to construct homes before the 1940s because of its adaptability, accessibility, and durability. 


It’s not always obvious what’s behind your walls because plaster application techniques and materials have evolved over the years.


You can determine what kind of lath and plaster you’re working with by knowing when your property was built, as well as the warning signs and symptoms of damage to plaster walls. This enables you to maintain the condition of your walls and determine whether to contact a restoration specialist. 


Continue reading to learn more details about the lath and plaster material.


Lath and Plaster, Explained


Between 1700 and 1940, lath and plaster was the prefered technique for plastering homes. Historically, lime, aggregate, water, and animal hair were the main ingredients of plaster. Most frequently, horsehair was used. 


Horsehair may have appeared to be an insulator, but it actually served as a bridging agent. This indicates that it kept the plaster together and prevented shrinking.


Animal hair has been replaced in modern plaster by a gypsum base, aggregate, water, and resin or acrylic components. In addition, it is somewhat more moisture-resistant than conventional plaster and sets and cures faster.


Lath and Plaster Installation


The scratch coat, brown coat, and veneer coat are the layers that make up the installation process. Three layers are required to create a smooth, premium finish using plaster. The scratch coat, which is placed on top of the lath strips, is the initial layer. 


The second brown coat, which is also rough, gives the animal more stability and bulk. A thin, delicate layer called the veneer coat offers a high-end, smooth finish.


Difference between Lath and Plaster and Drywall


Plaster soon went out of style after drywall was widely adopted in the 1950s. Contractors and homeowners embraced drywall rapidly because it was less expensive and installed more quickly. 


Although they both have the same function, plaster and drywall differ in a number of ways. Due to its 4-by-8-foot sheets’ direct wall connection, drywall is simpler to instal. Plaster, though, involves a multi-step process that takes days to complete and 60 days to cure.


Plaster installation costs more than drywall installation because it takes more time and skill to instal or repair. When compared to the complexity and expense of repairing drywall, repairs are also more expensive and typically more difficult.


Although plaster has some inherent insulating qualities, it still needs modern insulation, much like drywall, to be a genuinely effective insulator. Plaster is a superior choice if you want to reduce noise since it is denser and thicker, which dampens sound between rooms better than drywall. 


Additionally, plaster has a more upscale appearance than standard drywall, and walls can be finished with a glossy, soft finish or a stucco-like texture.


Conclusion


Lath and plaster are a traditional building material that has been used for centuries and still remain popular today. This is why learning about the nature of lath and plaster walls is important for any homeowner or builder. 


They are strong, durable, and require minimal maintenance. With the right knowledge and care, lath and plaster walls are sure to last for many years.

We Plaster & Recruit provides excellent plastering service on the Gold Coast! We’re a registered plastering company that delivers the best services with operations throughout Brisbane, Gold Coast, and Queensland. Call us now to get started on your home improvement project!

Picking a Plastering Service: What You Need to Consider Pt 2

Are you having difficulty choosing the right plastering services provider for your needs? With so many options available, it can be hard to determine which one is the ideal choice. To help you out, here are ten factors to take into account before making a decision. Consider the firm’s reputation, the quality of their work, the cost of the services, their experience in the industry, the turnaround time for projects, the customer service provided, the ability to meet deadlines, the availability of materials, the use of up-to-date tools and technology, and the safety measures they have in place. Taking all these things into account should help you make the best decision. This article has been split into two parts. Be sure to read the first part, before proceeding to this article.


6. Insurance


When it comes to selecting a plastering service, insurance is an important factor to consider. Plastering is a complex and potentially dangerous task that requires the use of heavy machinery and specialized tools. As a result, it is essential for plastering services to have adequate insurance coverage in order to protect themselves and their clients from any liability in the event of an accident or injury.


It is important to ask your plastering service provider about their insurance coverage and make sure that it is adequate for the job. A reputable plastering service should be able to provide proof of insurance, and clients should be sure to read the policy to make sure they understand the terms and limits of coverage.


7. Availability


Availability is also an important factor when choosing a plastering services provider. Make sure to check if they are available to work on your project on the timeline you need.


8. Communication


It’s important to find a plastering services provider that you can communicate with easily. After all, you’ll need to be able to explain what you need done and ask any questions you have along the way. A good plastering services provider should be open to communication and able to answer any of your questions. They should also be able to keep you updated on the progress of the job and let you know if there are any changes or delays.


9. Transparency


Transparency is key when working with a plastering service provider. Make sure to ask lots of questions and get regular updates on the progress of your project to ensure everything is on track. A reputable plastering company should have no problem keeping you in the loop throughout the entire process.


10. Warranty


Lastly, make sure to check if the plastering service provider offers any kind of warranty on their work. This will give you peace of mind if anything goes wrong after the project is completed. While this not may seem all to significant, working with a plastering service with a warranty can save you a lot of money down the line.


Conclusion


As you can see, there are a slew of different things that you need to consider before committing to a plastering service provider. It’s vital to take your time when choosing a service in order to ensure the best results. Feel free to refer back to these articles if you need more help deciding on which service to work with.

We Plaster & Recruit is a registered plastering company providing the best plastering services with operations throughout Brisbane, Gold Coast and Queensland areas. We are fully licensed and insured. We believe in quality work to breathe new life to the interiors while also giving you value for your money. For more information on what we can do for you, visit our website today!