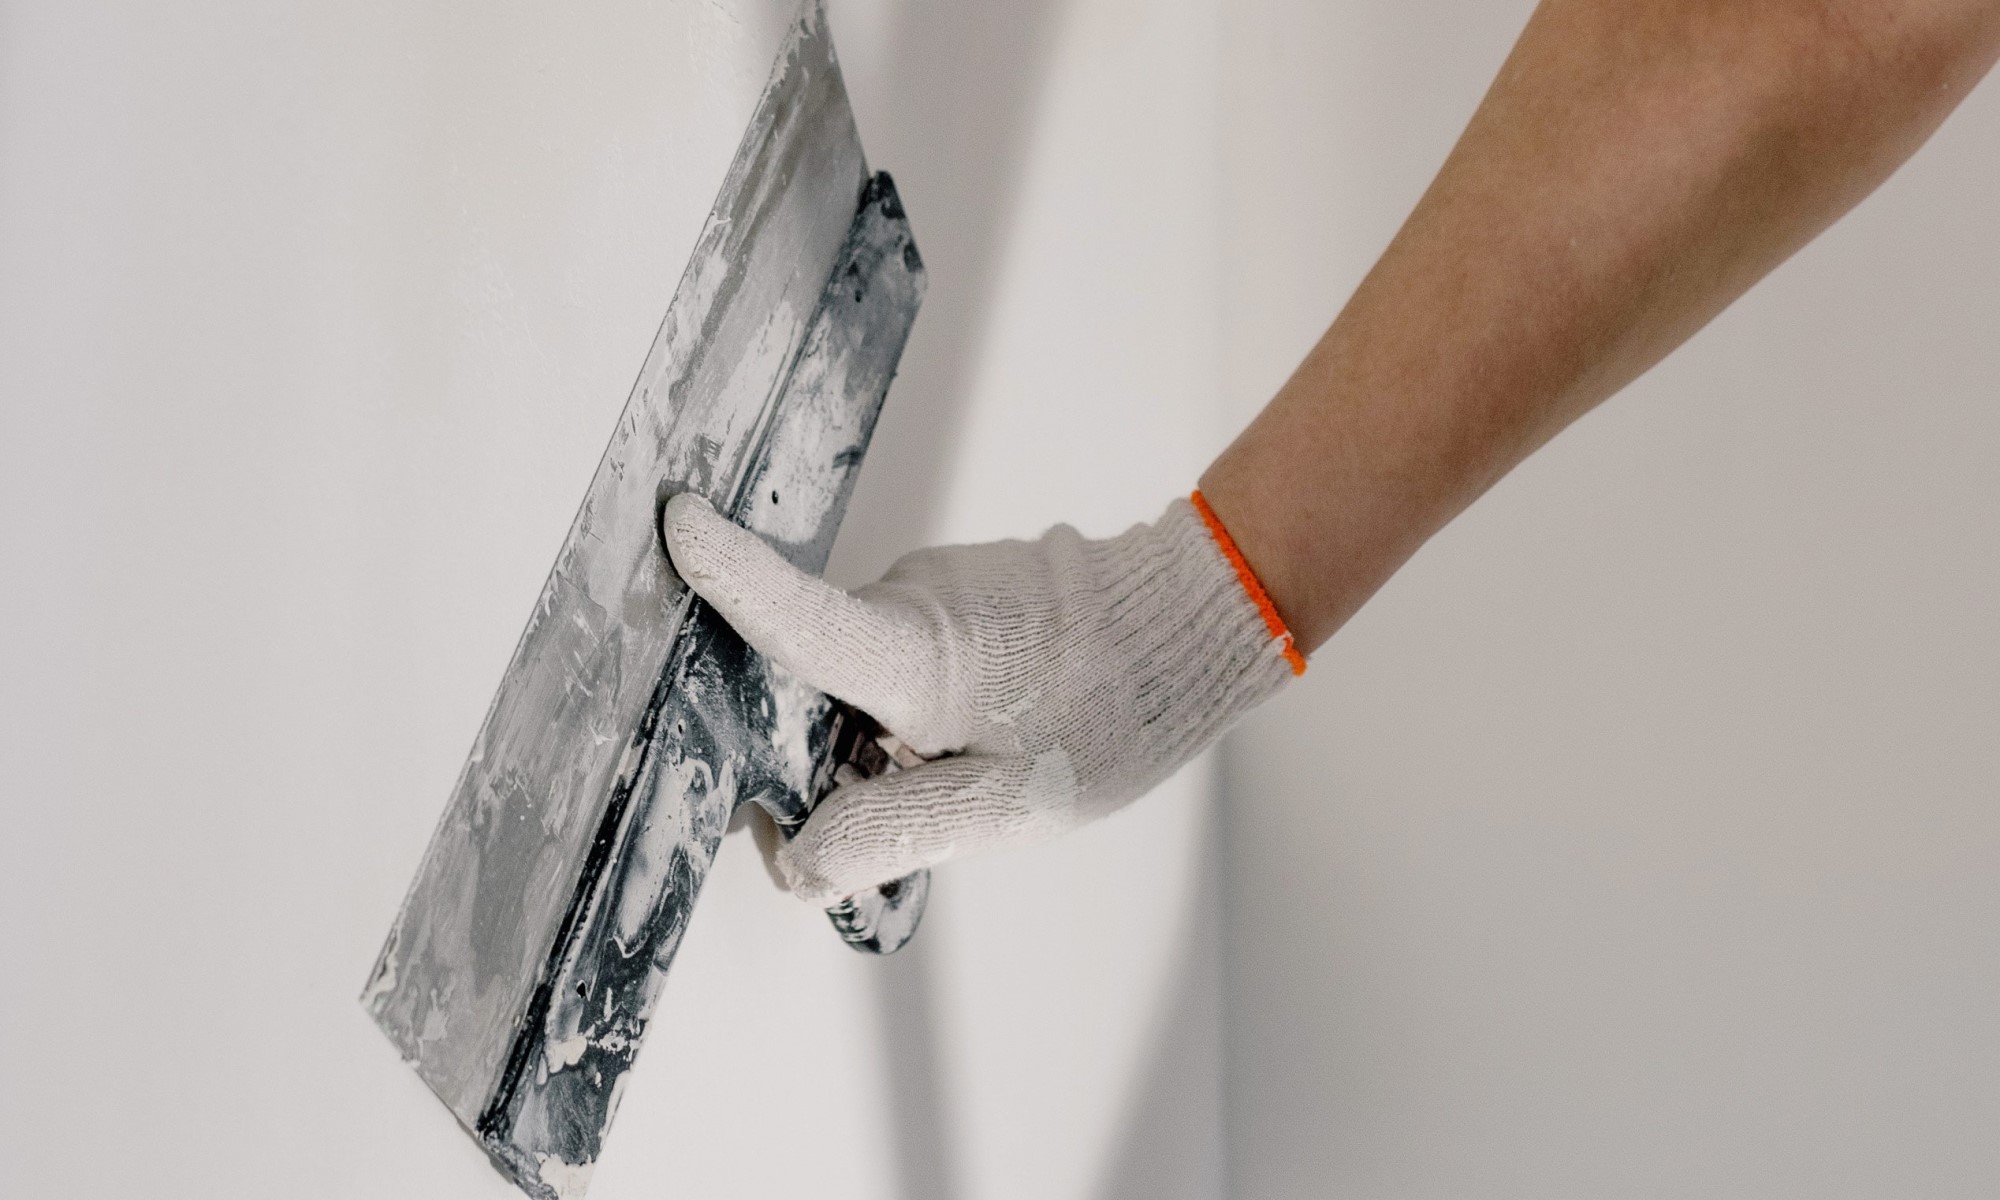
Plastering is a technique that has been used for centuries to create smooth, even surfaces on walls, ceilings, and other surfaces. Whether working on a new construction project or renovating an existing space, proper plaster preparation is critical to achieving the desired results.
Proper plaster preparation is critical for any successful construction or renovation project. It ensures that the plaster will adhere correctly to the surface, and the final result will be smooth and even. But which steps should make the plastering project easier? Here are some ideas.
1. Surface Cleaning
The first and most crucial step in plaster preparation is surface cleaning. Any surface dirt, dust, or debris can prevent the plaster from adhering correctly, resulting in a rough finish. Plasterers should clean the surface thoroughly before any plastering begins, using a vacuum cleaner, a broom or a brush or by wiping it down with a damp cloth. Ensuring the surface is arid before moving on to the next step is essential.
2. Damage Repairing
The next step in plaster preparation is damage repair. Plasterers must repair any cracks, holes, or other damage to the surface before plastering. Plasterers can use a filler or putty, applied to the damaged area and sanded down once it has dried.
Replacing the entire surface section may be necessary if the damage is severe. However, the whole process will take more time than usual. Failure to repair the damage before plastering can result in an uneven finish and may cause the plaster to crack or peel over time.
3. Priming
Once the surface is clean and repaired, the next step is priming. Priming the surface ensures that the plaster will adhere correctly and provides a smooth and even finish. A primer is a type of paint applied to the surface before plastering.
It helps to seal the surface and makes it more receptive to the plaster. A primer also helps to prevent the plaster from absorbing moisture from the surface, which can cause it to crack or peel over time. As a result, the paint will last longer on the wall without needing touch-ups.
4. Sanding
After the surface has been cleaned, repaired, and primed, it is time to sand it down. Sanding the surface helps to remove any rough spots or imperfections and creates a smooth and even surface for plastering.
Sanding should be done using fine-grit sandpaper, and care should be taken not to sand too hard, as this can damage the surface. Once the sanding is complete, Plasterers should wipe the surface with a damp cloth to remove dust or debris.
5. Taping
The final step in plaster preparation is taping. Taping involves applying a particular type of tape to the edges of the surface, such as where the wall meets the ceiling or floor. The tape helps to create a smooth and even surface for plastering and prevents the plaster from cracking or peeling over time. Taping is critical in areas with a lot of movement, such as around windows or doors.
Conclusion
Proper plaster preparation is essential for any successful construction or renovation project. It ensures that the plaster will adhere correctly to the surface and provides a smooth and even finish. The different steps involved in plaster preparation, such as surface cleaning, damage repairing, priming, sanding, and taping, all play a crucial role in achieving the desired result. By taking the time to properly prepare the surface before plastering, you can ensure that your project is a success and that the final result is of the highest quality.
